Welcome to the Ananya theme documentation. These instructions briefly explain how to set up and configure all the theme features.
Theme Installation Guide
To utilize any of our themes, you’ll need to first install and activate them. The process is just like uploading a normal theme.
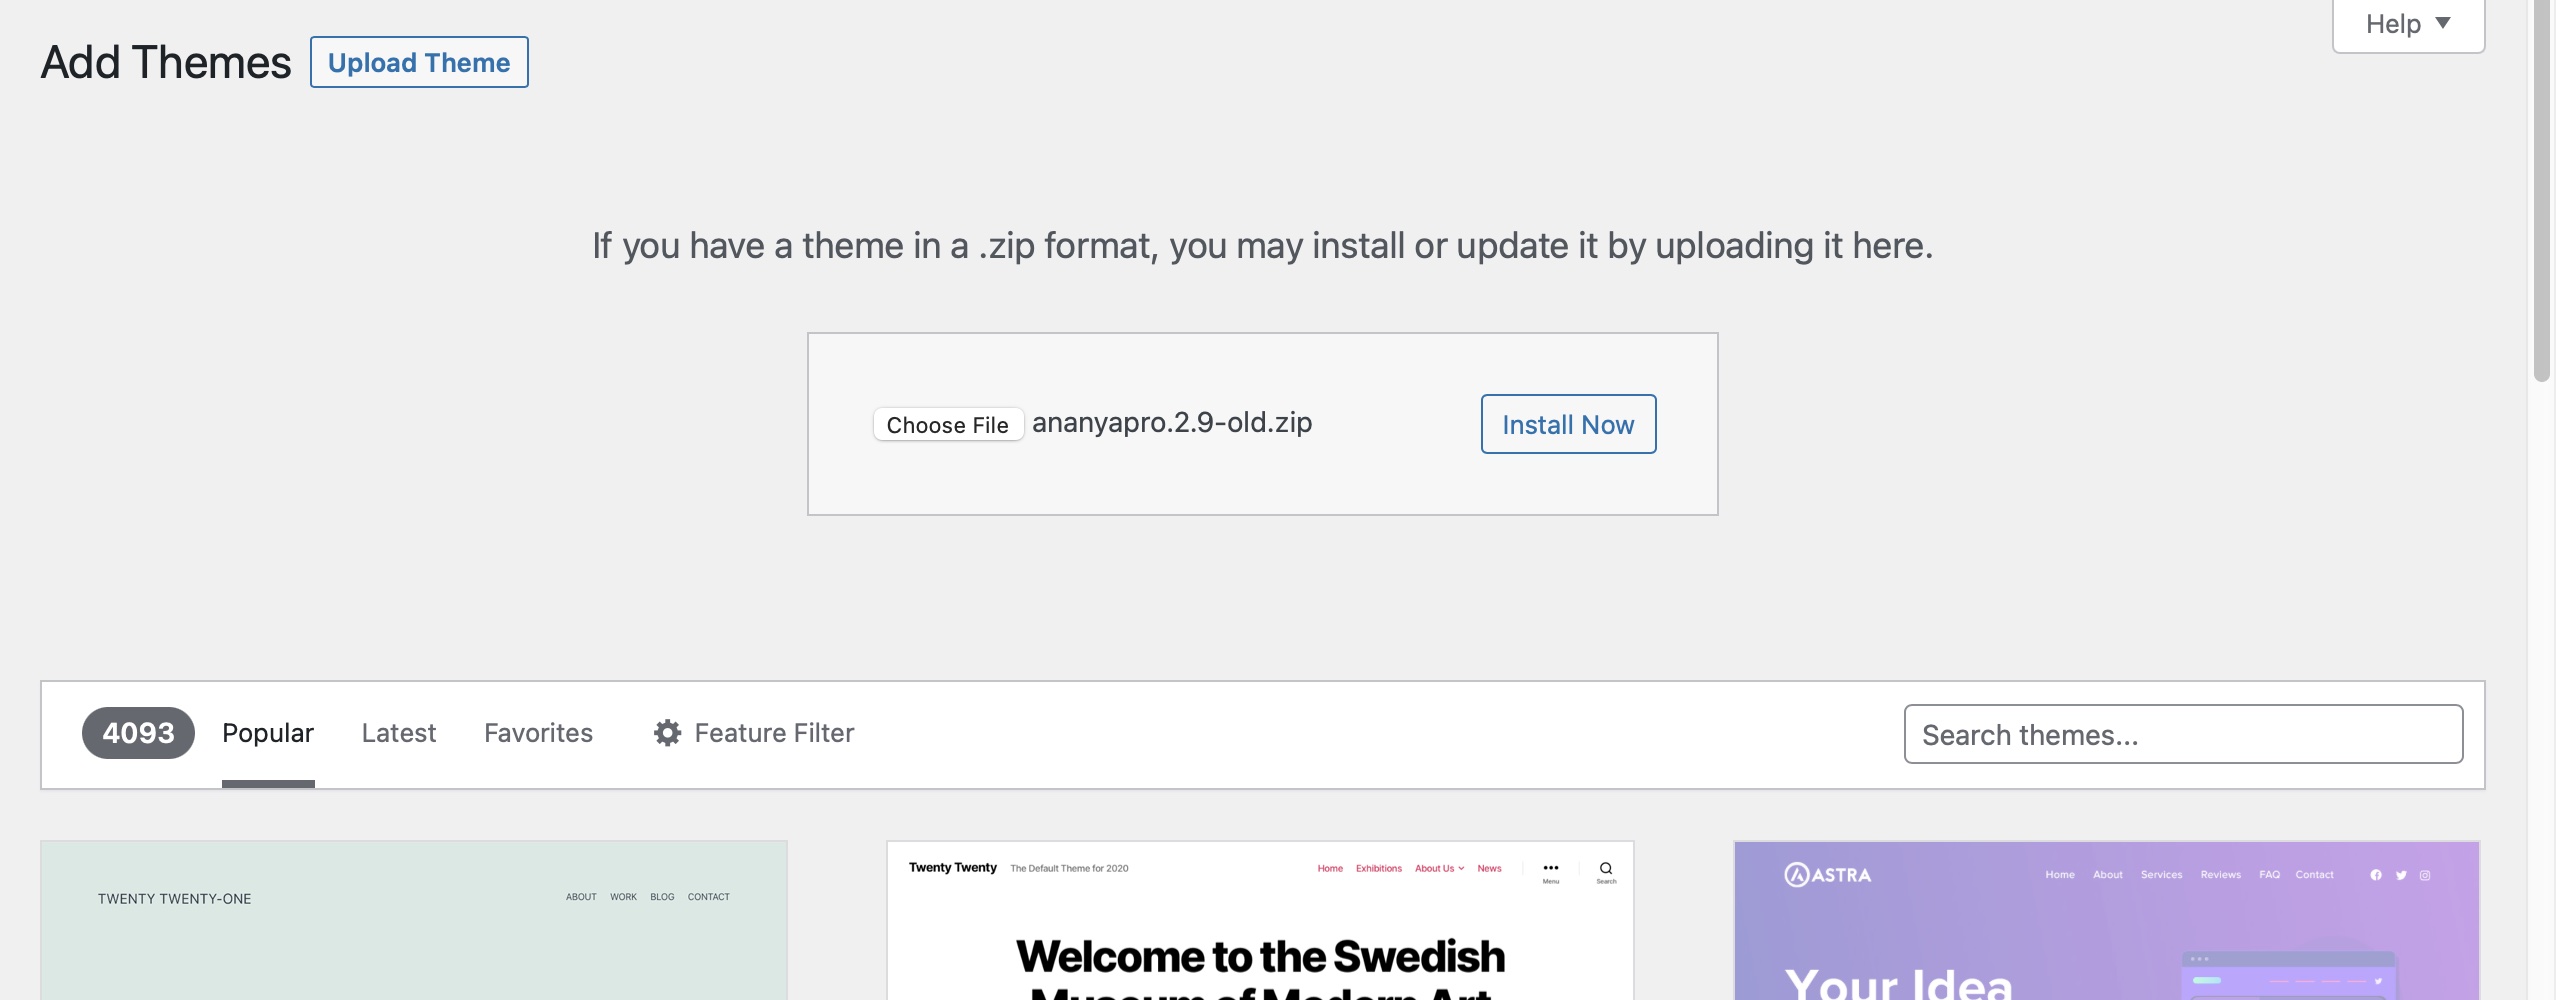
Download the Ananyapro.zip file from the link given in your purchase receipt. Once you have downloaded the nisargpro.zip file, go to your WordPress website admin page and perform the following steps:
-
- Log in to the WordPress Administration Panels.
- Select the Appearance panel, then Themes.
- Select Add New.
- Use the Upload link in the top links row to upload a zipped copy of the Ananya PRO(ananyapro.zip) theme that you have previously downloaded to your machine.
Once the zip file gets uploaded to your website, click on Activate link to activate the theme.
For in-depth documentation about WordPress theme manual installation, read the official WordPress.org documentation.
License Key Settings
You will receive a license key along with your purchase confirmation. As long as it is active, this key allows you to get automatic updates for the purchased WordPress theme. To license your theme :
- Go to Appearance > Theme license.
- Paste your license key in the textbox.
- Save and activate license key and you’re done.
Theme Customization Options
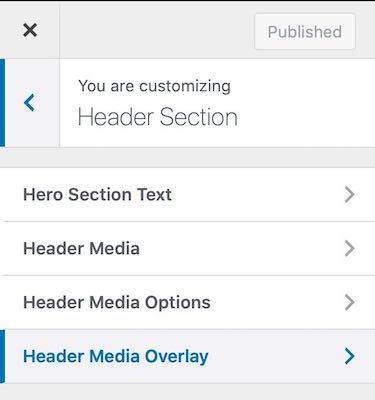
Header Section
You can customize the site header with the help of the Header Section. Header Section has the following options:
-
Hero Text
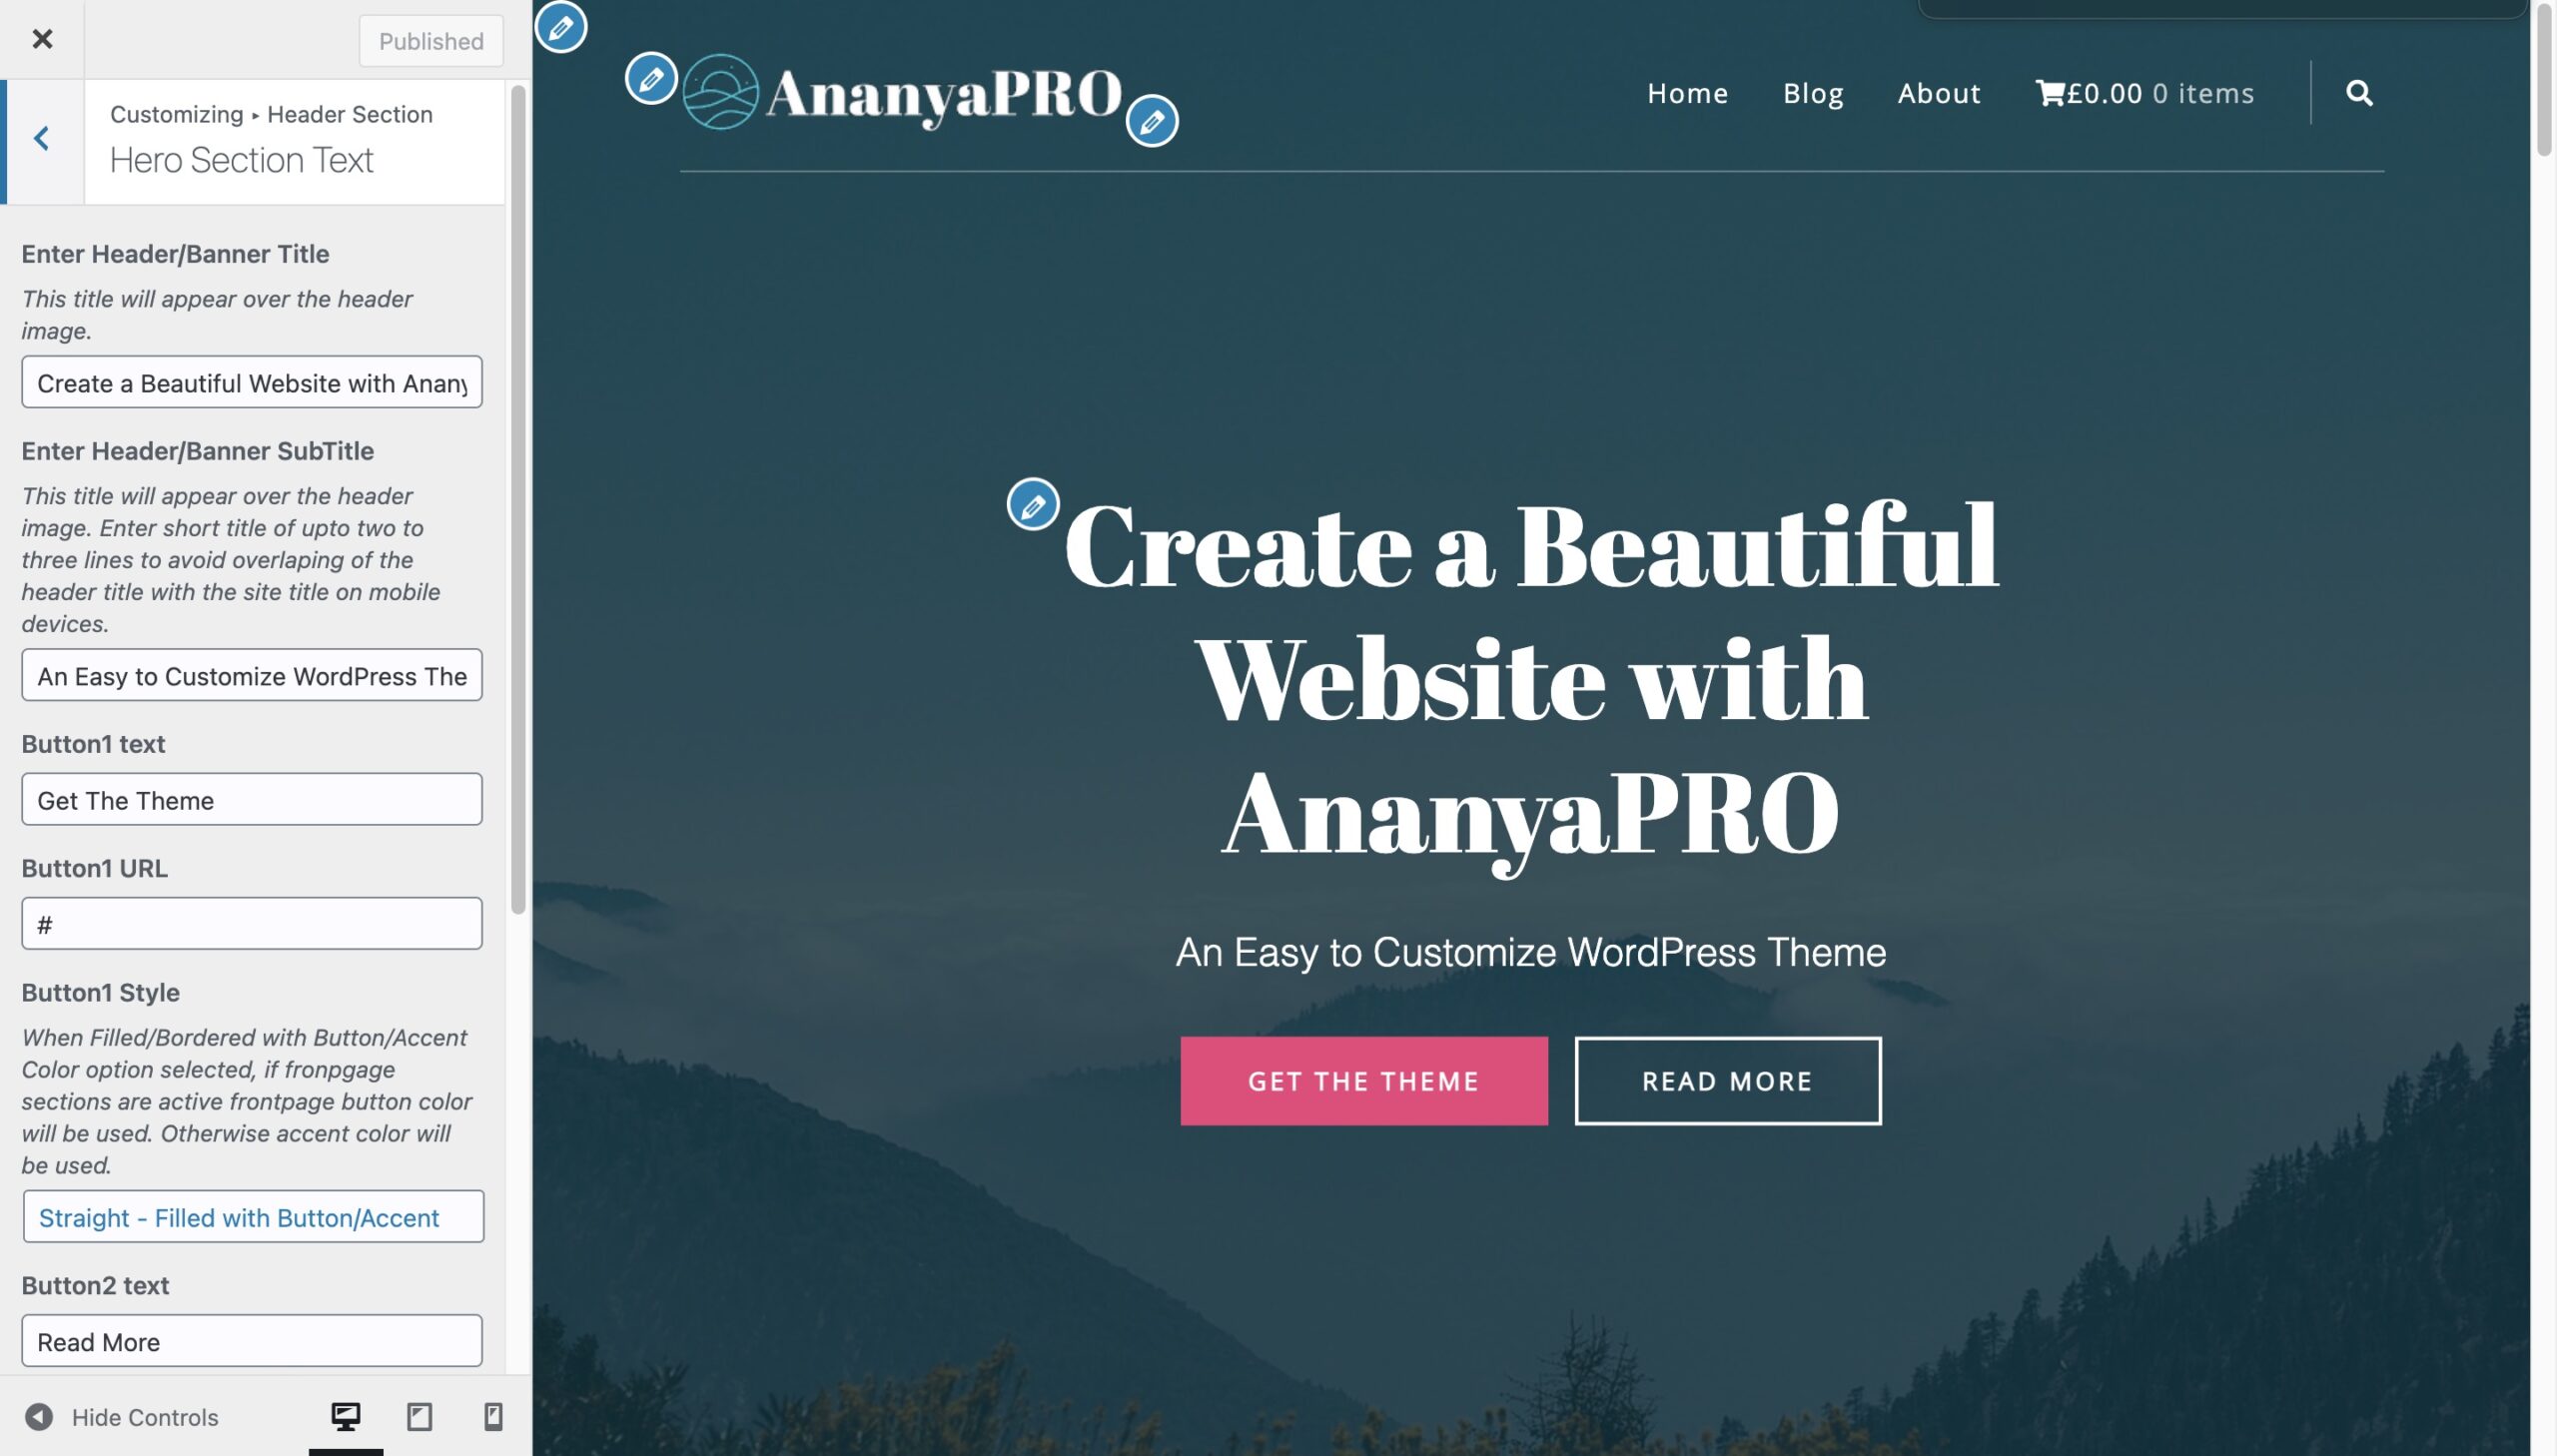
Hero Text Section This section allows the user to add text and button over the header image.
-
Header Media
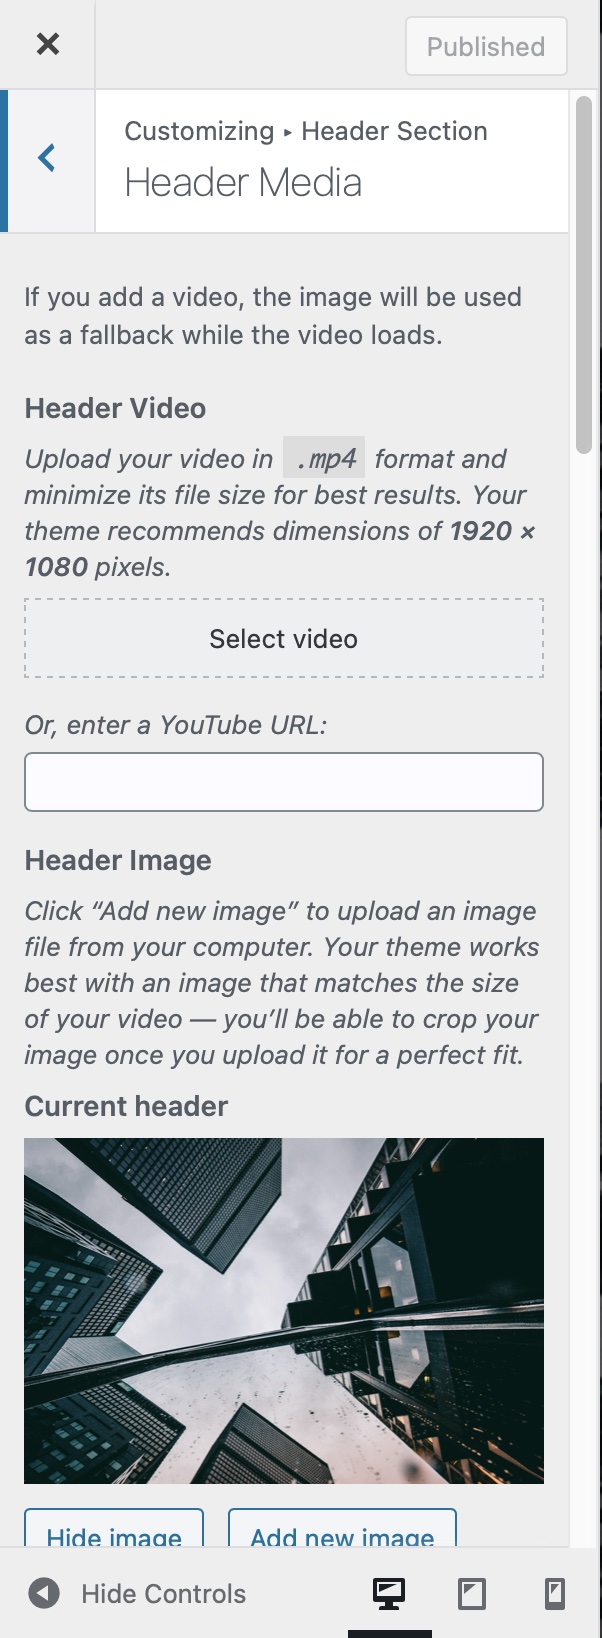
Header Media Upload 
Header Media Options The header Media section allows users to set an image or a video of his choice in the site header. Please note that the video set in the header media section will be displayed only on the frontpage/homepage. On other pages, the header image will be used as a site header.
-
Header Media Options
The header media options section allows you to set the height of the image to the full screen. You can set the height of the site header to the full screen by selecting the corresponding checkbox. This section also gives you a choice to use the header image only on Frontpage and to remove it from all other pages. You can set height of the site header on all pages except frontpage. The min height you can set is 110px and max height you can set is 600px.
-
-
Default Overlay
This overlay option adds a gray gradient overlay to the text areas on the header image. The overlay doesn’t cover the whole header image.
-
Color Overlay
The color overlay allows you to choose color of your choice for the image overlay.
-
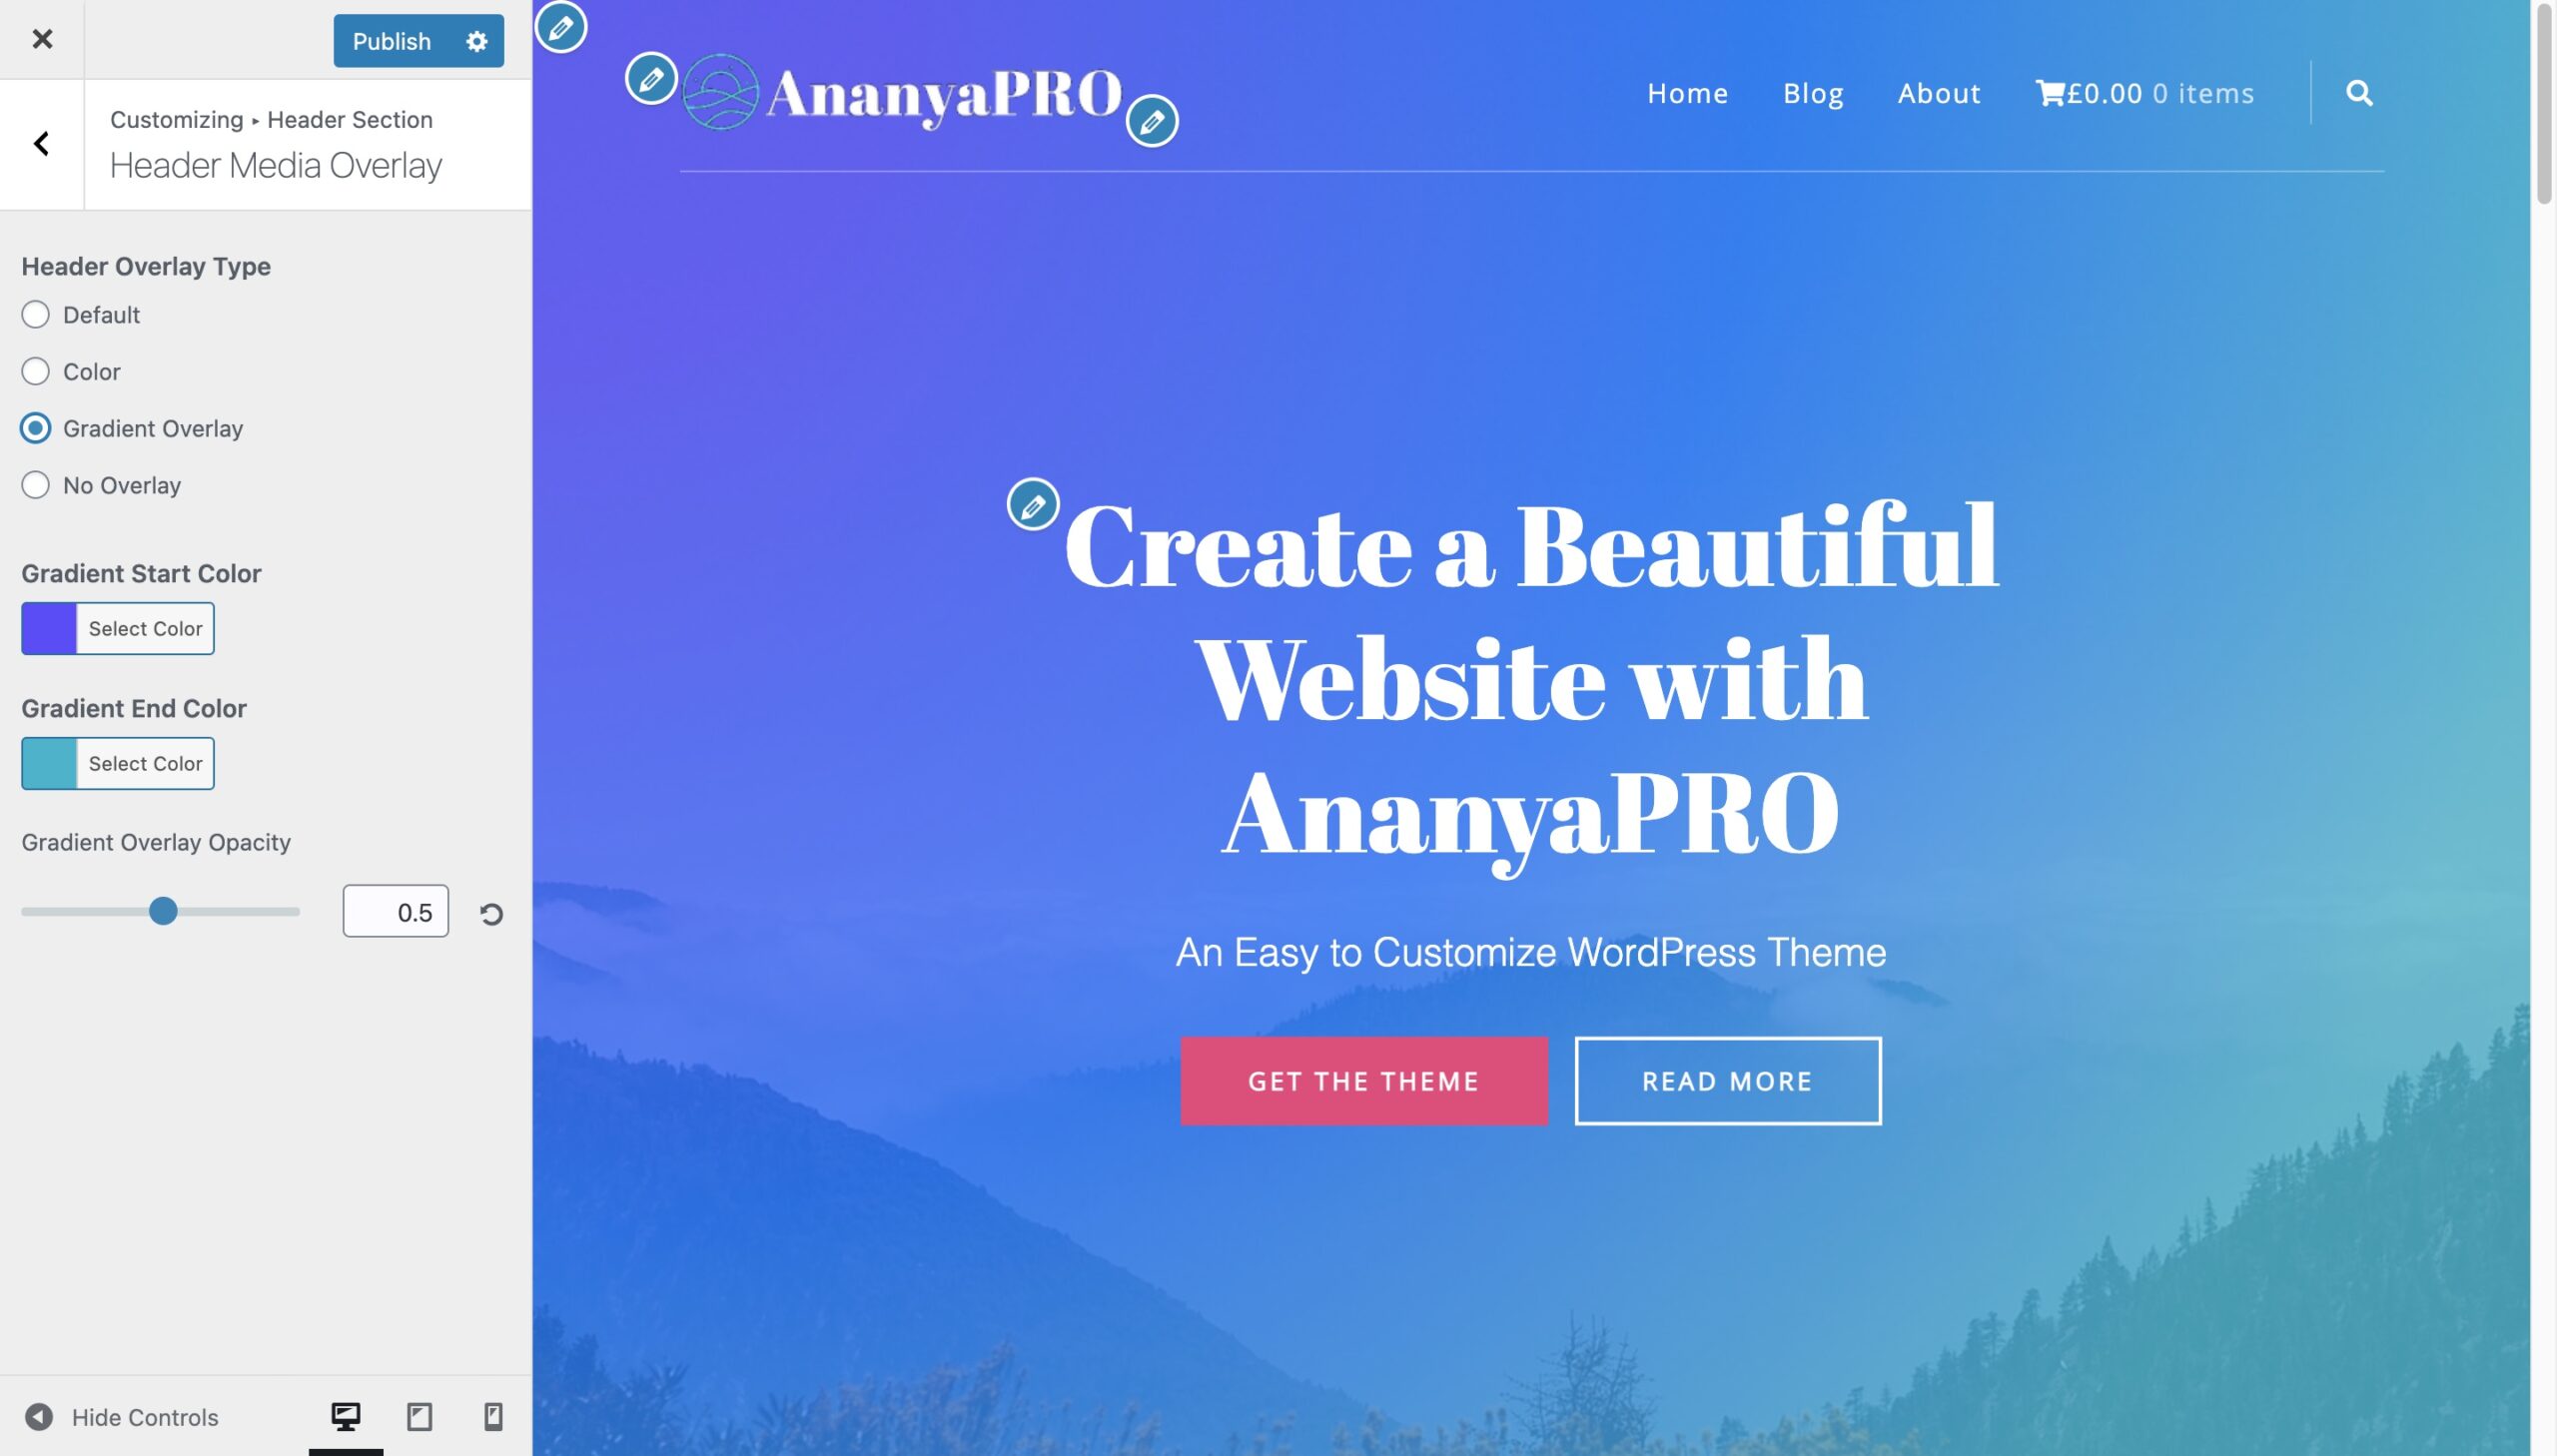
Gradient Overlay
The gradient overlay option allows you to choose two colors for creating gradient overlay.
-
No Overlay
This option does not add any overlay over the header image.
-
- Go to Dashboard > Appearance > Customize > Header Section
- Set your desired image for header elements in the Header Media section. Customize the header as per your choice by selecting different options in other parts of the Header Section.
- Click on Save to retain the selections.
Custom Logo
The custom logo section allows you to upload a logo image for the site logo. You are also provided with another logo upload option “Logo for Non Transparent Header” to upload a logo when the option “ Use header image only on frontpage/homepage.” is selected in the Header Section > Header Media option.

Frontpage Sections
The Frontpage Sections has total 10 sections: Two sections of each type and another Latest Post Section.
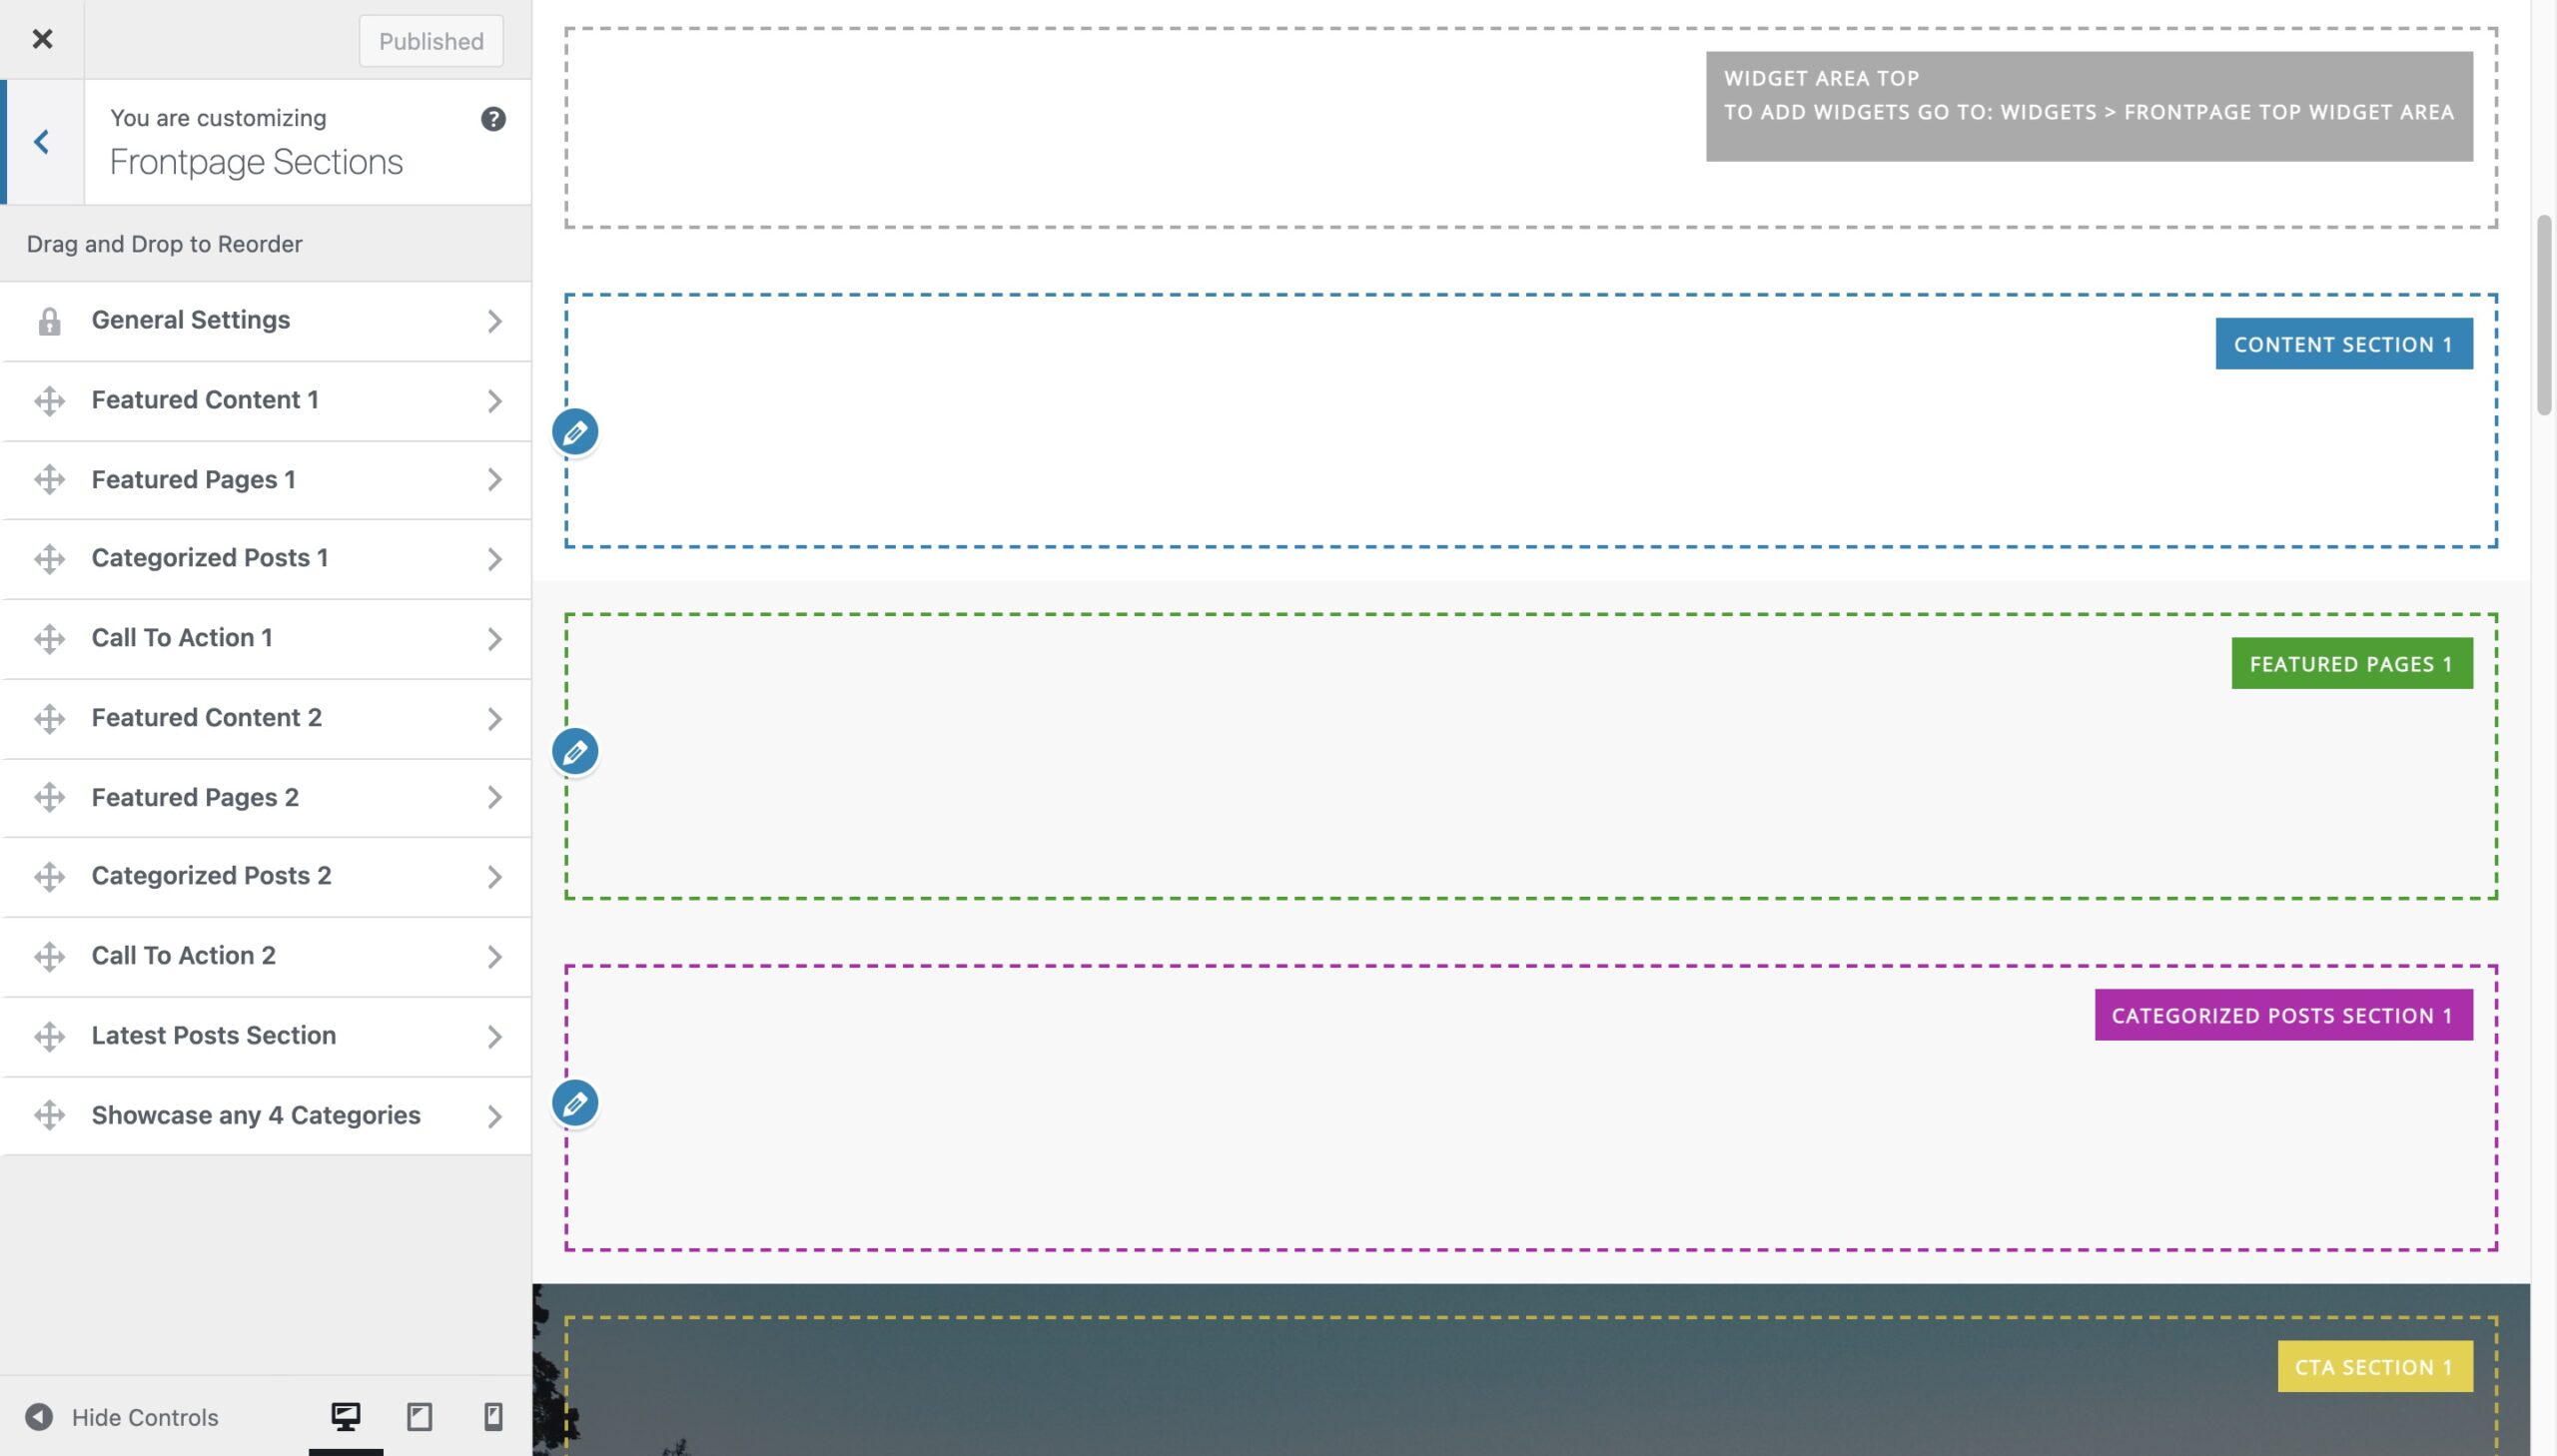 User can build the frontpage with the 4 different types of sections. The types of sections are as follows:
- Feature Content
- Featured Pages
- Categorized Posts
- Call to Action
- Latest Posts
- Showcase Any 4 Categories
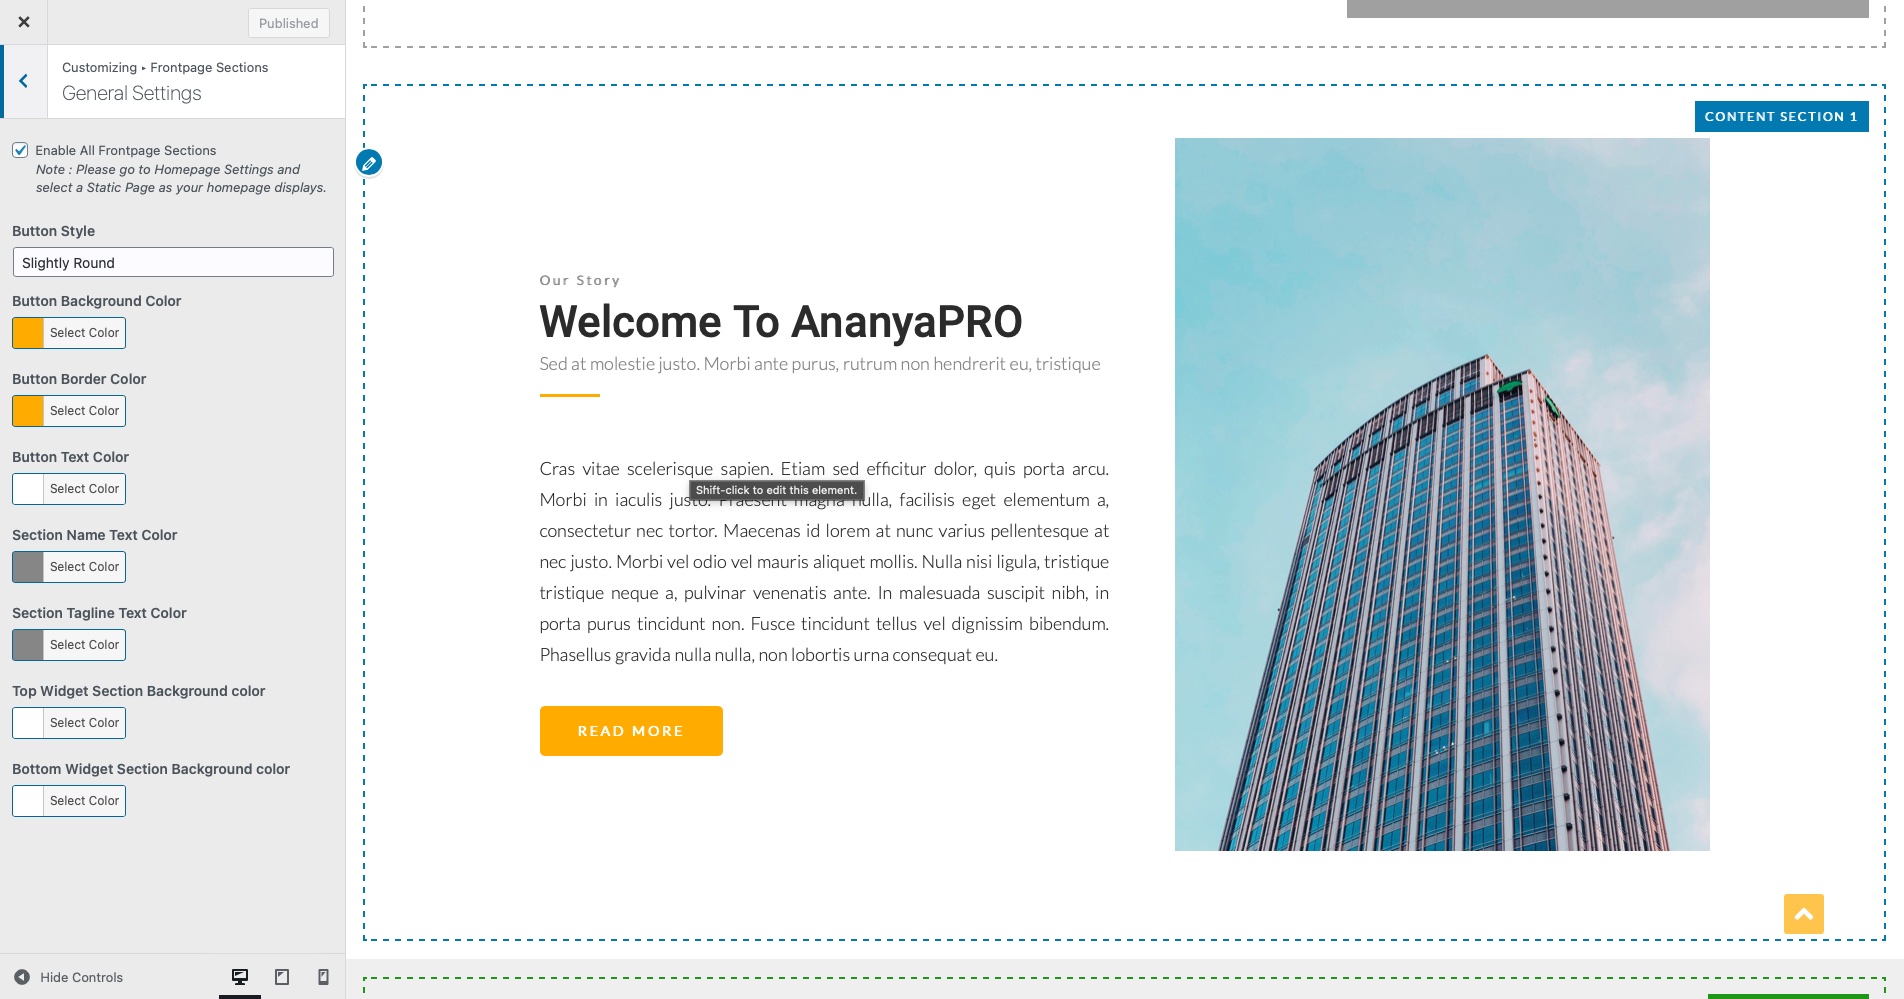
General settings has options which applies to all the Frontpage Sections. To enable the Frontpage sections select the checkbox “Enable All Frontpage Sections”. The Frontpage Sections will only be visible on the Frontpage when the Enable All Frontpage Sections option is checked and the “Static Page” option is selected in the WordPress Customizer > Homepage Settings.
General Settings also has other customization options:
- Go to Appearance > Customizer > Homepage Settings.
- Set your homepage displays option to Static Page.
-
- Options for Button of the Frontpage Sections
- Button Background Color
- Button Border Color
- Button Text Color
- Color Options for Frontpage Widget Area
- Background color for Frontpage Top Widget Area
- Background color for Frontpage Bottom Widget Area
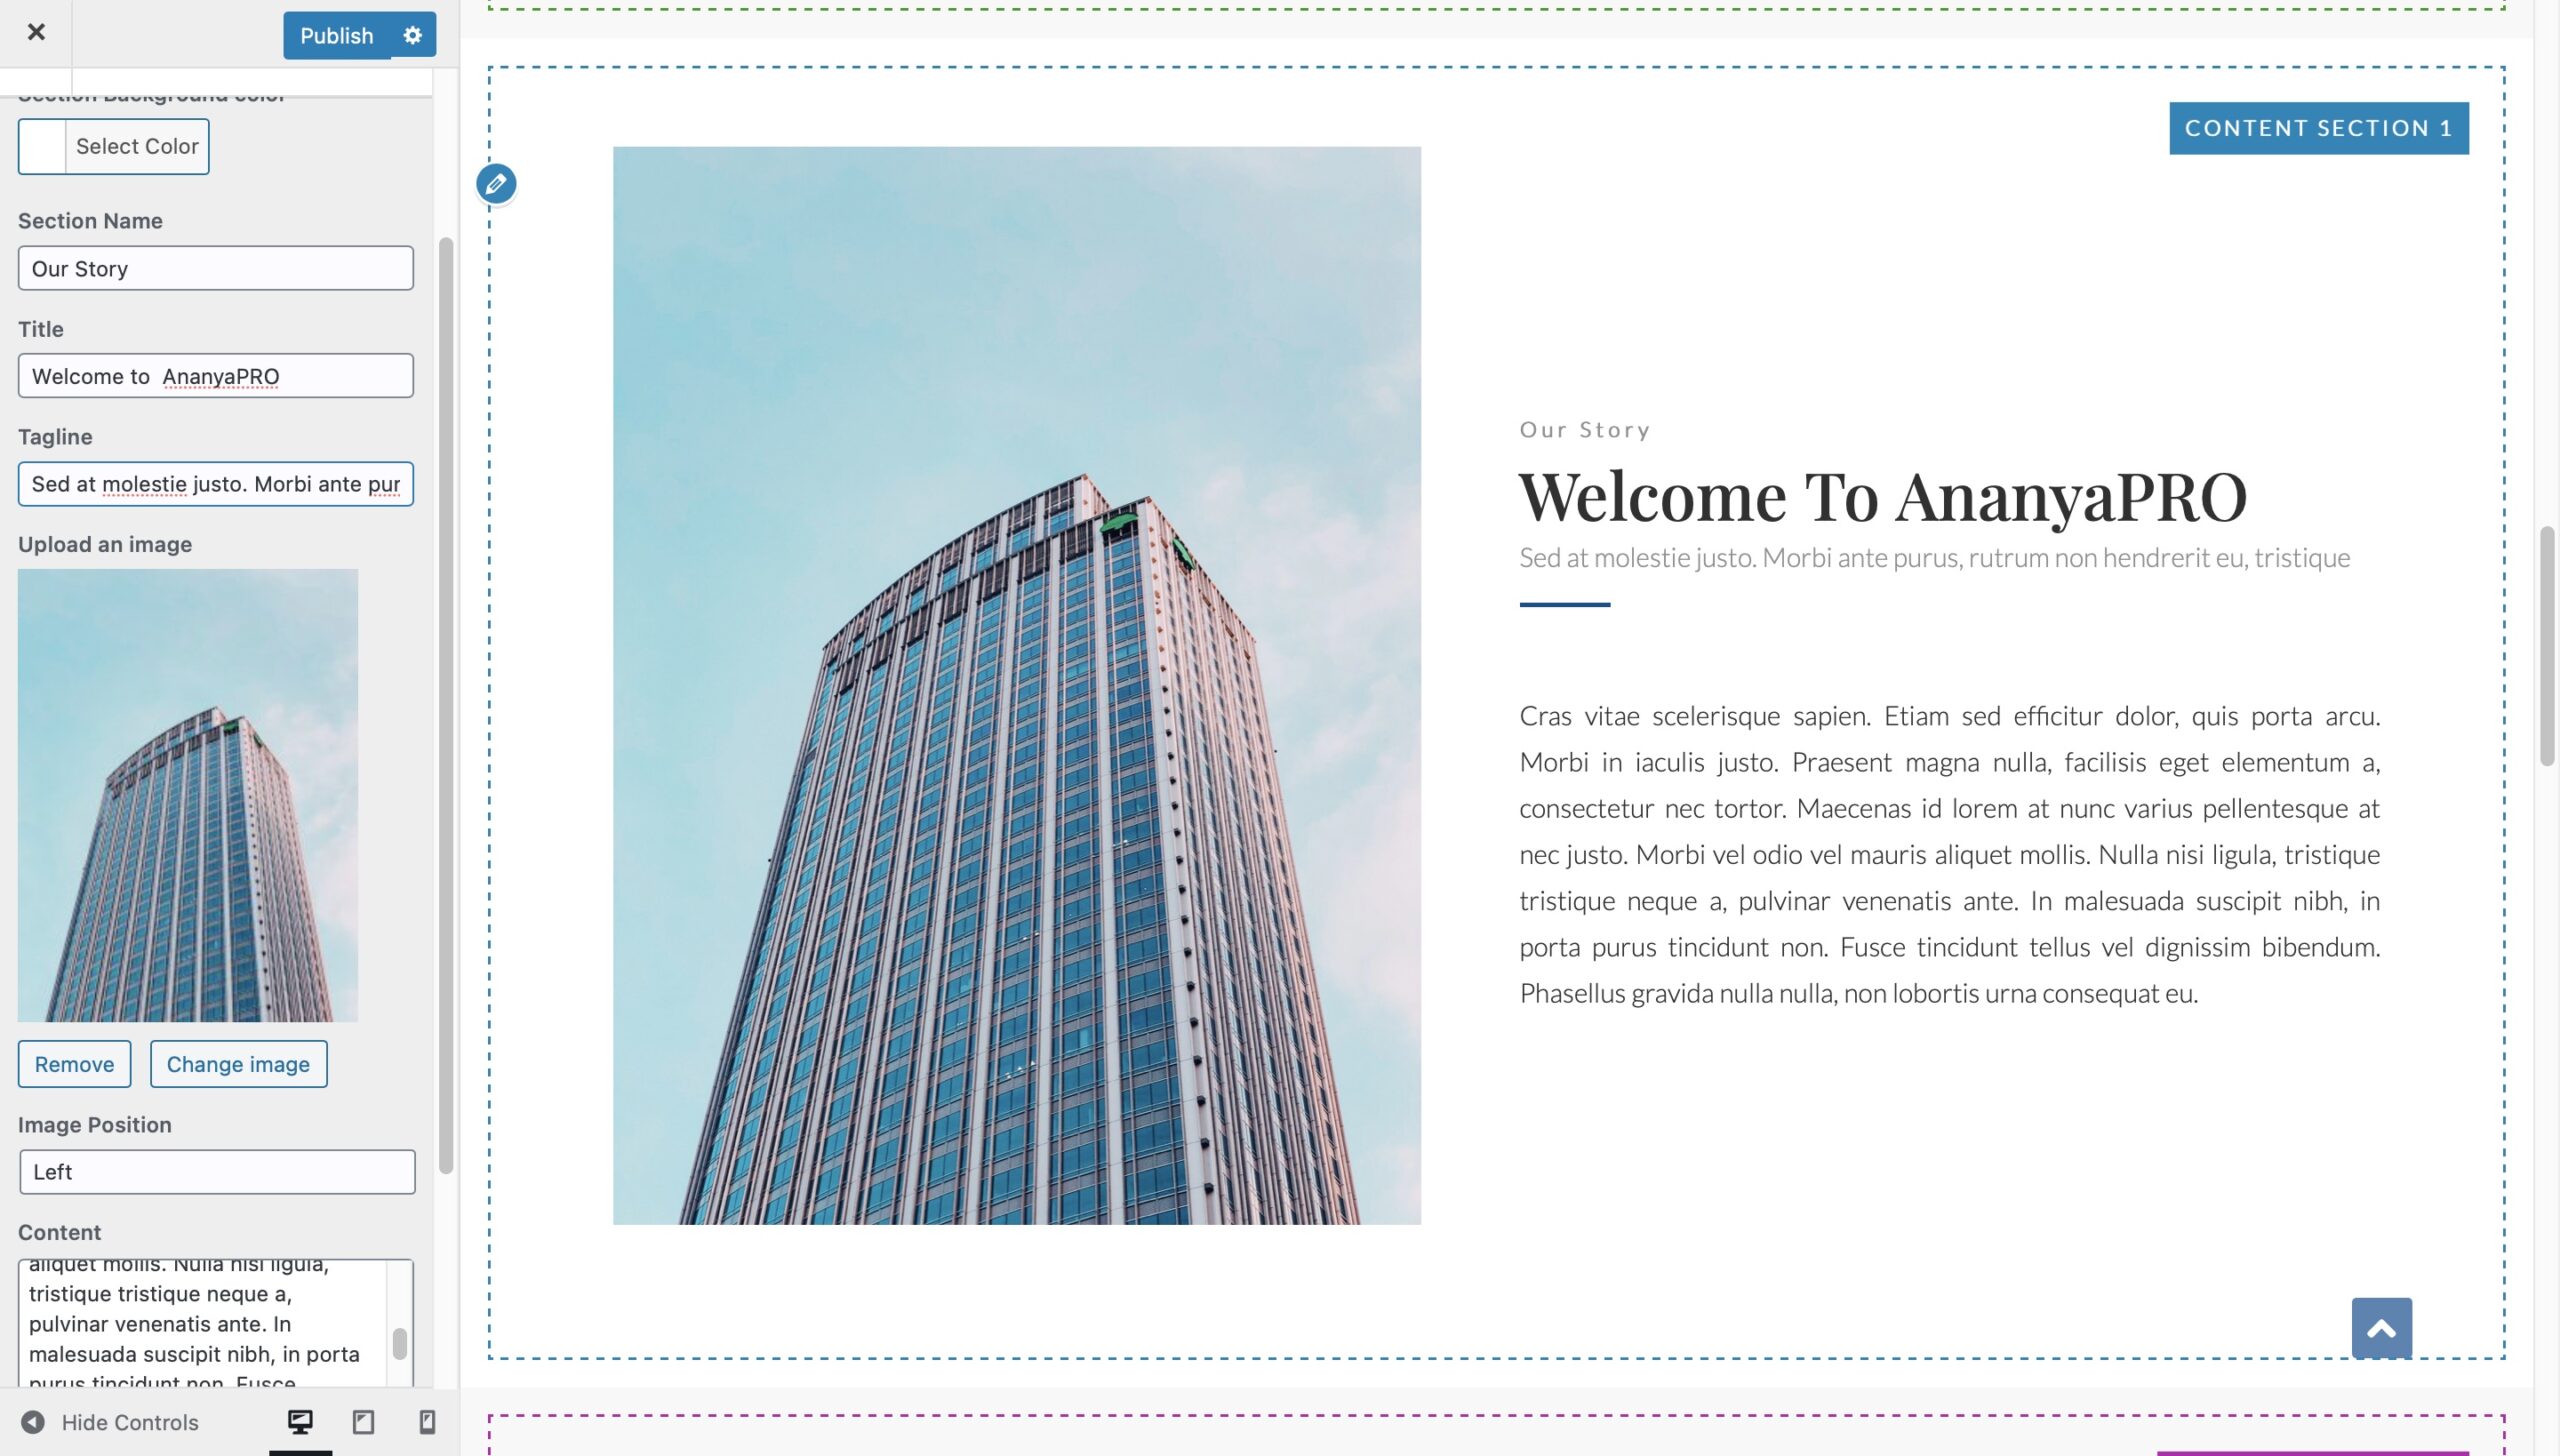
Featured content section allows you to add text content along with its supporting image.
Configure Featured content section:
- Go to Go to Dashboard > Appearance > Customize.
- Go to Frontpage Sections > Featured Content 1/2.
- Select the checkbox “Disable this featured content section”, if you wish to disable the Featured Content section on your home page else deselect the checkbox.
- Select the background color for the section.
- Set the section name, title and tagline under the the “Section Name, Title and Tagline” text fields respectively.
- Add the section text content under the “Content” textarea field.
- Upload an image to add to the section.
- Select the image position from the options “Left, Right or Center” in the dropdown.
- Add the Button text and Button URL of your choice.
- Once done save the settings by clicking on Publish button in the customizer.
This section can be used to add content like About US or Our Story
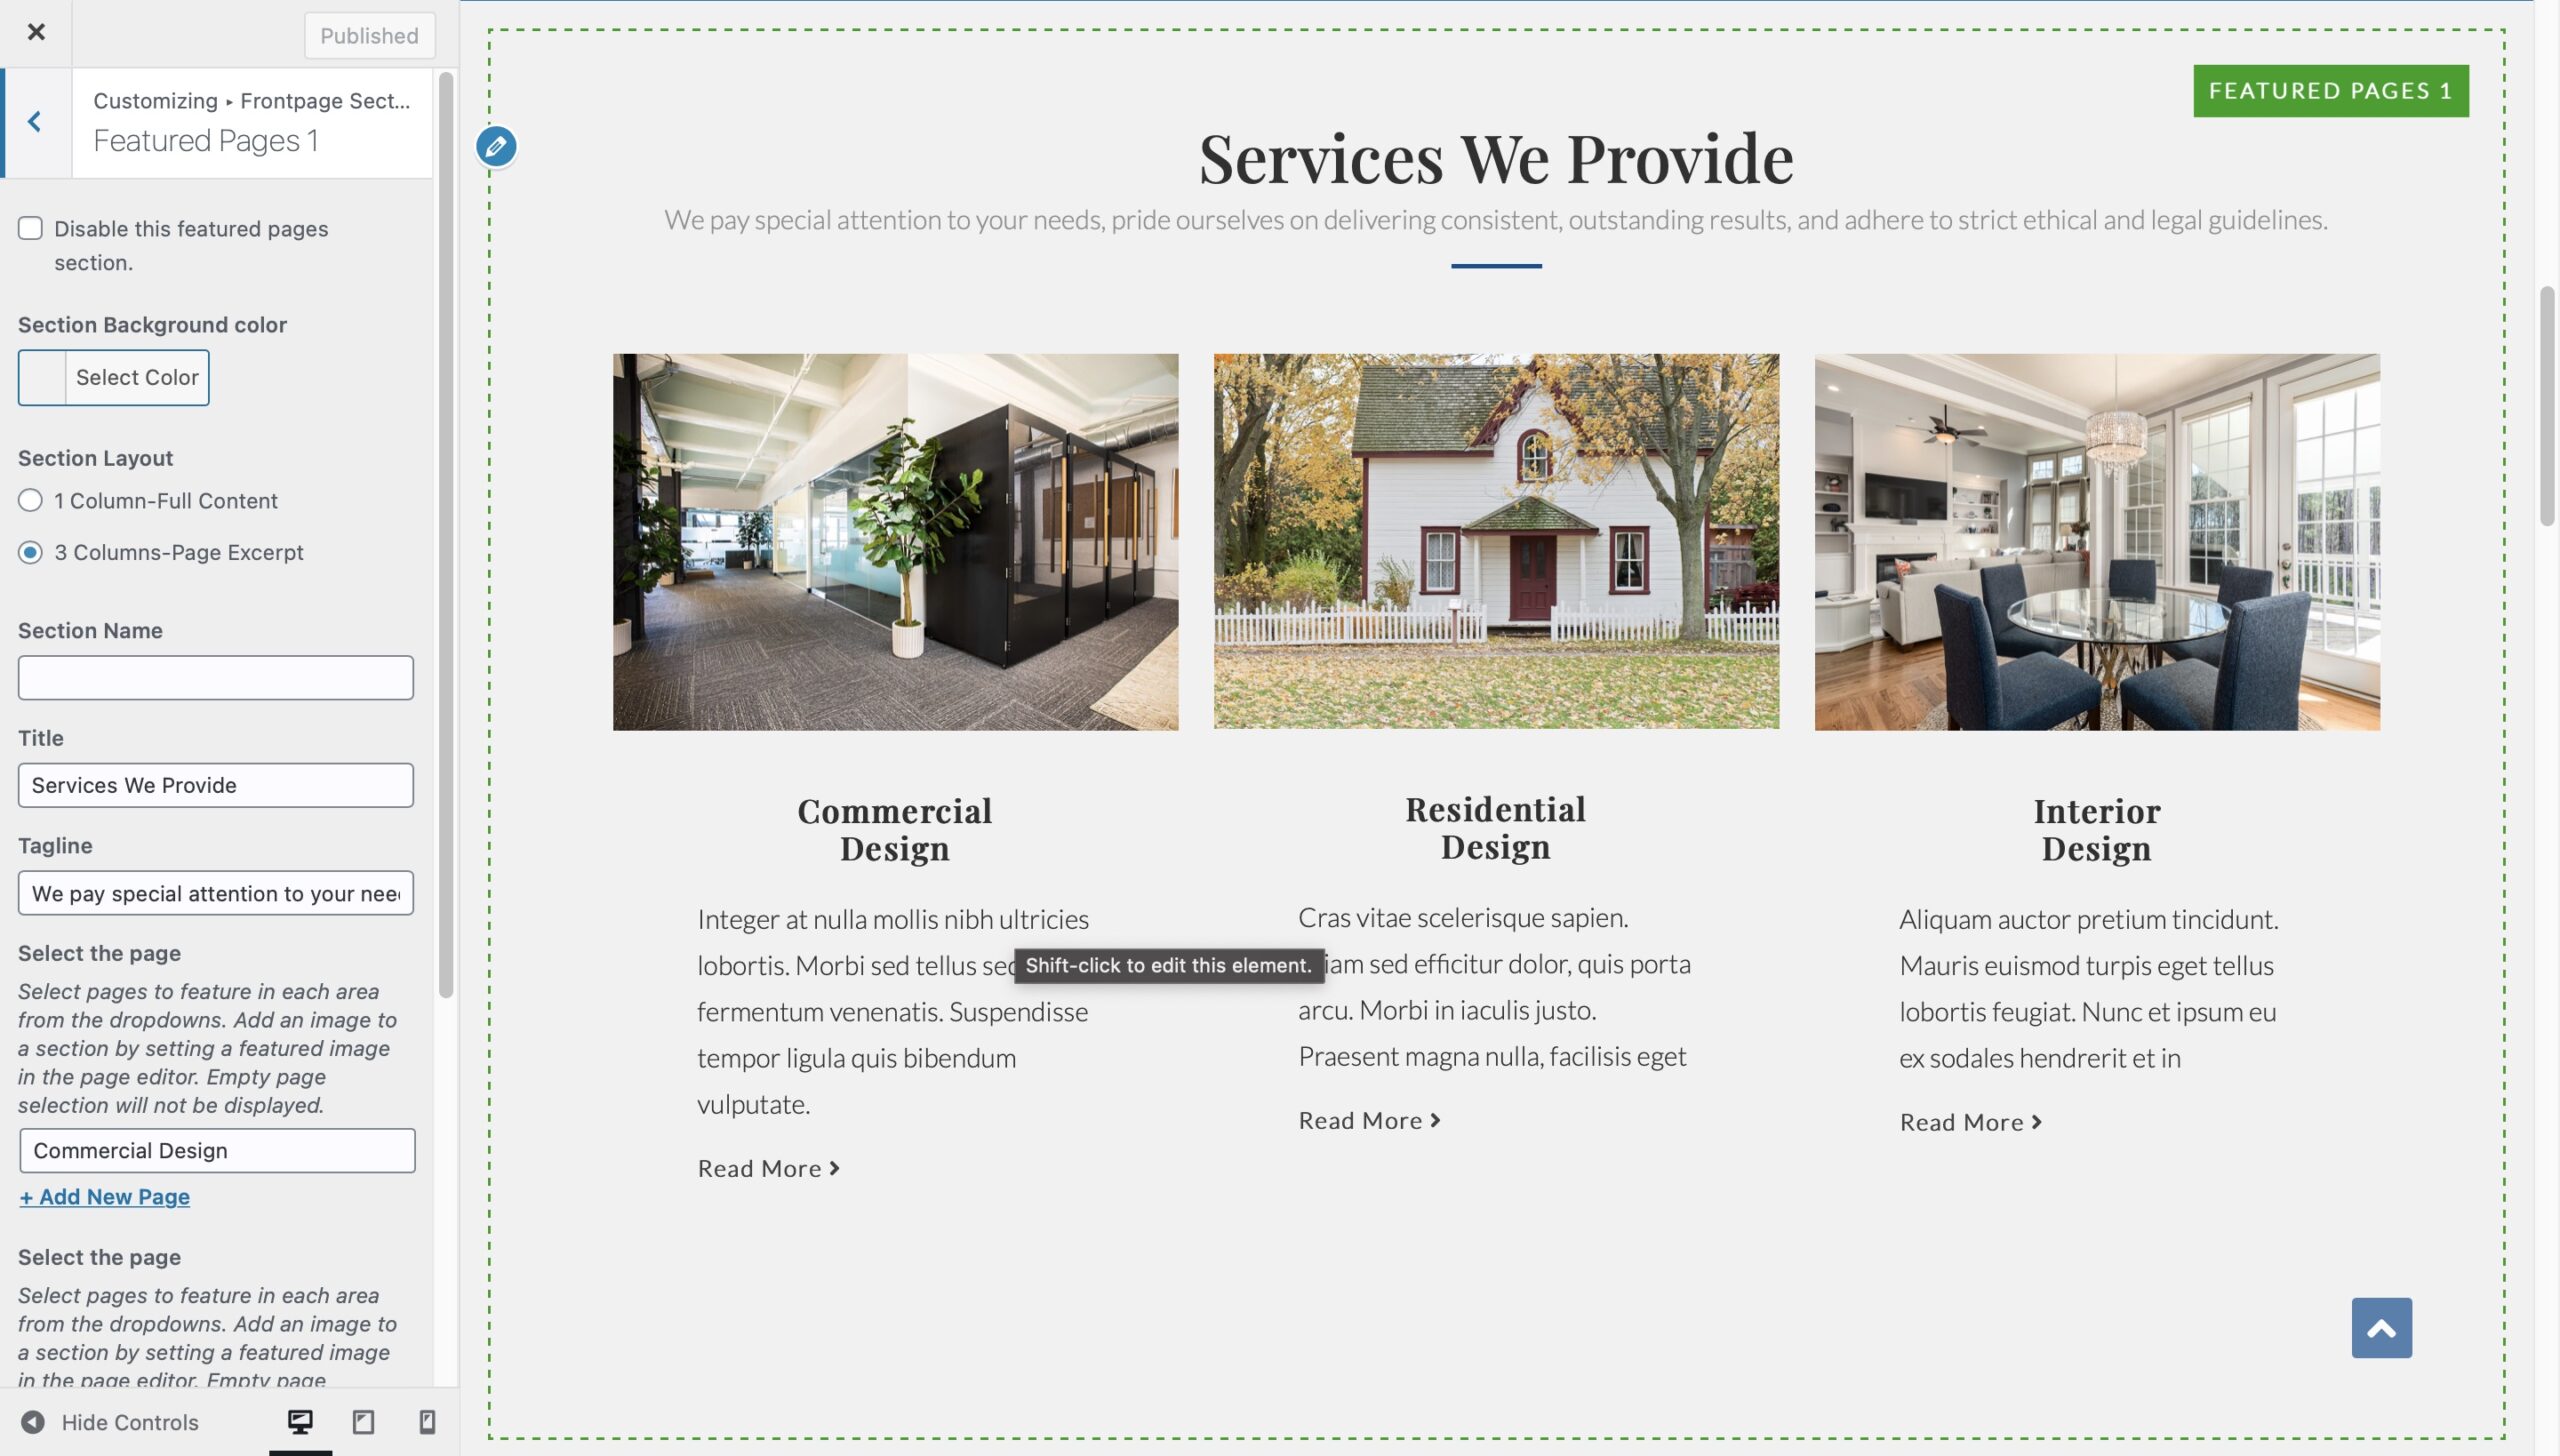
Featured pages section allows you to display any 3 pages of your choice on the Frontpage. This section gives two section layout options:
- 1 Column-Full Content – 3 pages are displayed one after another with their full content
- 3 Columns-Page Excerpt – 3 pages are displayed in a row with page’s excerpt, title and page’s featured image.
Configuration of Featured Section is done in two parts:
Part 1: Create Three pages you want to display on the Frontpage. To create pages perform the following steps:
- Go to Dashboard > Pages > Add New.
- Enter the name of the page in the title field.
- Enter the description of the page in the content area.
- Set the featured image for the page in Featured Image field in the right side of page editor.
- Click on ‘Publish/Update’ button.
Part 2: Configure Featured Pages Section
-
- Go to Go to Dashboard > Appearance > Customize.
- Go to Frontpage Sections > Featured Pages 1/2.
- Select the checkbox “Disable this featured pages section”, if you wish to disable the Featured Pages section on your home page else deselect the checkbox.
13) Set the section name, title and tagline under the “Section Name, Title and Tagline” text fields respectively. If you don’t want to set any of the field, you can keep it blank.
- Select the background color for the section.
- Select the pages (the one we created in part 1) you want to display in this section.
- Once done save the settings by clicking on Publish button in the customizer.
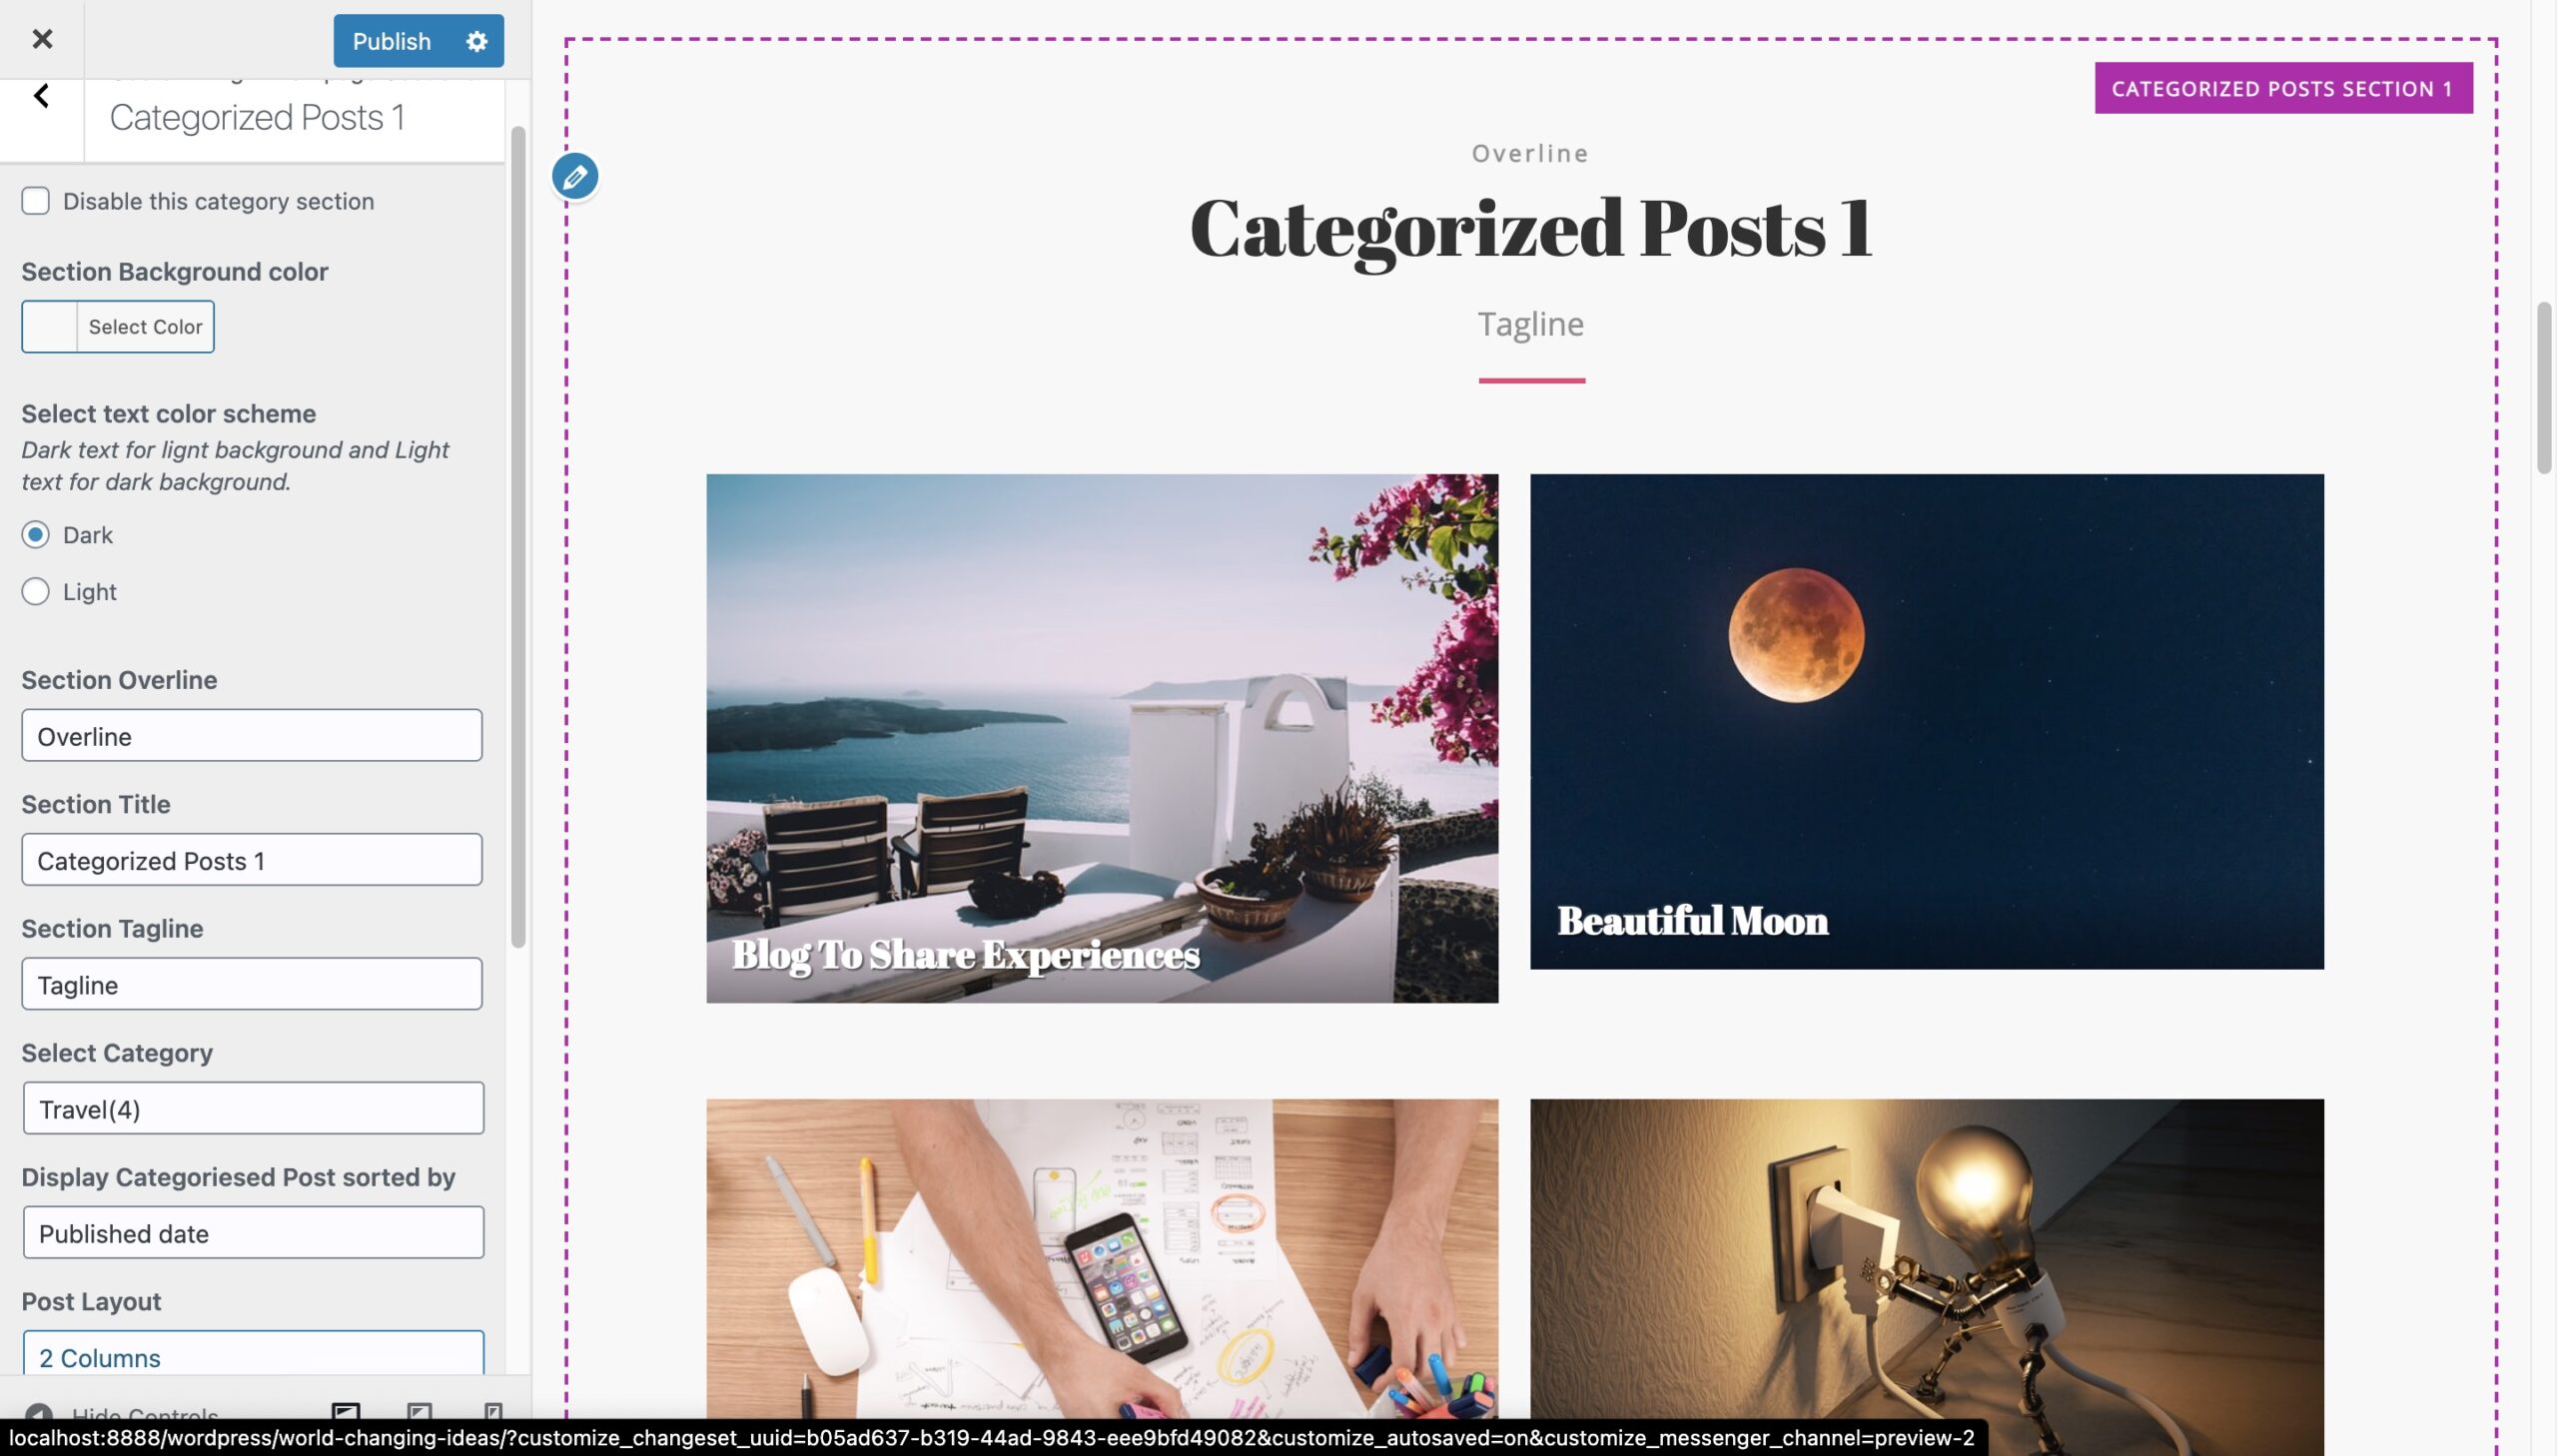
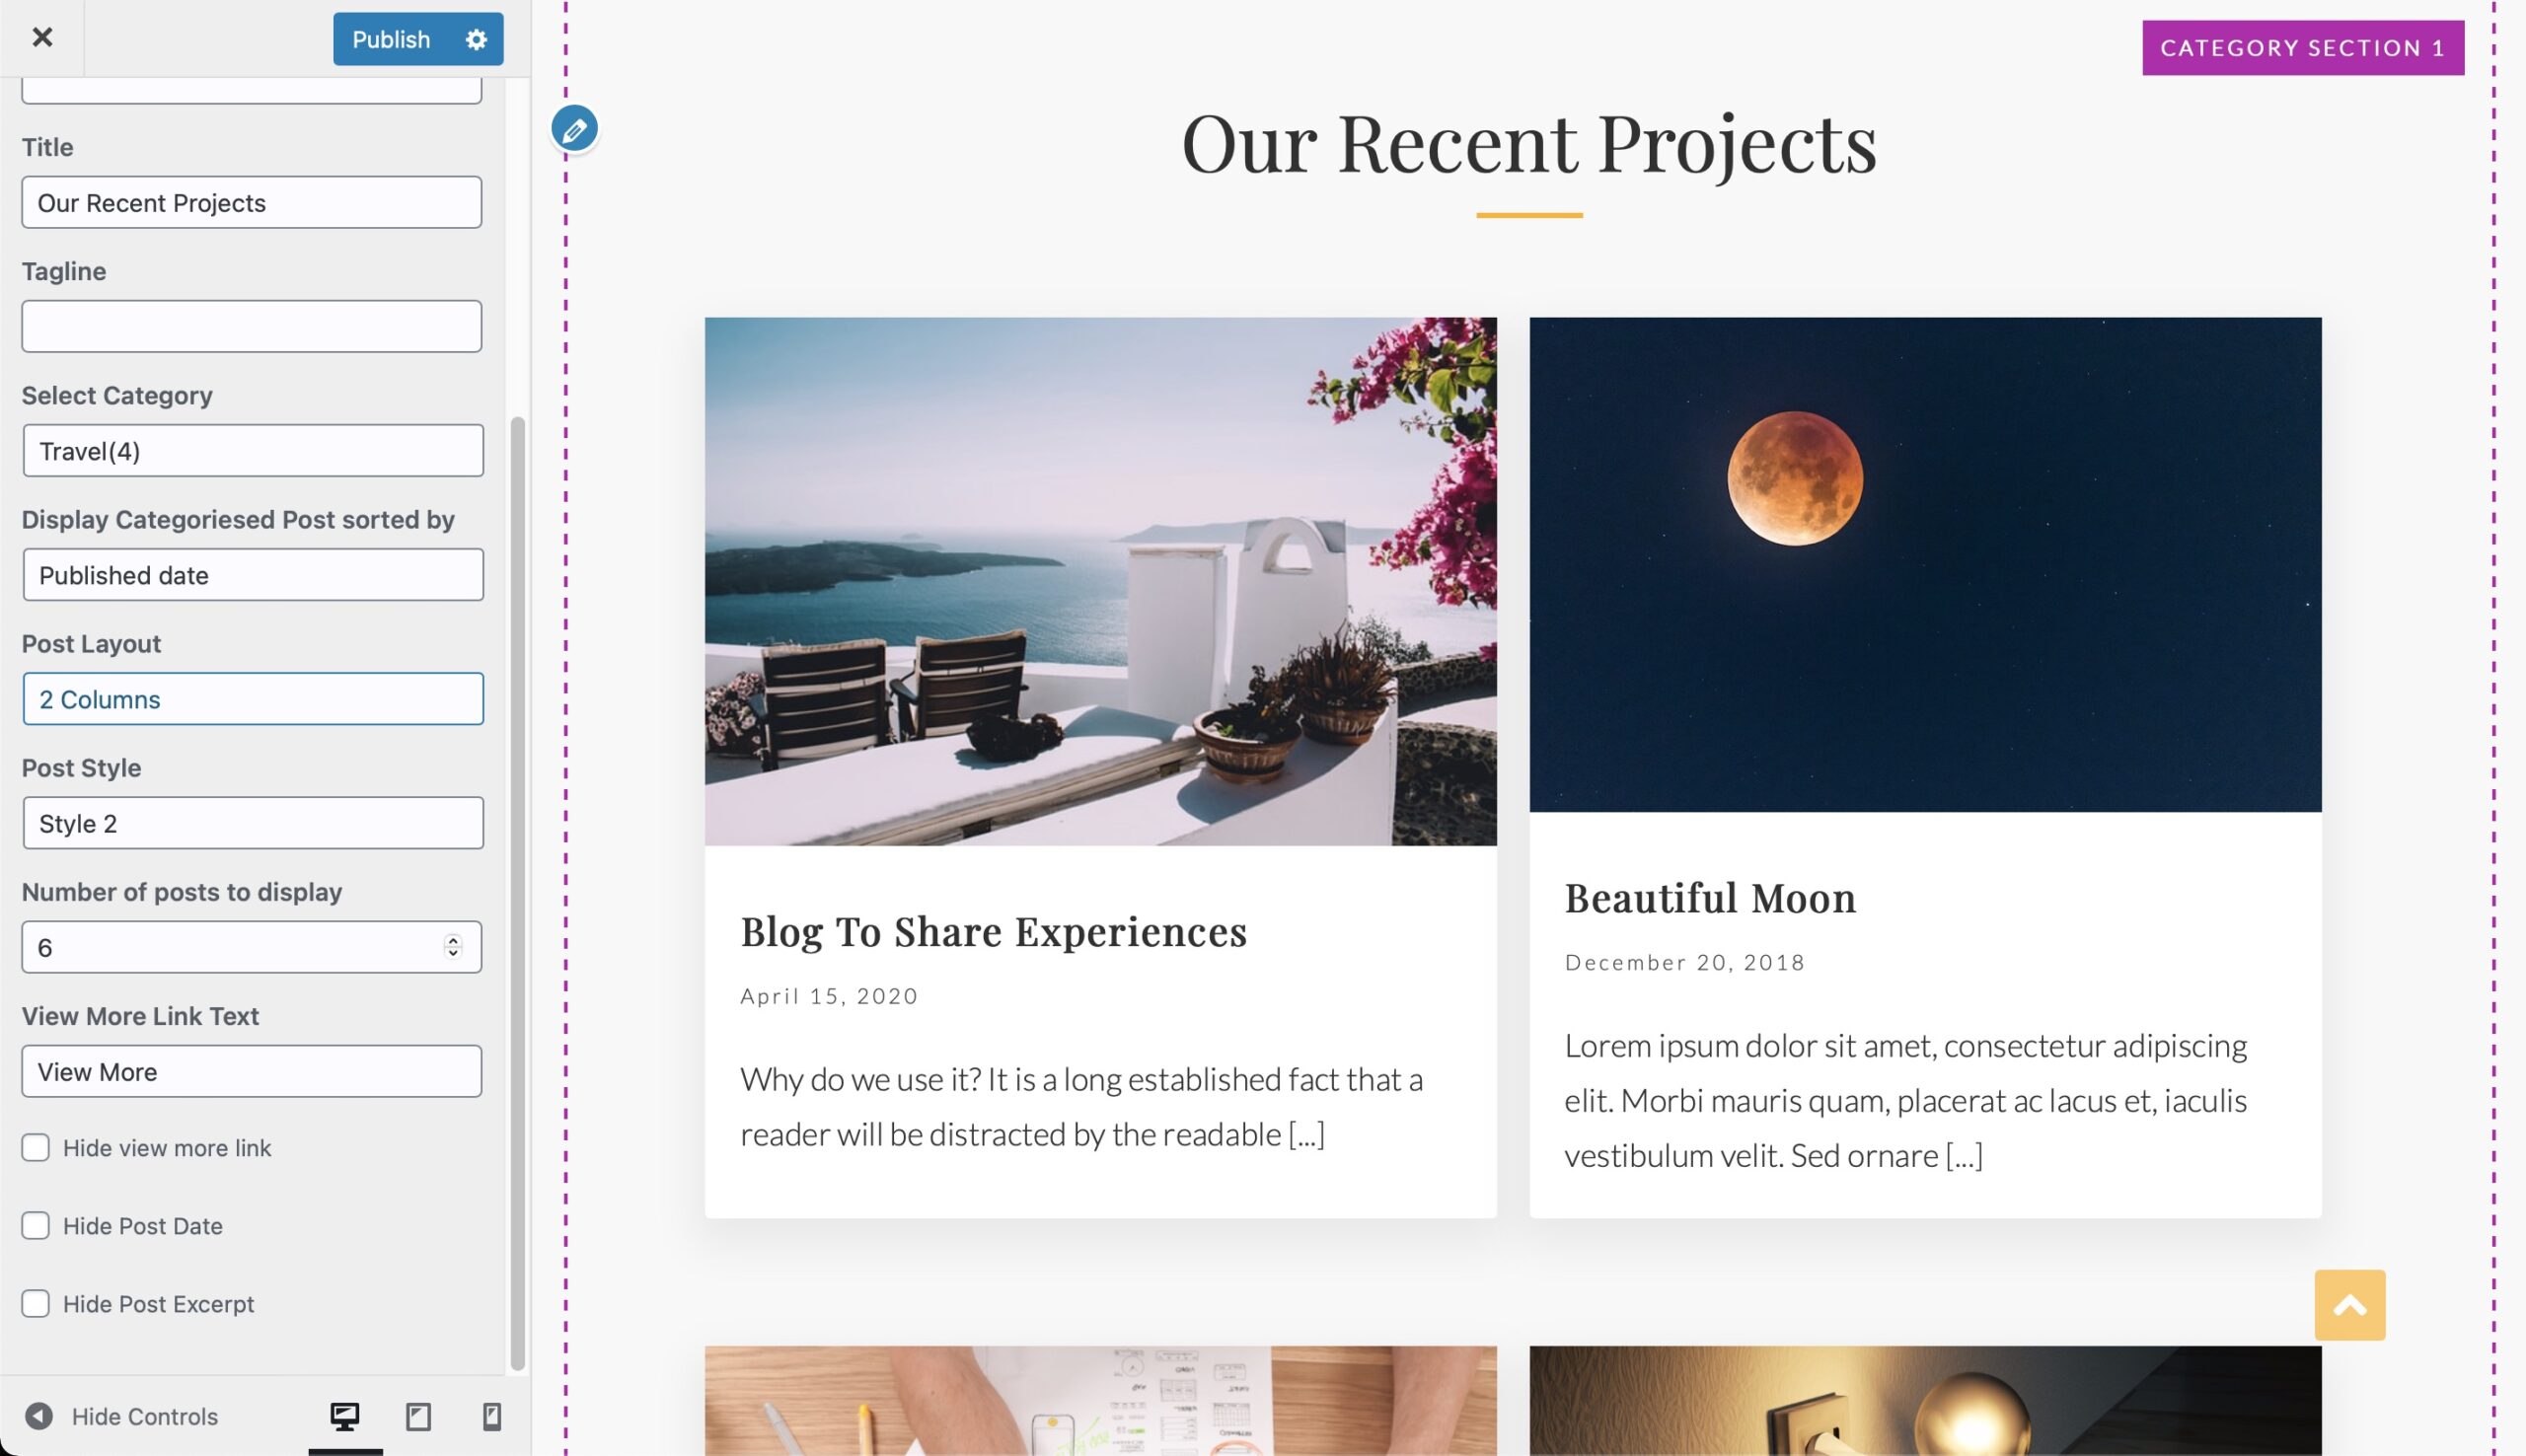
Featured category section allows you to display upto 10 number of posts of any one selected category on the frontpage.
The section configuration can be done in two parts:
Part 1: Create a category and add that category to all the posts which you want to display in this section. Steps are as follows:
- Go to Dashboard > Posts > Categories.
- Enter the name for the Category.
- Click on the ‘Add New Category’ button.
- Open all the posts one by one which you want to display in this section and add that category to the post in the right side of the post editor.
- Click on ‘Publish/Update’ button.
Part 2 : Configure the Featured Category Section
- Go to Go to Dashboard > Appearance > Customize.
- Go to Frontpage Sections > Featured Category 1/2.
- Select the checkbox “Disable this featured category section”, if you wish to disable the Featured Category section on your home page else deselect the checkbox.
- Select the background color for the section.
- Set the section name, title and tagline under the “Section Name, Title and Tagline” text fields respectively. If you don’t want to set any of the field, you can keep it blank.
- Select the category (the one we created in part 1) of which you want to display posts in this section.
- Select the post layout from 3 different layouts: 2 columns, 3 columns and 4 columns.
- Select post’s style from available 2 styles.
- Select total no of posts you want to display in this section. Minimum value for this field is 1 and maximum value is 10.
- Add text for the read more button if you wish to direct your website user to the category page to show all the posts of that category.
- Once done save the settings by clicking on Publish button in the customizer.
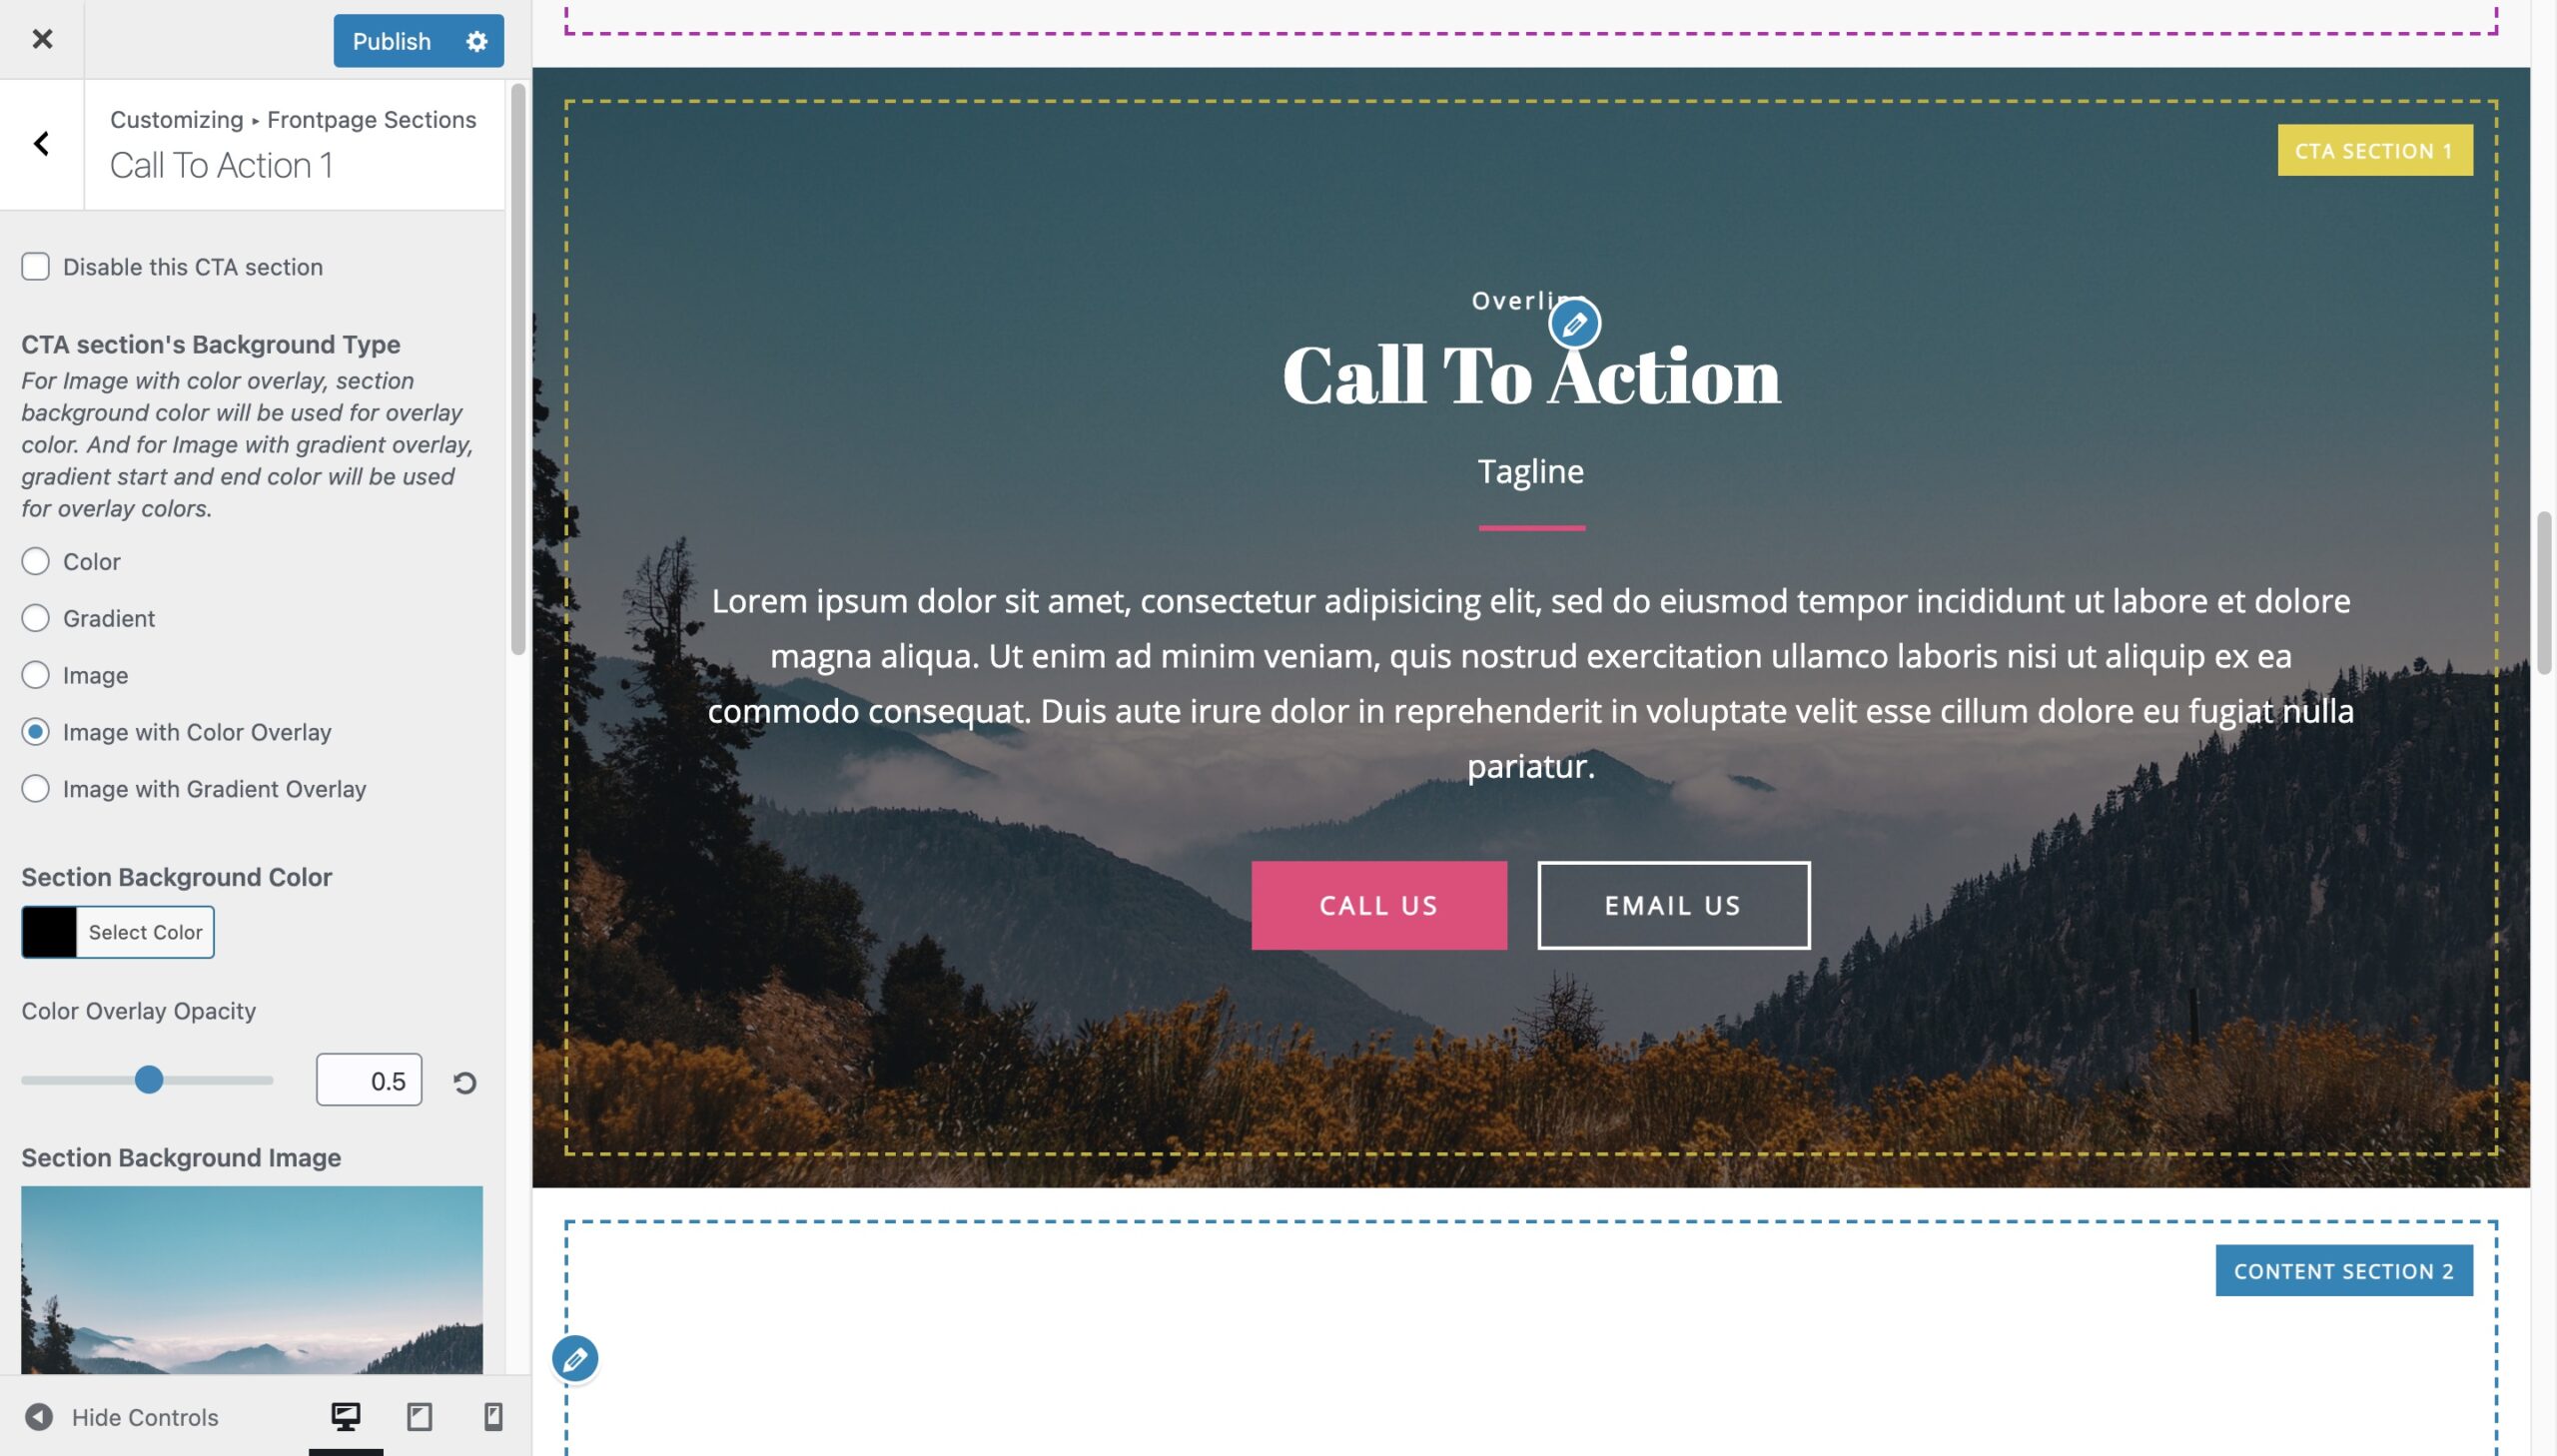
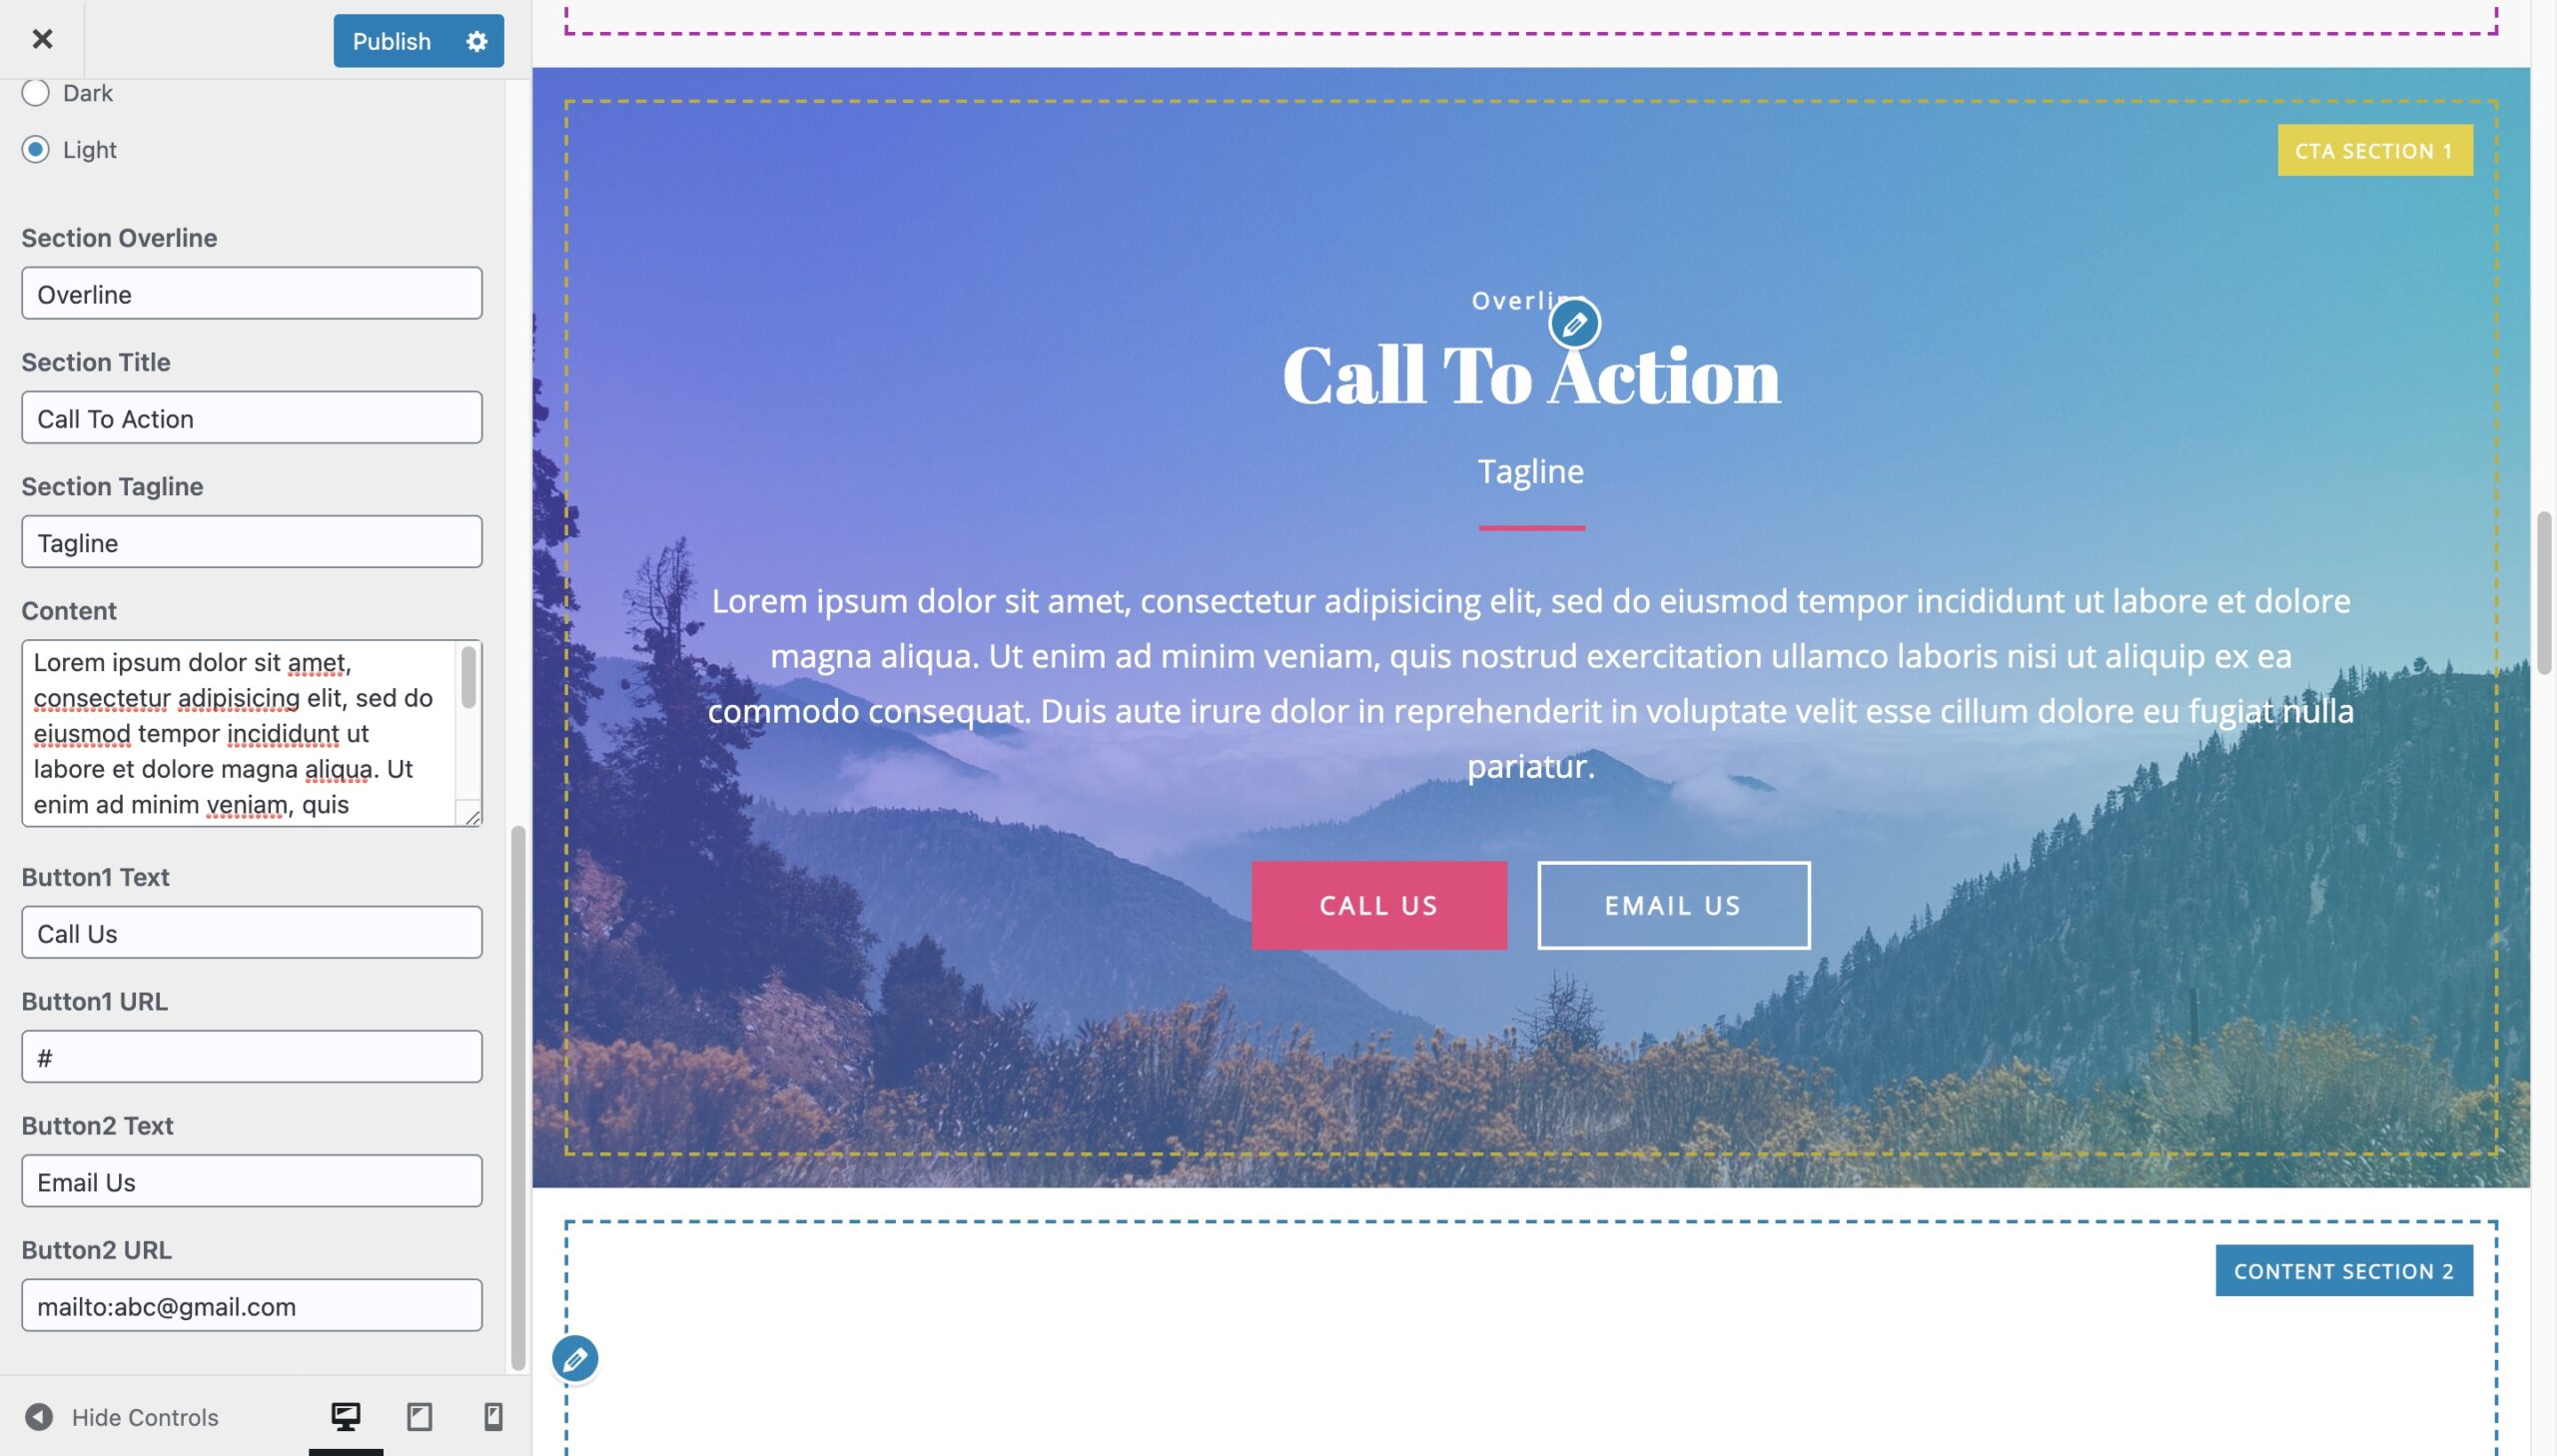
Configure Call to Action section:
- Go to Go to Dashboard > Appearance > Customize.
- Go to Frontpage Sections > Call To Action 1/2.
- Select the checkbox “Disable this Call To Action section”, if you wish to disable the Call To Action section on your home page else deselect the checkbox.
- Set the section name, title and tagline under the “Section Name, Title and Tagline” text fields respectively. If you don’t want to set any of the field, you can keep it blank.
- Add the section content to the content area of the section.
- Set the section background type from options like color,image,gradient of your choice.
- If you want to display an image in background instead of simple color background upload an image in the Section Background Image field.
- Depending on the background color and background image, choose the color for the text of this section. For dark background, set light color text. And for light background, set dark color text.
- You can add upto two buttons in this section. Set the text message and URL for Button 1 and Button 2 in their corresponding fields. If you want to add only one or no button, keep button’s text and URL fields empty. Both the buttons have different styles.

Configure latest posts section:
- Go to Go to Dashboard > Appearance > Customize.
- Go to Frontpage Sections > Latest Posts Section.
- Select the checkbox “Disable this Latest Posts Section”, if you wish to disable the Latest Posts Section section on your home page else deselect the checkbox.
- Select the background color for the section.
- Set the section name, title and tagline under the “Section Name, Title and Tagline” text fields respectively. If you don’t want to set any of the field, you can keep it blank.
- Add total no of posts under the “Total No of Posts” field.
- Add the text message in the “View Our Blog Button Text” field if you wish to direct your website user to your blog page. Otherwise leave it empty.
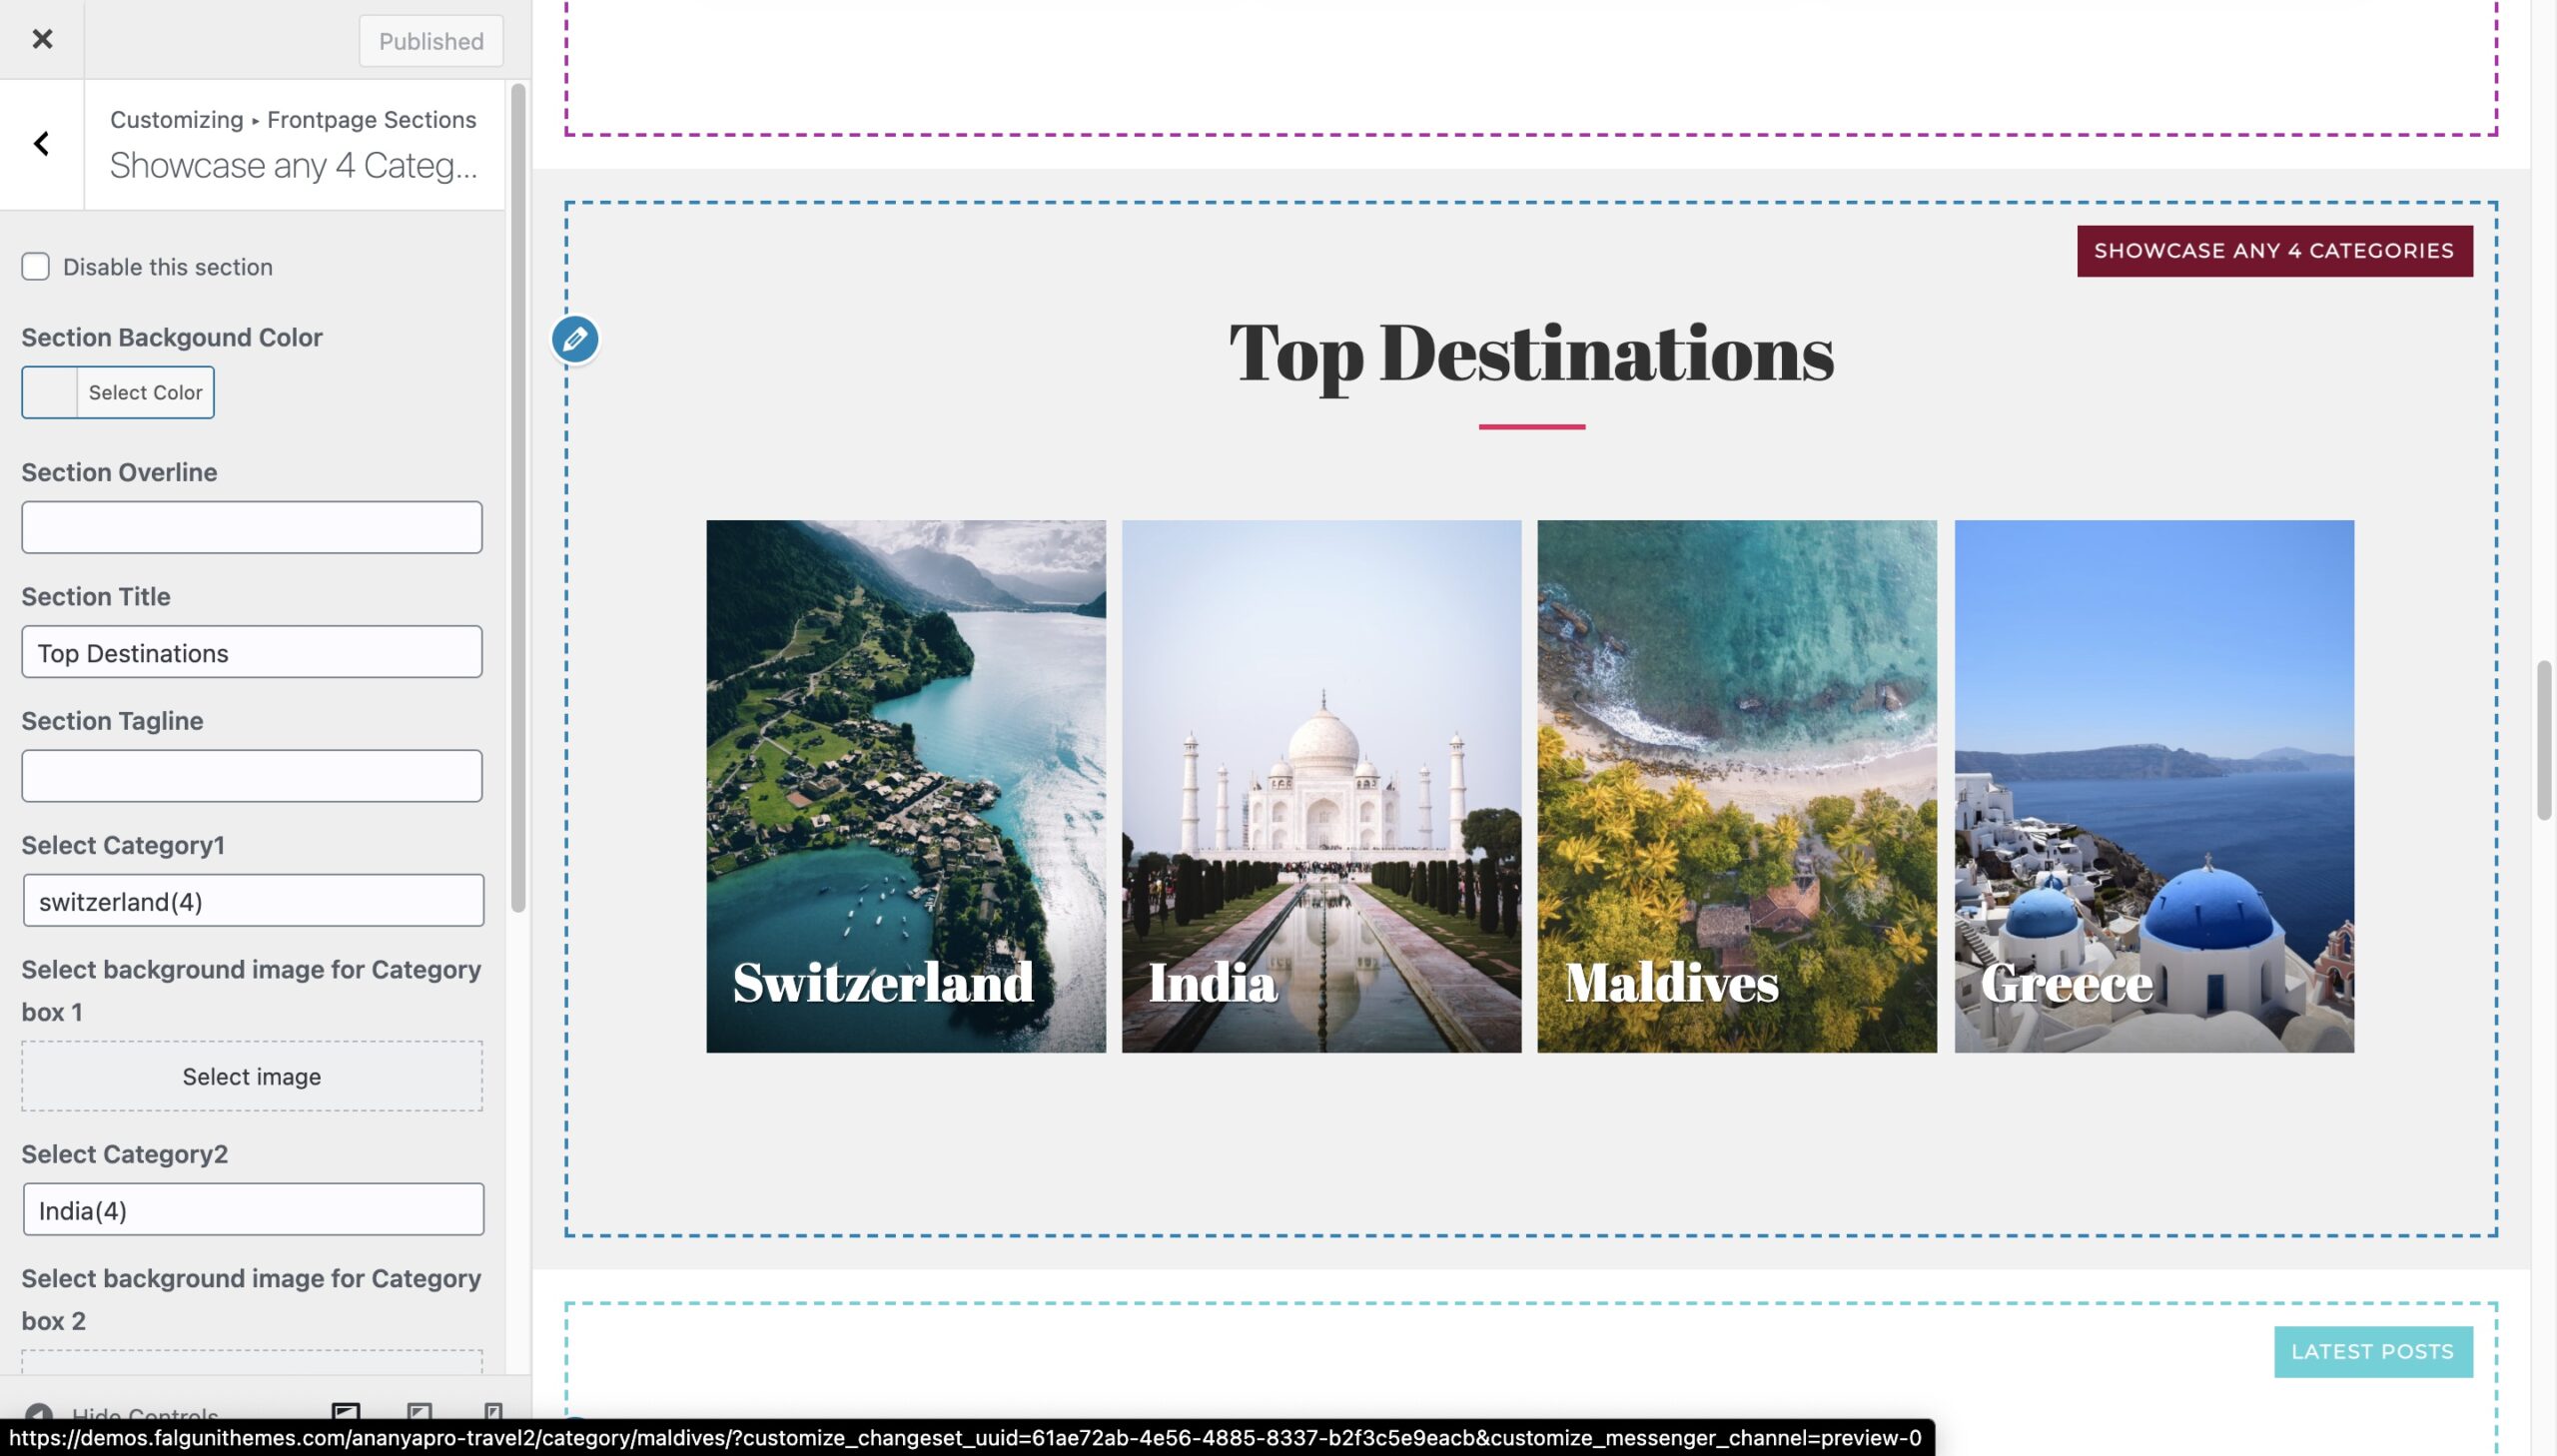
Configure Showcase Any 4 Categories Section:
-
- Go to Go to Dashboard > Appearance > Customize.
- Go to Frontpage Sections > Showcase Any 4 Categories Section.
- Select the checkbox “Disable this section”, if you wish to disable the Showcase Any 4 Categories section on your home page else deselect the checkbox.
- Select the background color for the section.
- Set the section name, title and tagline under the “Section Name, Title and Tagline” text fields respectively. If you don’t want to set any of the field, you can keep it blank.
- Select any 4 categories and upload associated images for these categories.
- Publish the customizer settings.
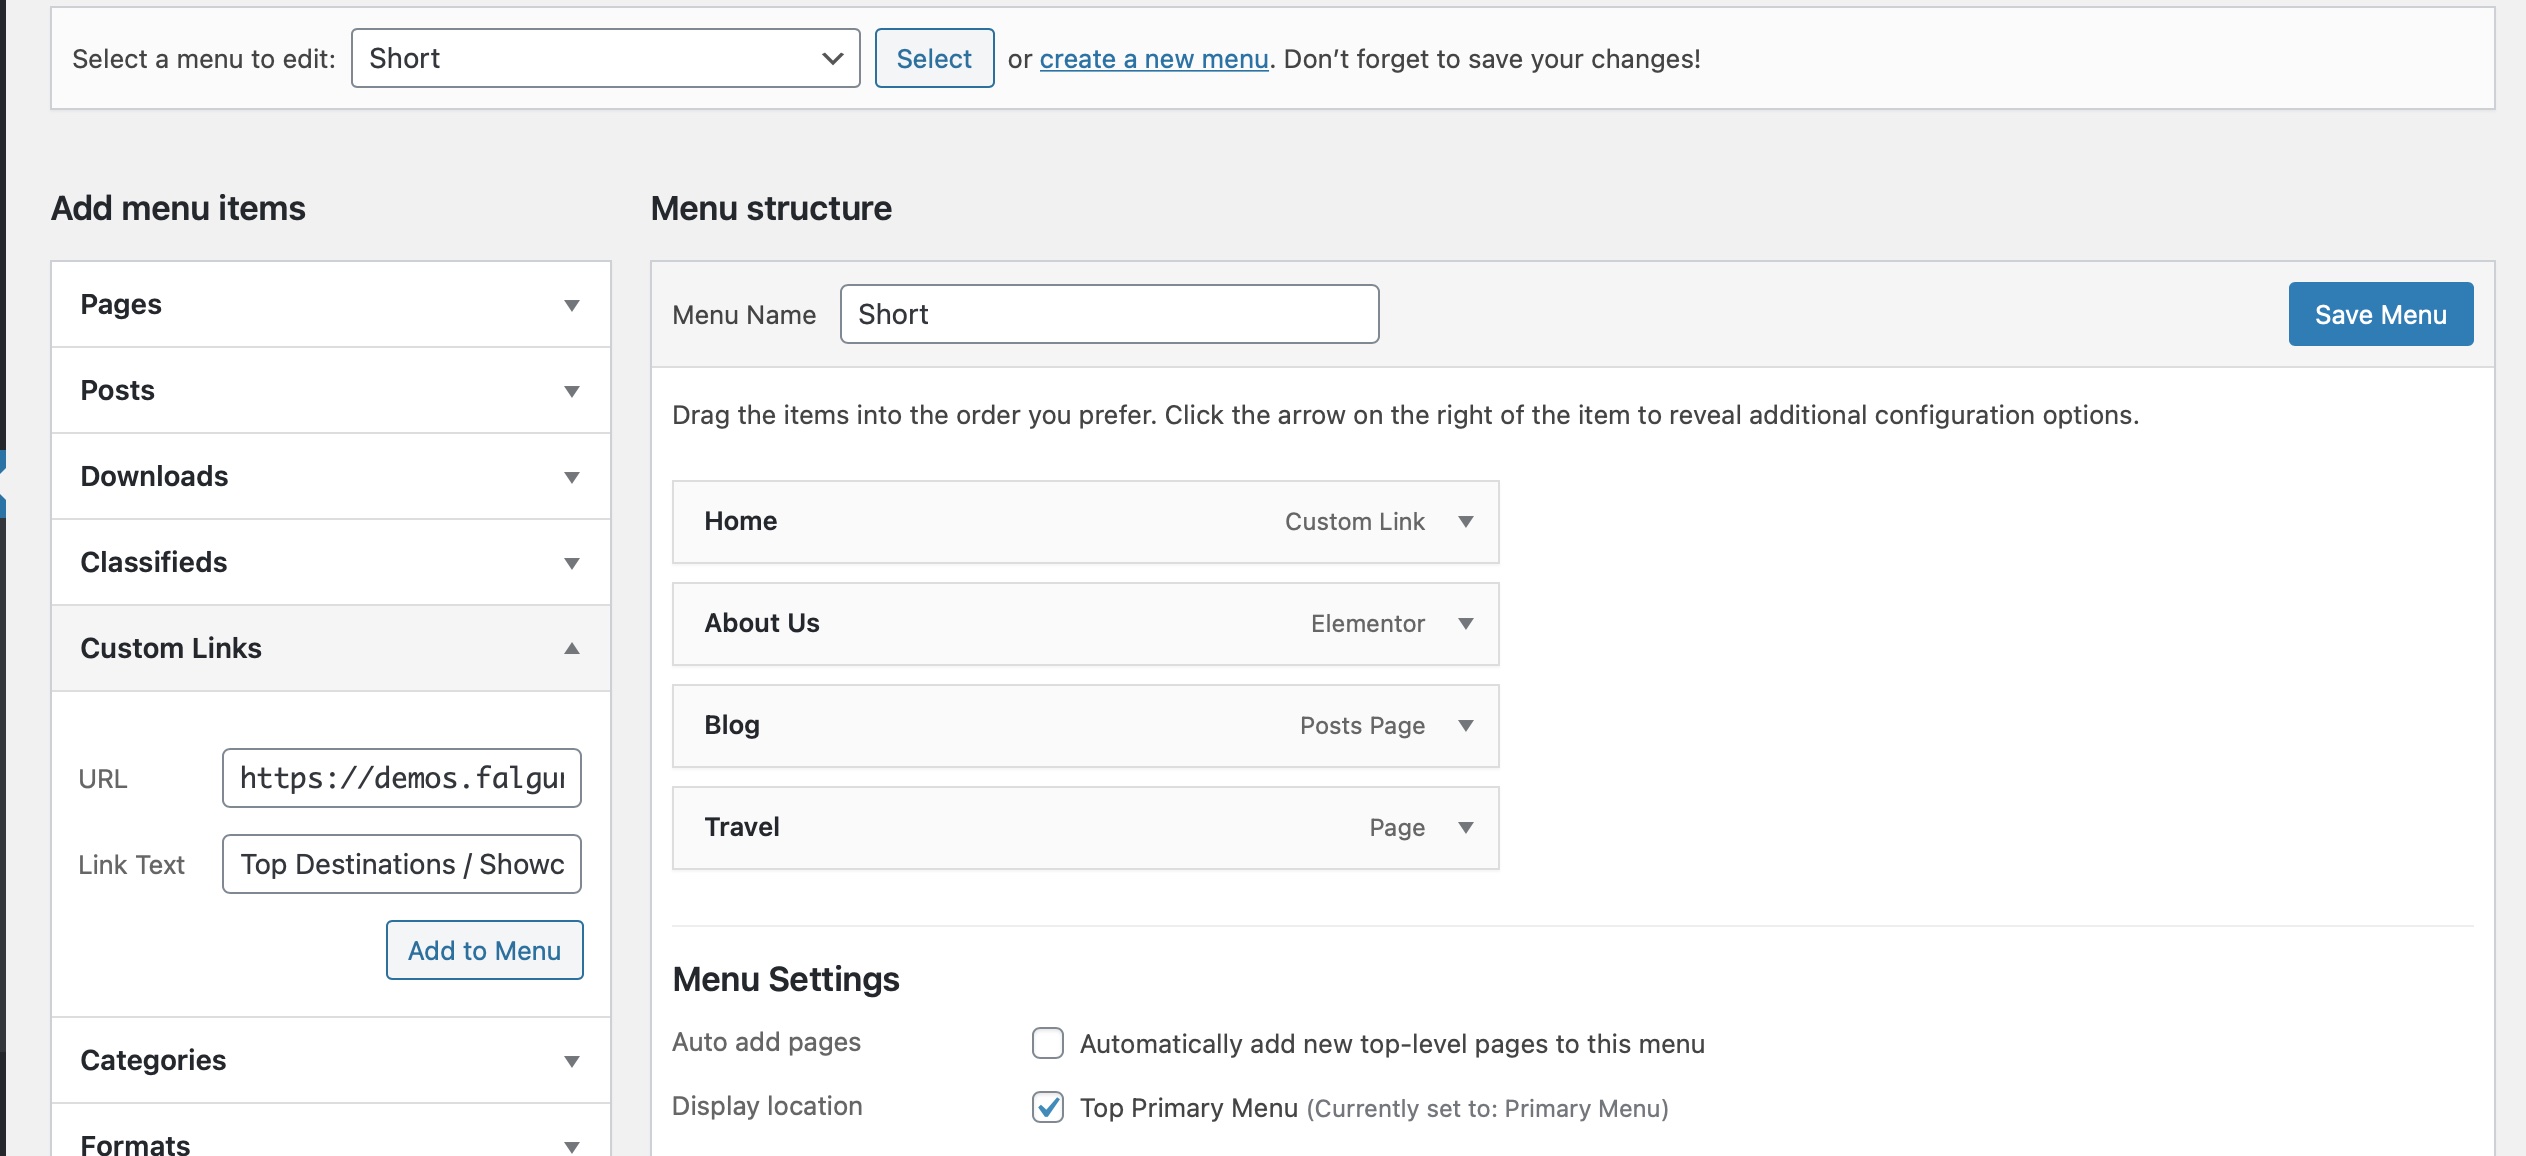
Defining a Menu
You must define a menu before you can add items to it.
- Login to the WordPress Dashboard.
- Navigate to the Appearance > Menu on the left-hand side of the Dashboard. Select the Menus option to bring up the Menu Editor.
- Select Create a new menu at the top of the page
- Enter a name for your new menu in the Menu Name box
- Click the Create Menu button.
Adding Items to a Menu
You will need to add a custom link as a menu item with unique slug for each frontpage sections. Refer to a table for the slugs. To add the custom menu link follow these steps:
- Locate the pane entitled Custom Links.
- Enter the the siteurl with the unique slug for the section at the end (e.g.<strong> http://yourwebsiteurl.com/#section-name</strong> )
- Click the Add to Menu button located at the bottom of this pane to add your selection(s) to the menu that you created in the previous step.
- Click the Save Menu button once you’ve added all the menu items you want.
| S.No. | Section | Slug |
|---|---|---|
| 1 | Featured Content Section 1 | #feat-content-sec-1 |
| 2 | Featured Content Section 2 | #feat-content-sec-2 |
| 3 | Categorized Posts Section 1 | #feat-cat-sec-1 |
| 4 | Categorized Posts Section 2 | #feat-cat-sec-2 |
| 5 | Call to Action Section 1 | #cta-sec-1 |
| 6 | Call to Action Section 2 | #cta-sec-2 |
| 7 | Featured Page Section 1 | #feat-pages-sec-1 |
| 8 | Featured Page Section 2 | #feat-pages-sec-2 |
| 9 | Latest Posts Section | #latest-posts-sec |
| 10 | Showcase Any 4 Categories | #showcase-categories-section |
You can style menu item as call to action button by adding button class to the CSS Classes (optional) filed of menu item. You must add the class to the CSS Classes field depending on the choice of your button style. This one takes the color you set in the Customizer under the Colors > Accent Color option. If the Frontpage sections are enabled, then button takes frontpage button background color. The classes for different button styles are listed below:
| Class Name | Style Description |
|---|---|
| btn-accent-color-straight | Straight bordered button filled with accent color background |
| btn-accent-color-slight-round | Slightly round bordered button filled with accent color background |
| btn-accent-color-round | Round bordered button filled with accent color background |
| btn-fp-bg-color-straight | Straight bordered button filled with frontpage button background color |
| btn-fp-bg-color-slight-round | Slightly round bordered button filled with frontpage button background color |
| btn-fp-bg-color-round | Round bordered button filled with frontpage button background color |
| hero-btn-border-straight | Straight bordered button using header text color as button border color |
| hero-btn-border-slight-round | Slightly round bordered button using header text color as button border color |
| hero-btn-border-round | Round bordered button using header text color as button border color |


Custom Background

Users can set an image of his/her choice as s website background image. To set the background image:
- Go to Dashboard > Appearance > Customize > Background Image
- Set your desired image for the website background.
- Click on Save to retain the selections.
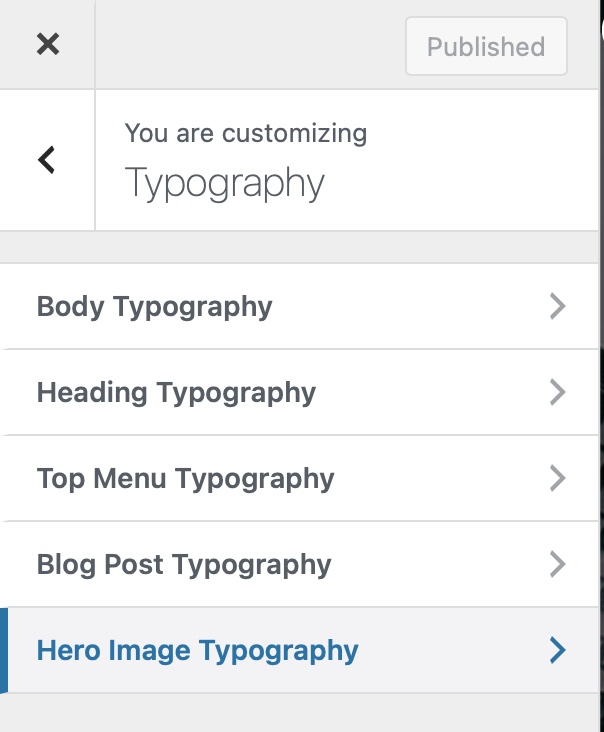
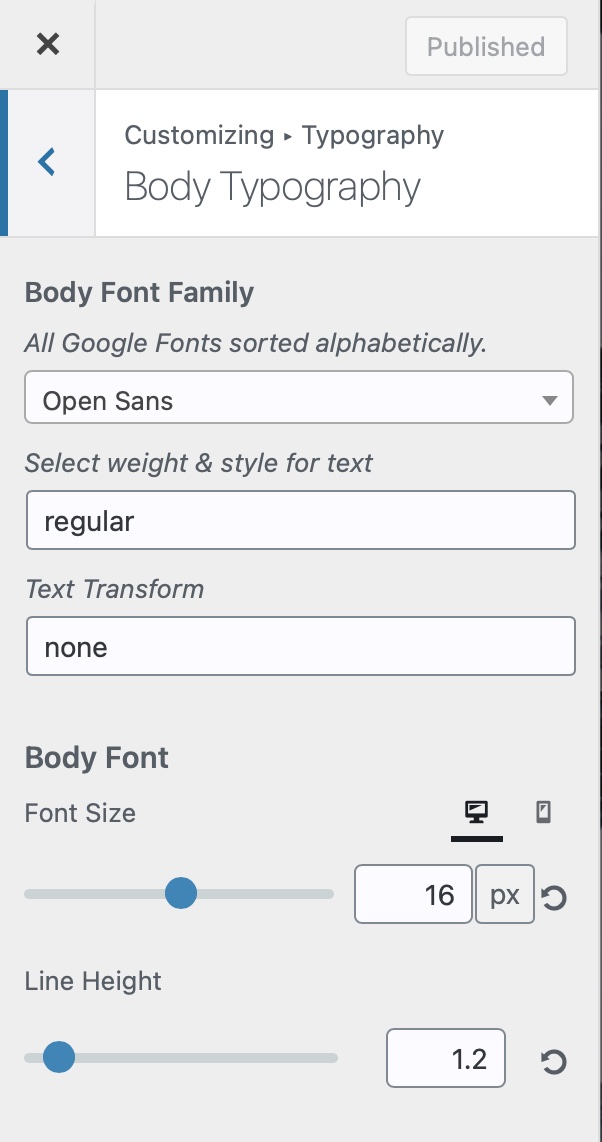
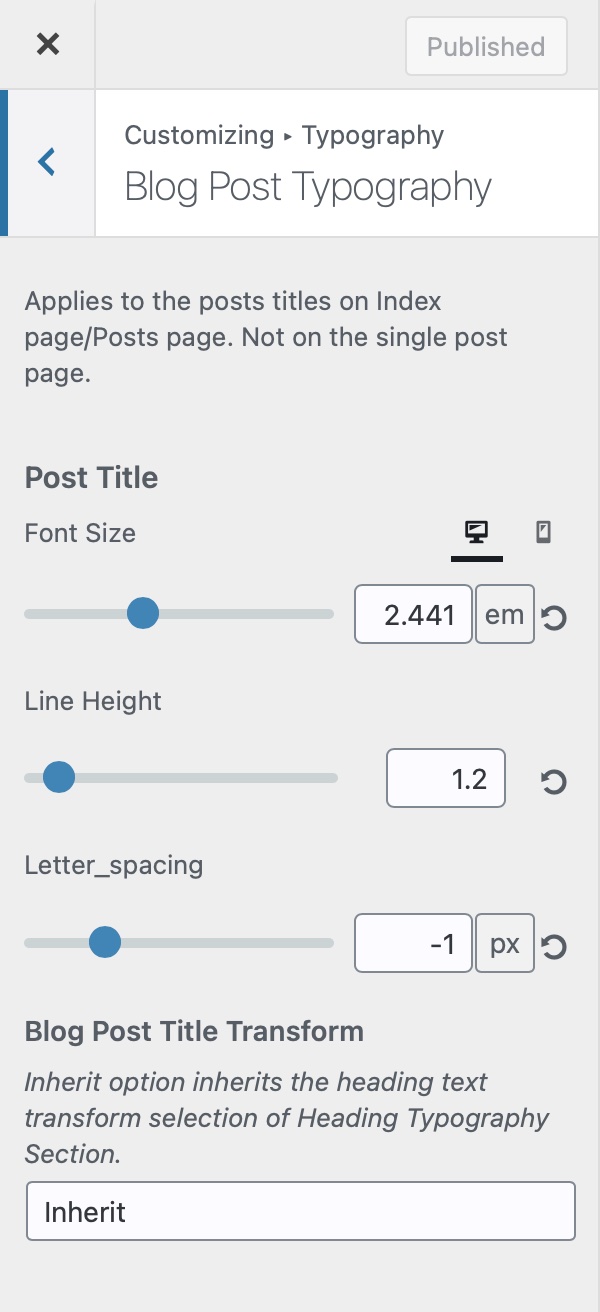
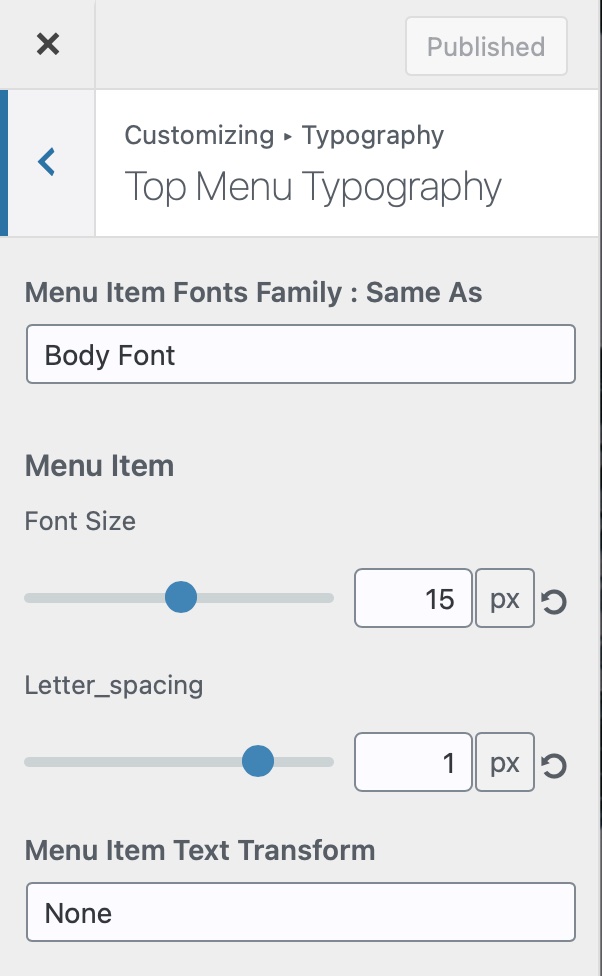
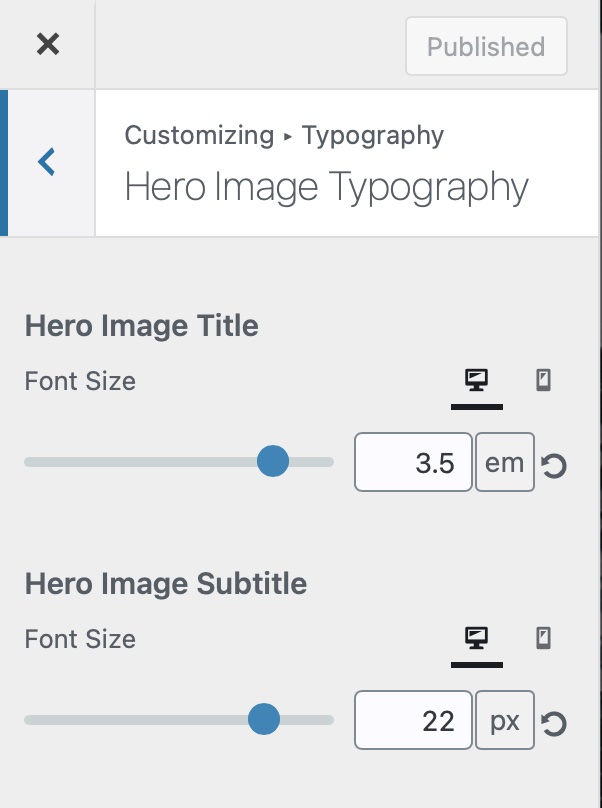
Typography section in customizer allows you to set font-family, font-size, line-height, letter spacing for
- Body text
- Headings
- Blog post
- Top menu
- Hero image
You can choose fonts from 1023 available Google fonts.

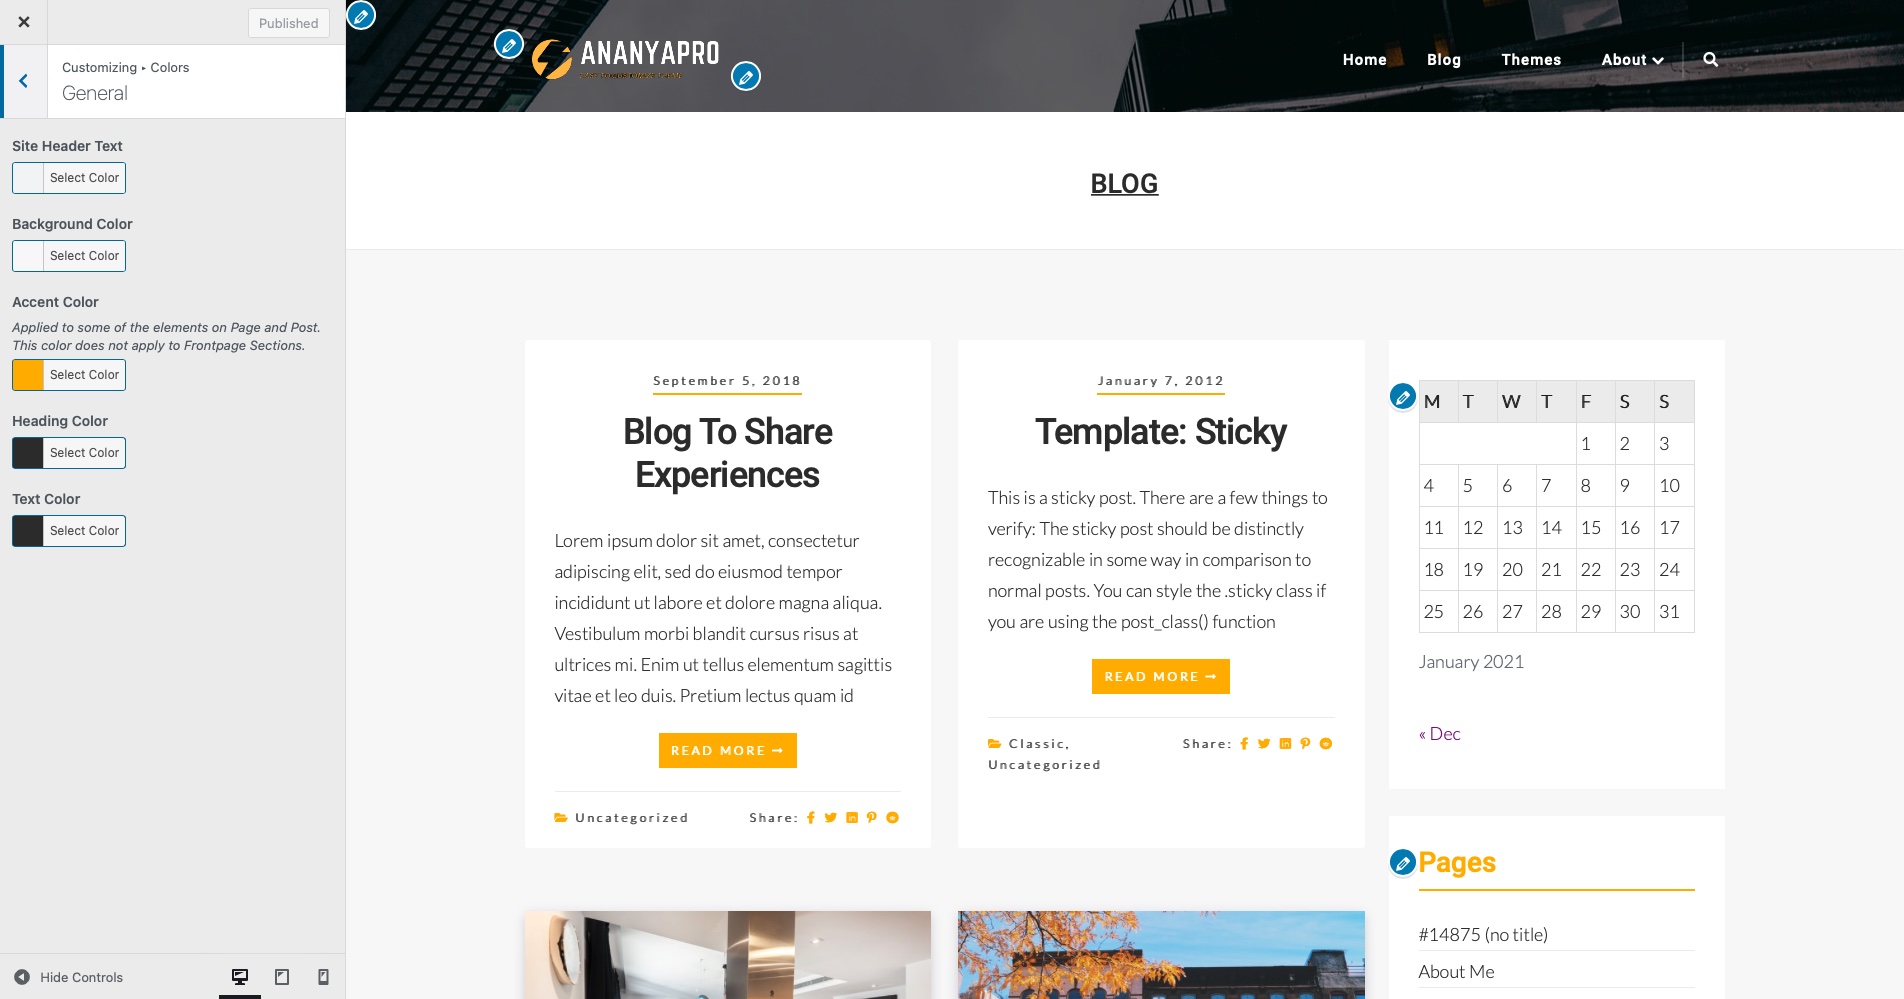
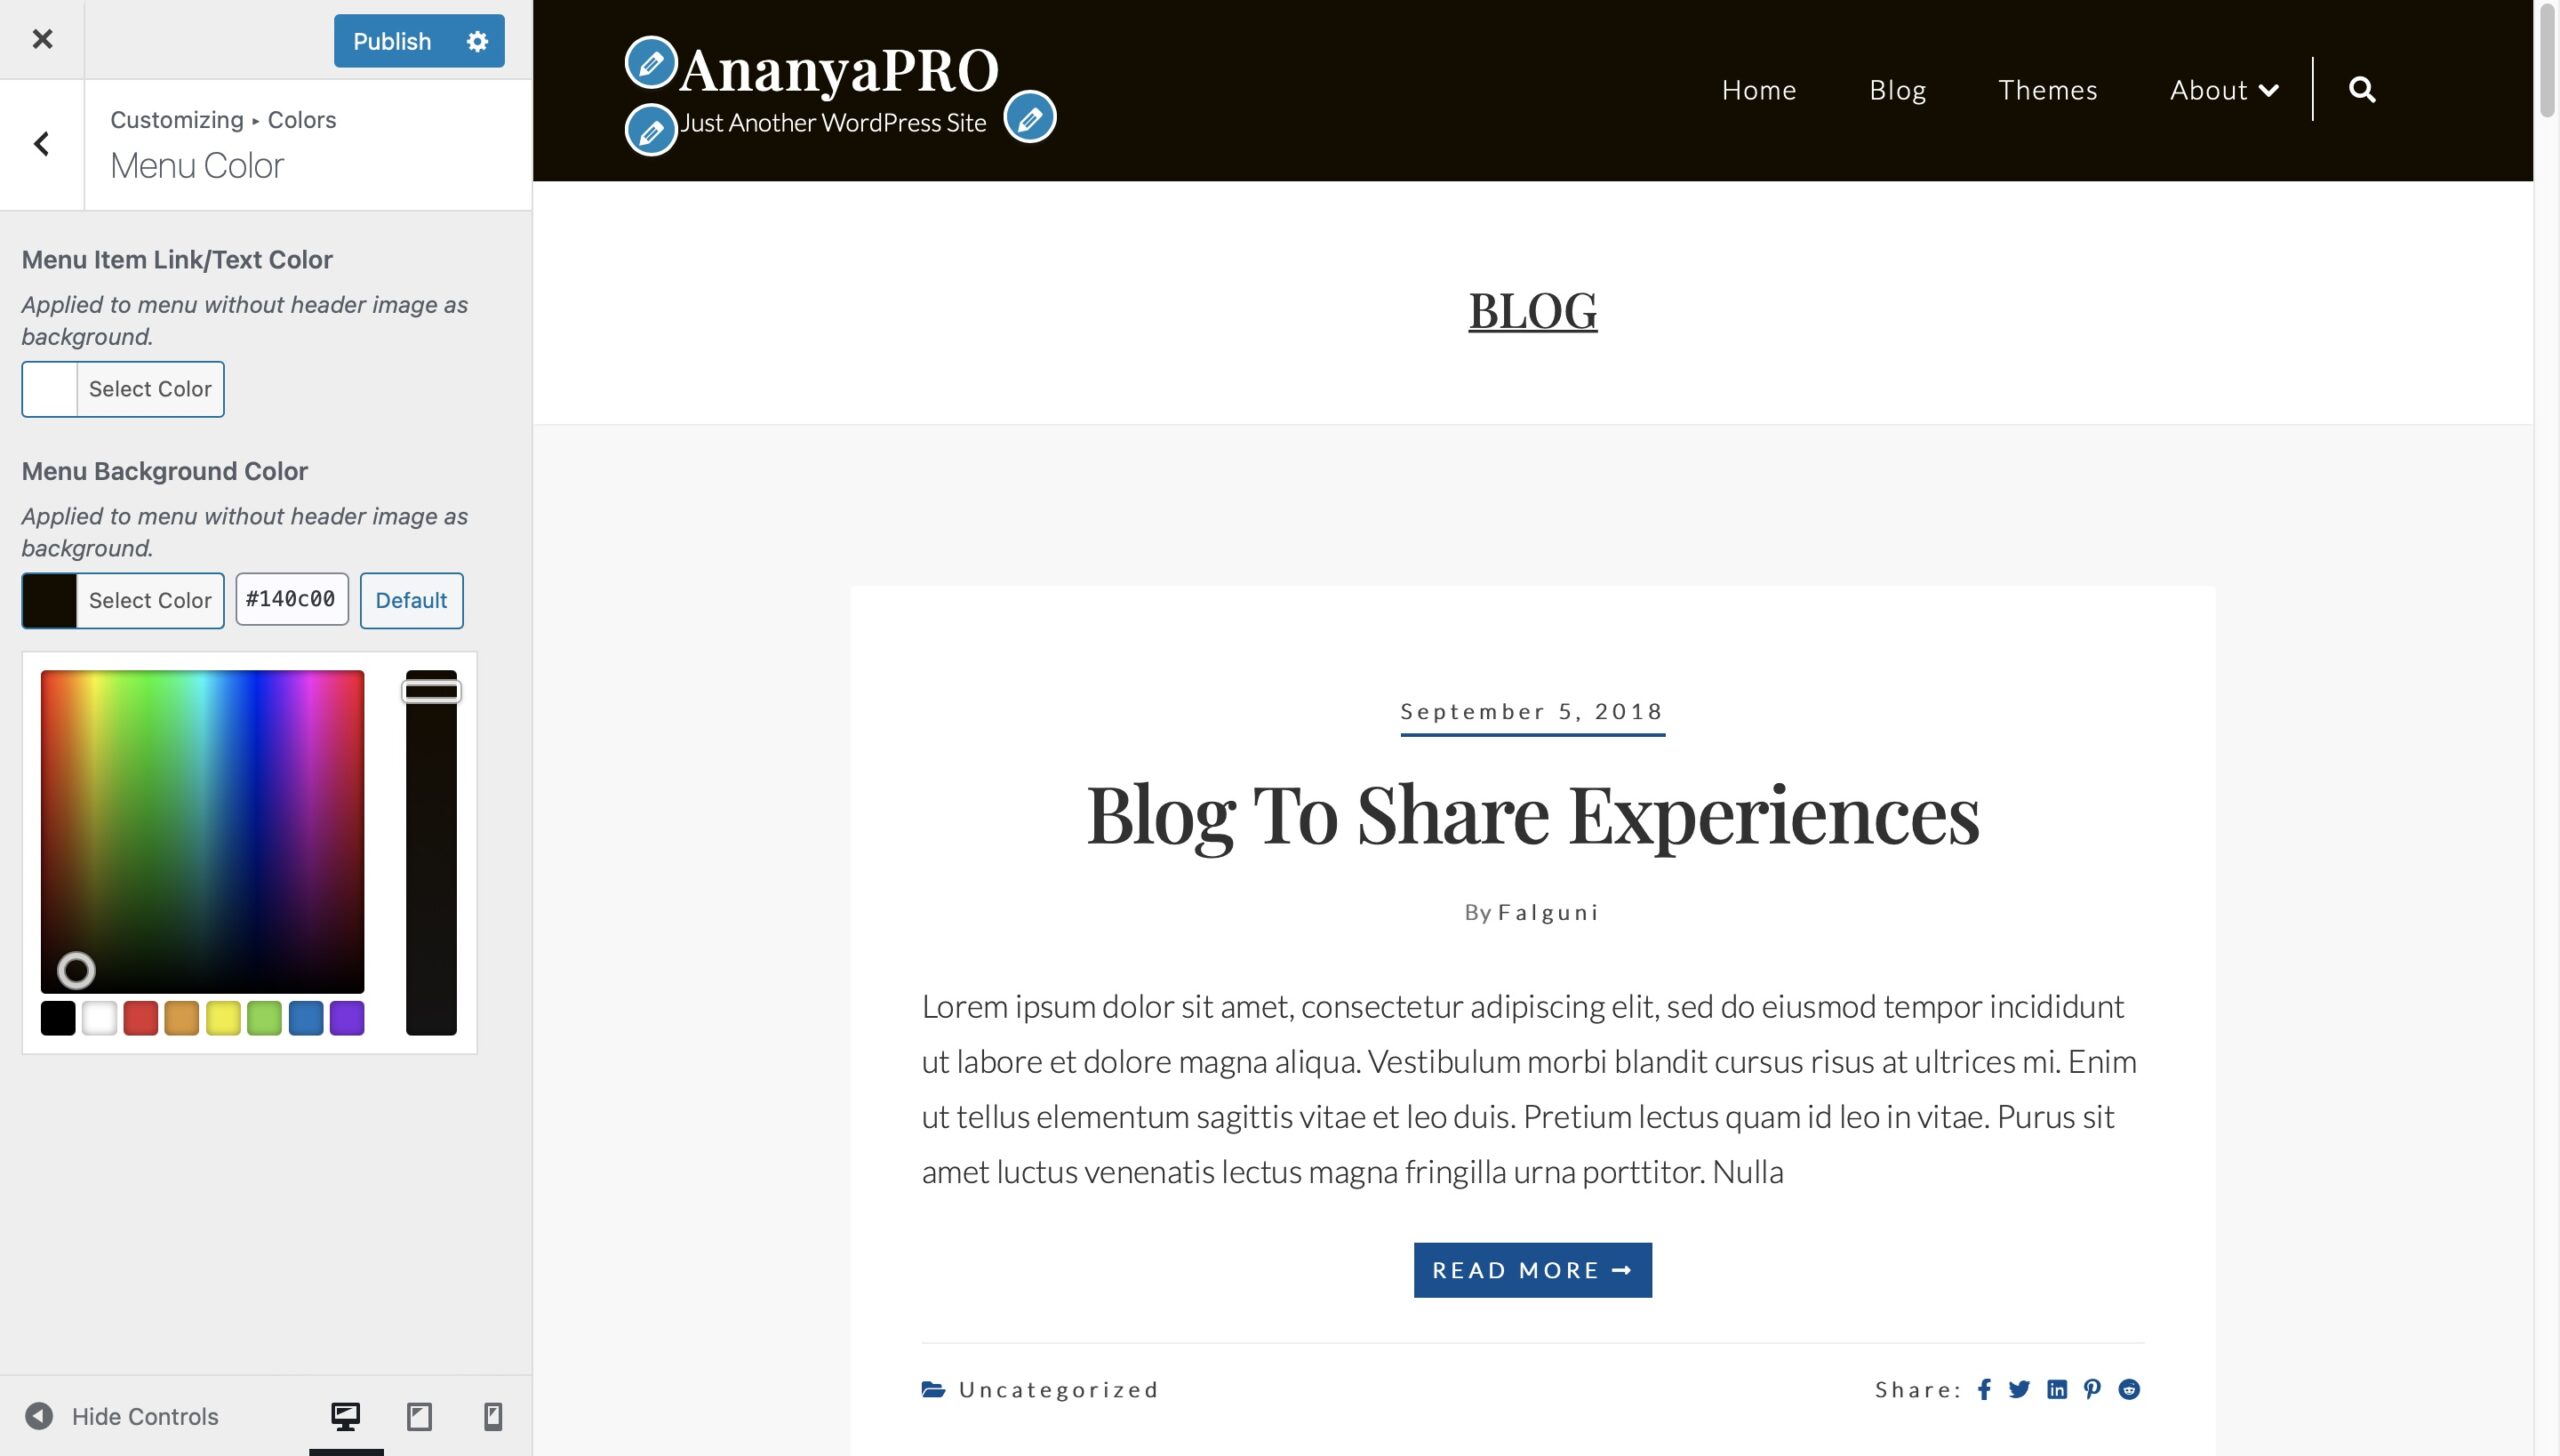
Colors
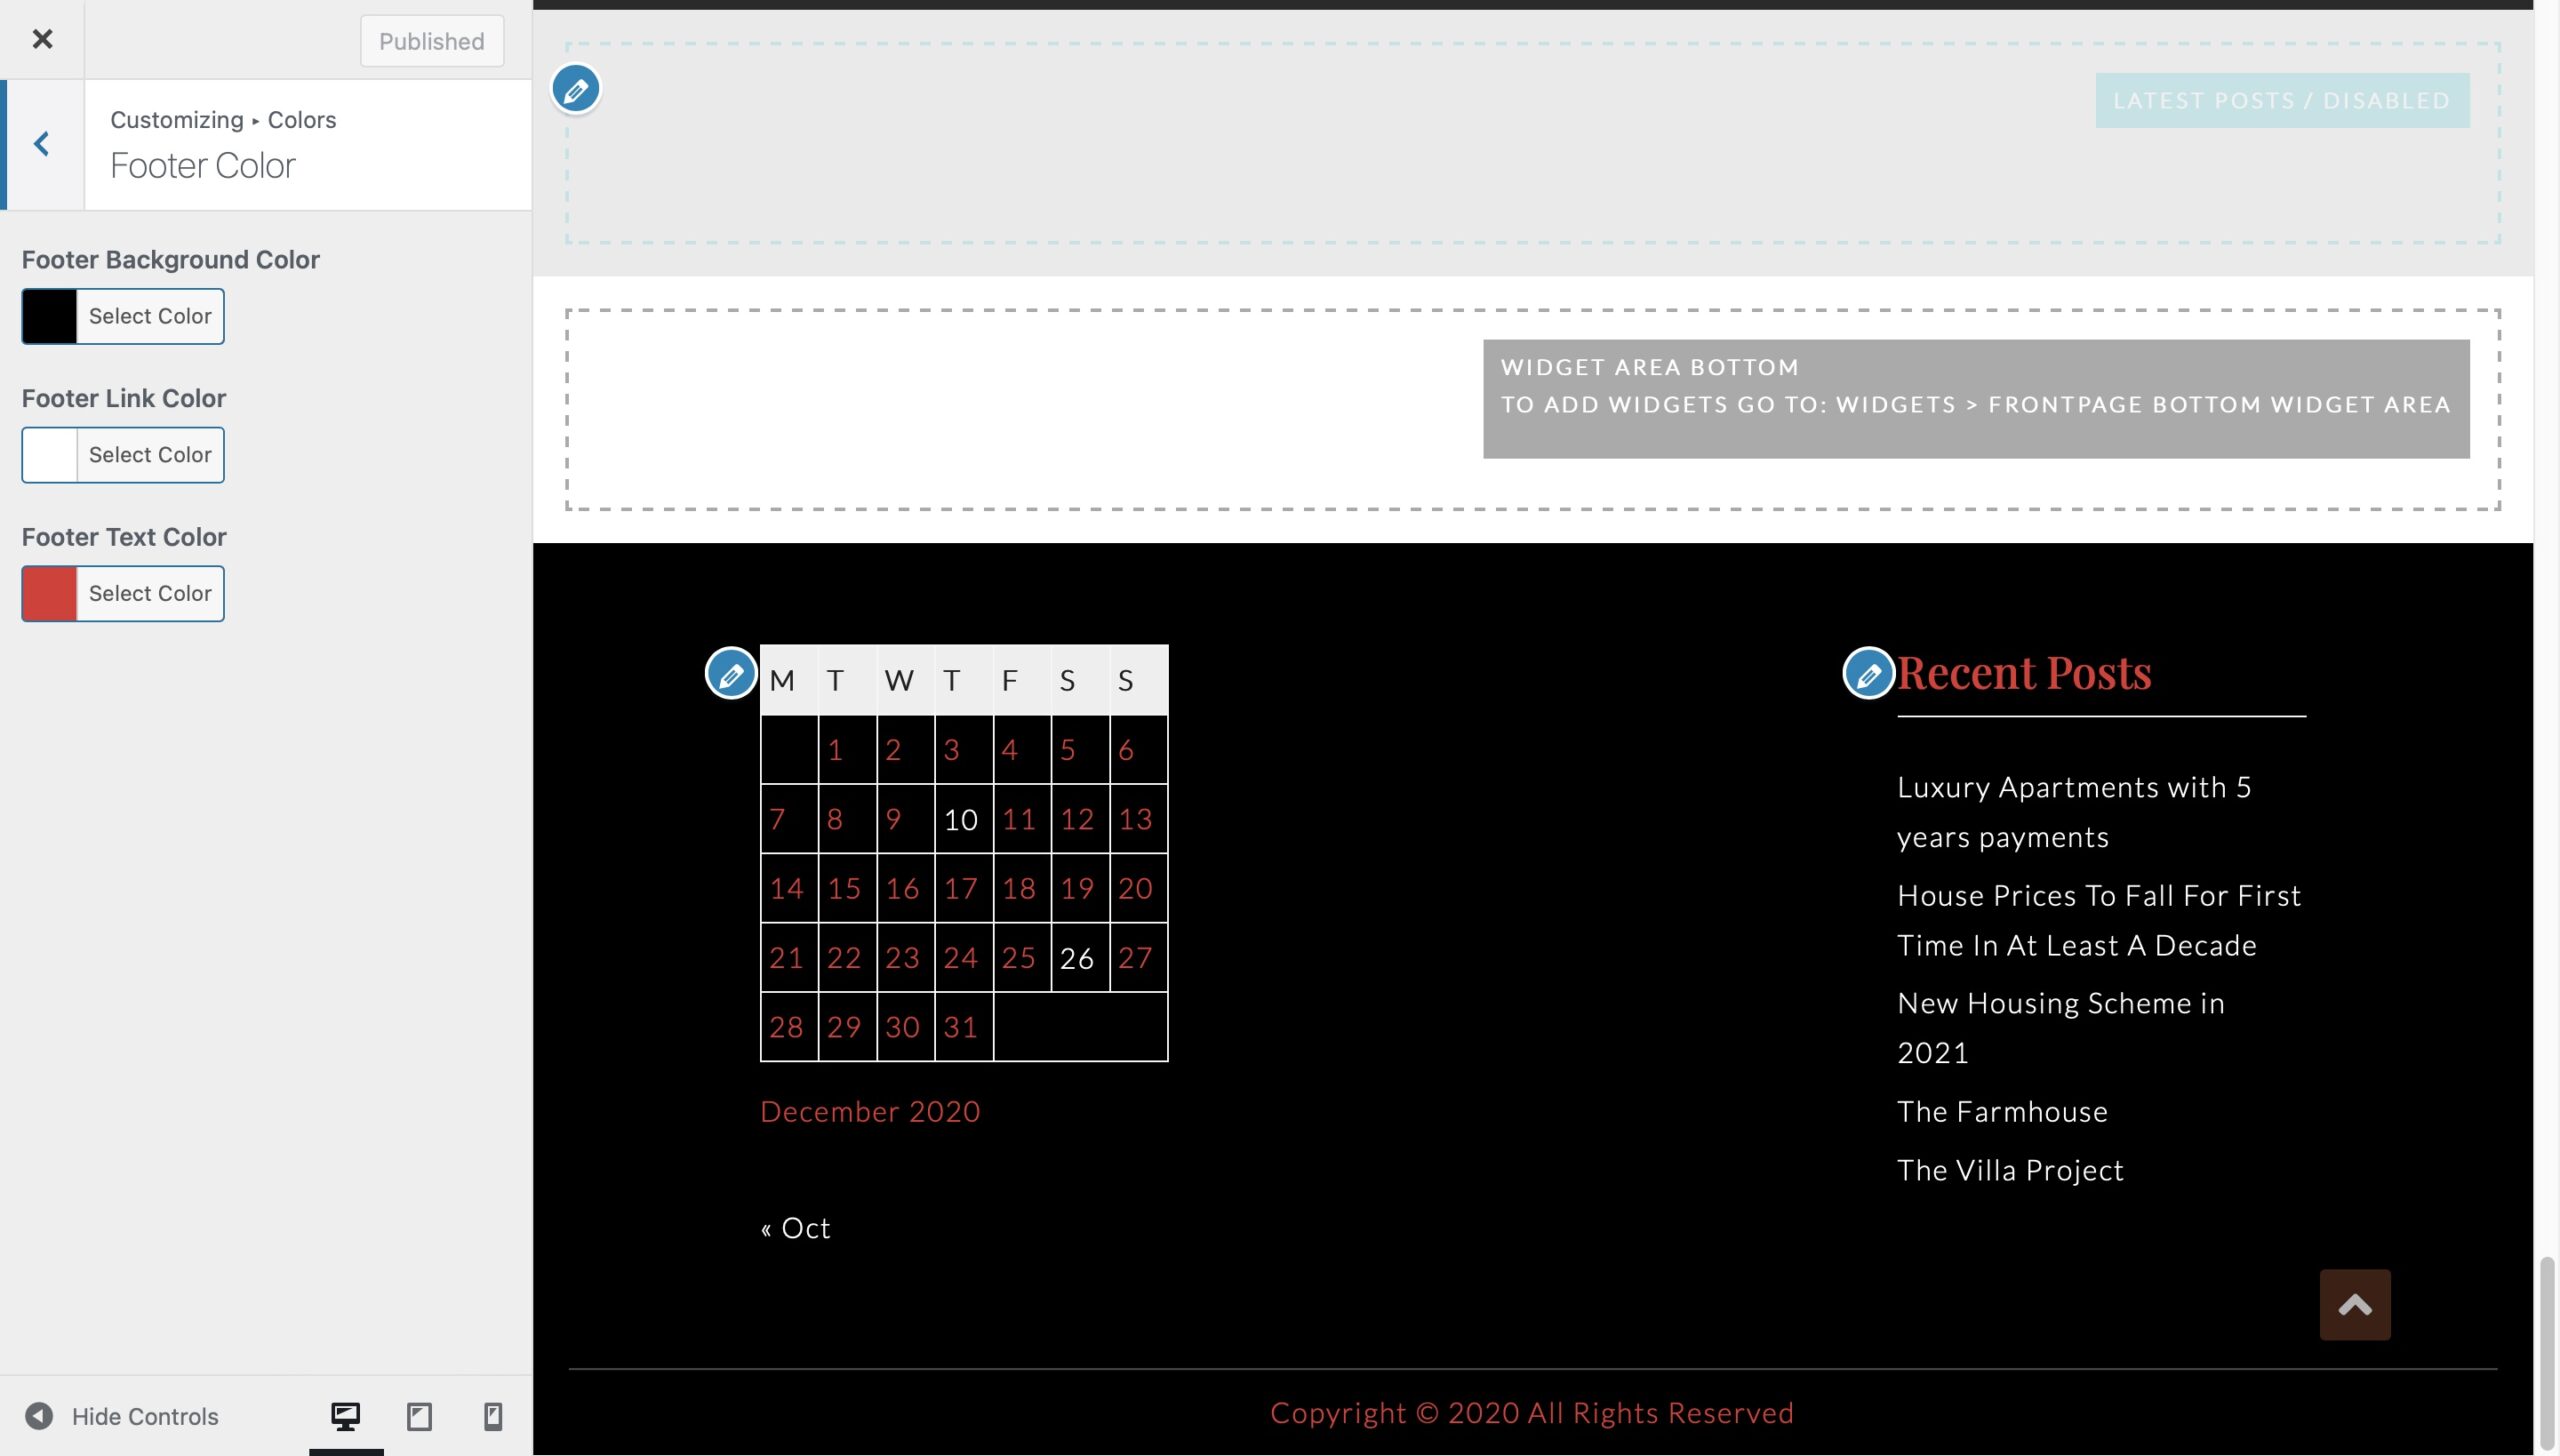
Color section in allows you to set color for the different components in the theme template.
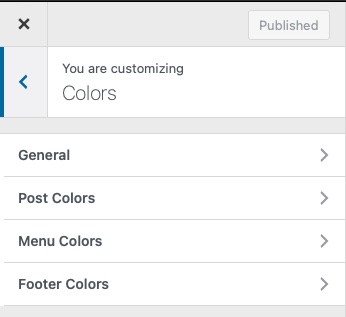
General Colors
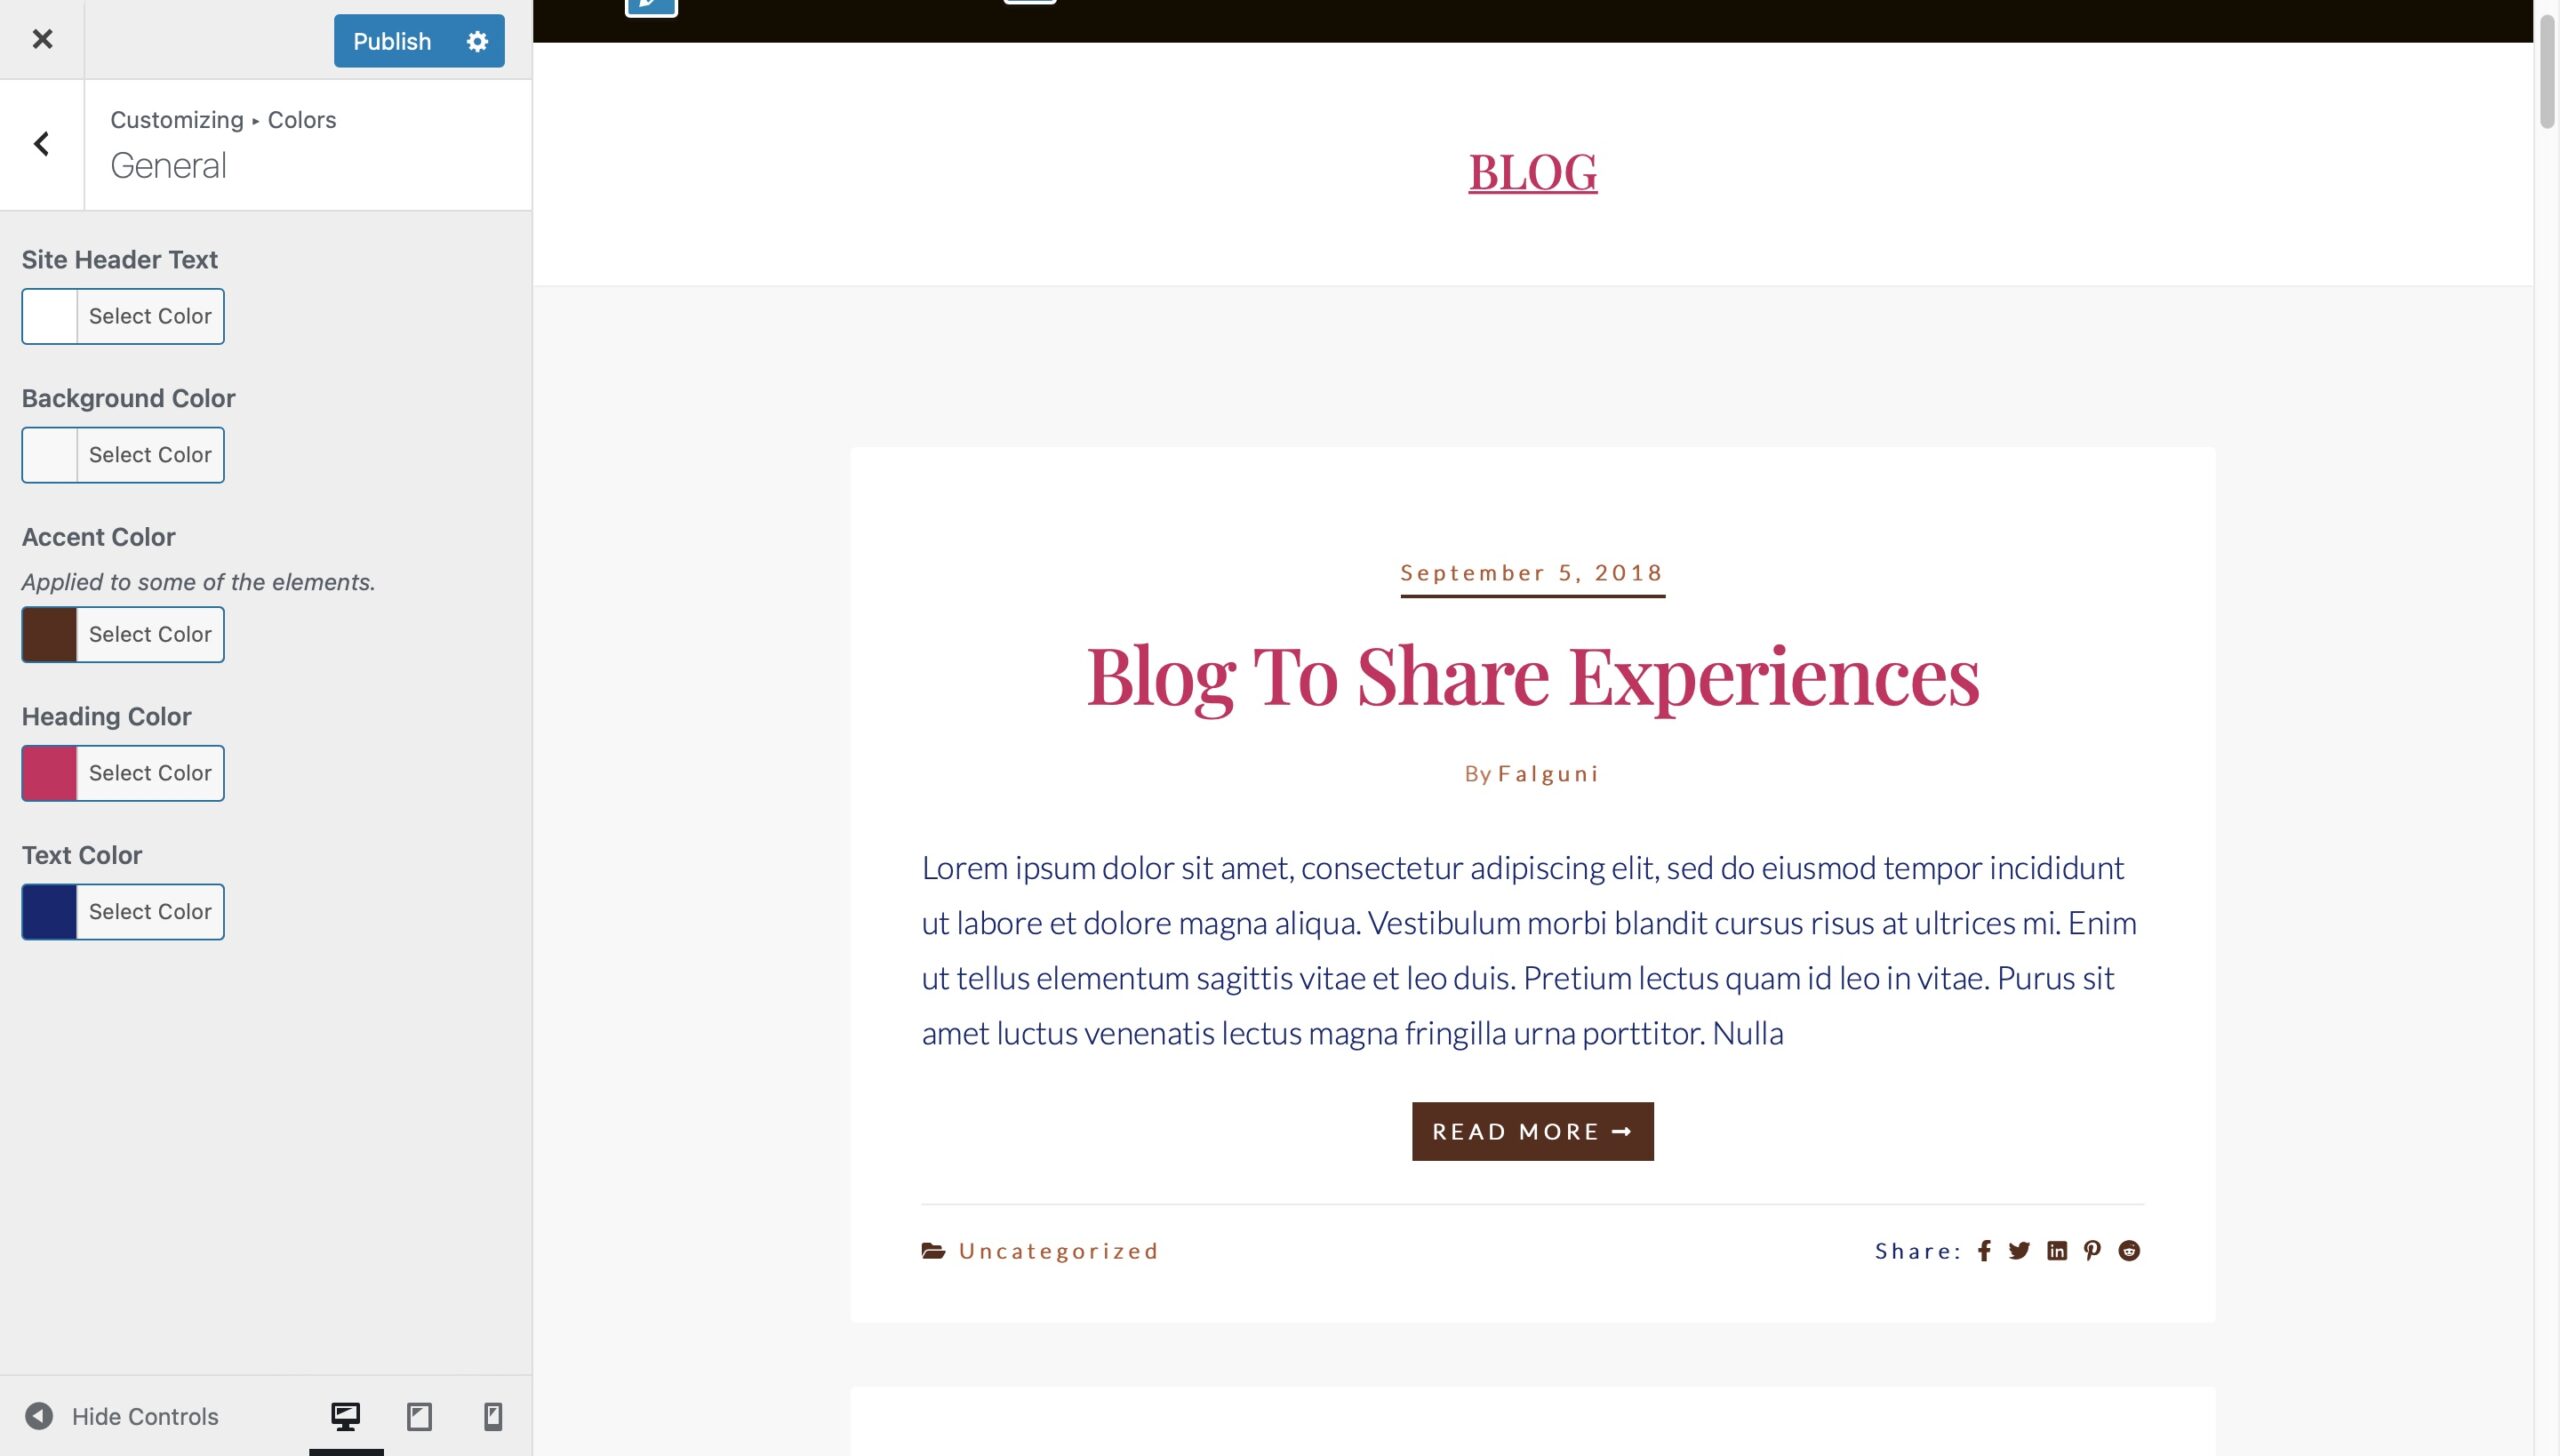
Allows you to set color for :
- Site Header Text
- Site’s Background
- Accent Color
- Heading Color
- Text Color
Posts Colors
This section allows you to set colors for:
- Posts Background
- Post Meta data like Author Name, post’s date, comments link, categories and share buttons.
Theme Other Options

Ananya has easy to customize theme options. With these customization options, the user can change the look and feel of the site.
Layout
This section allows you to set a layout for Blog Page, Single Post, Single Page and Static Home Page. You can choose from 4 different layouts:
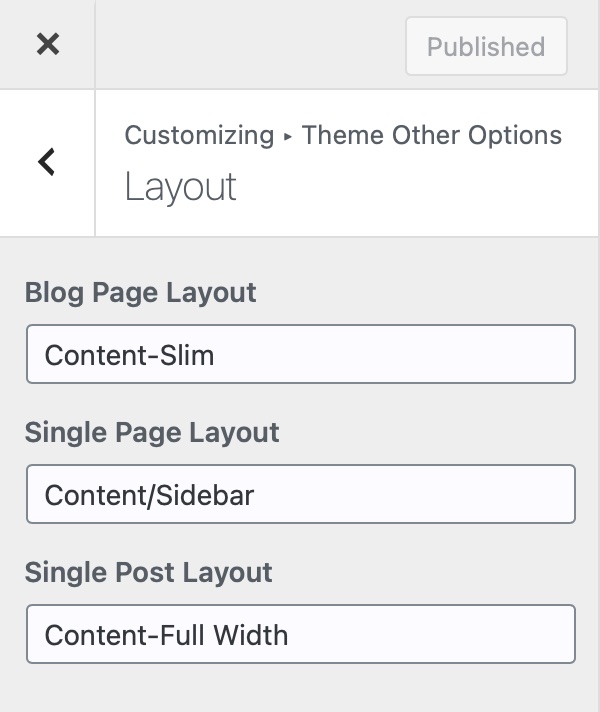
- Content/Sidebar
- Sidebar/Content
- Content-Full Width
- Content-Slim
Blog Page Settings
This section allows you to customize Blog Page/Index Page. It has the following customization options:

Blog Posts Layout
Allows you to choose blog posts layout from 4 different layout options: Classic, Grid, List 1, List 2
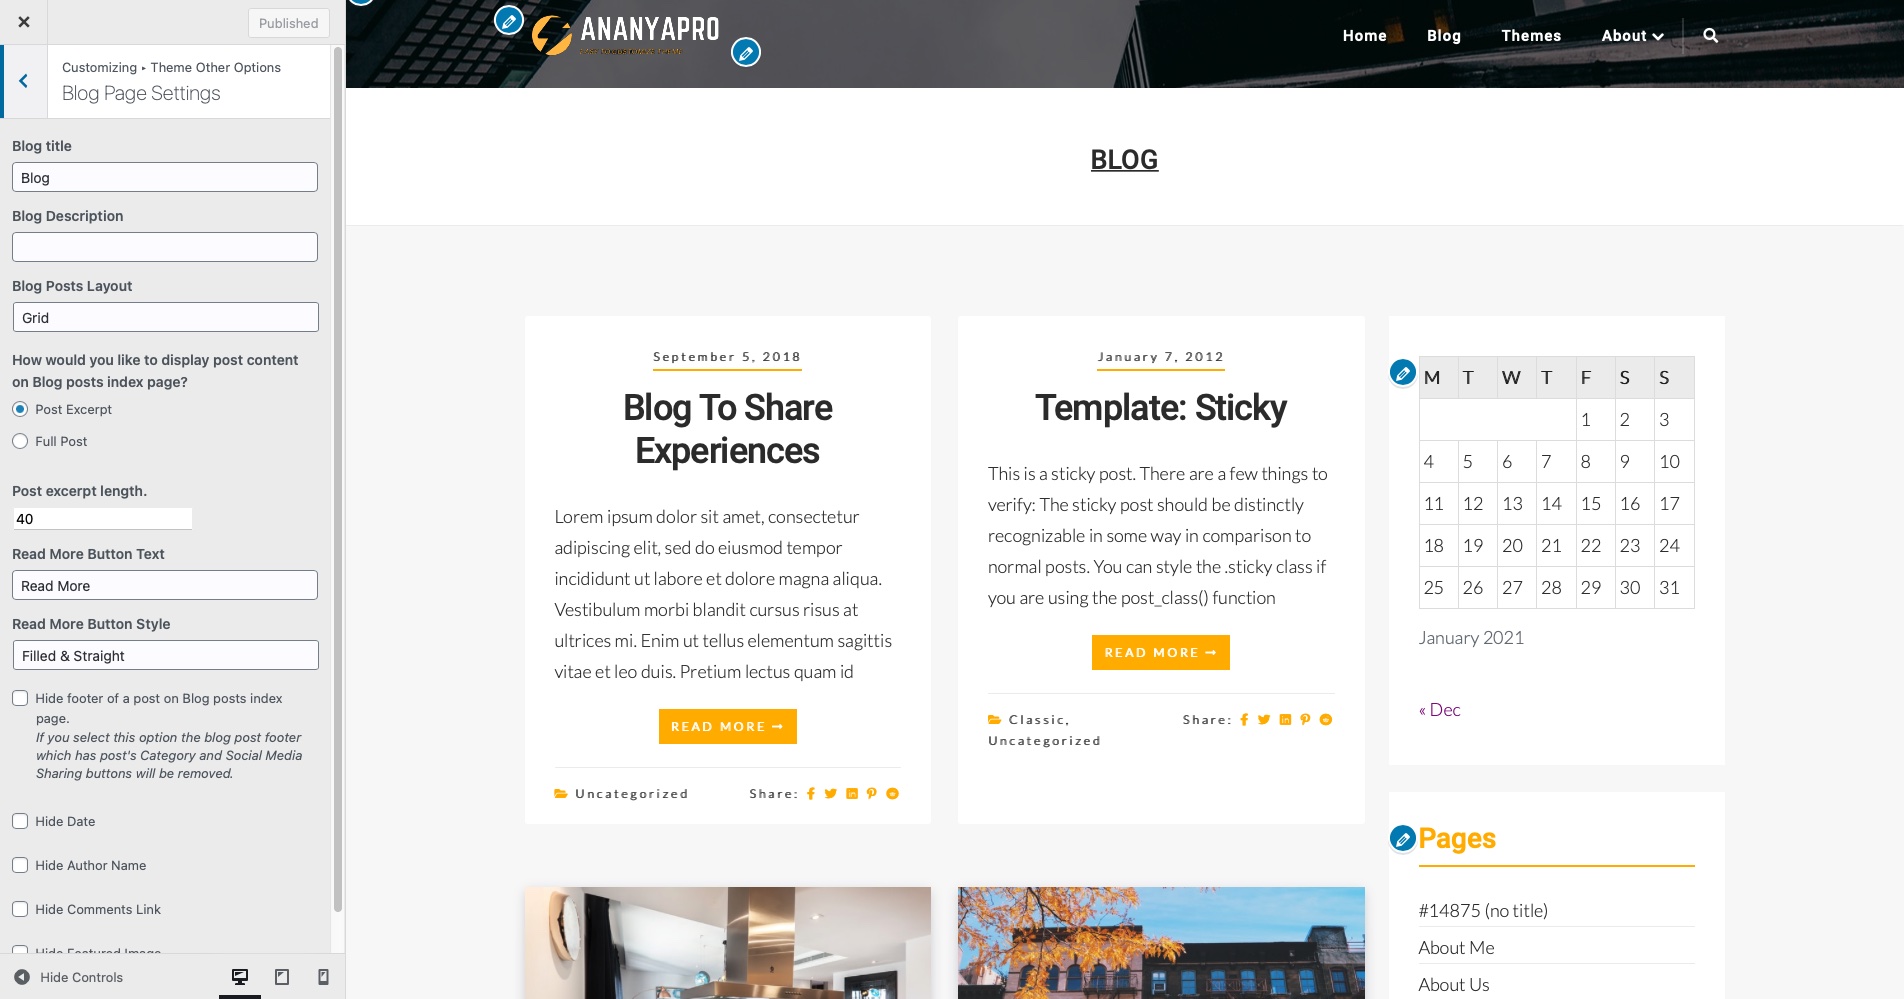
You can set length of the post excerpt displayed on the blog index page.
Post Content Options
- Post Content Display Style on Blog page : Full Content or Post Excerpt
- Post Excerpt Length
- Read More Button Text : Message to Display in the Read More Button
- Read More Button Style : Total 9 Styles to choose from.
- Filled & Straight
- Filled & Slight Round
- Filled & Round
- Bordered & Straight
- Bordered & Slight Round
- Bordered & Round
- Underlined
- Filled with Gray Color
- Bordered Gray Color
-
- Options to Hide Post’s Meta Data
- Post’s Featured Image
- Author Name
- Date
- Comments Link
- Post’s footer
- Options to Hide Post’s Meta Data
Single Page Settings
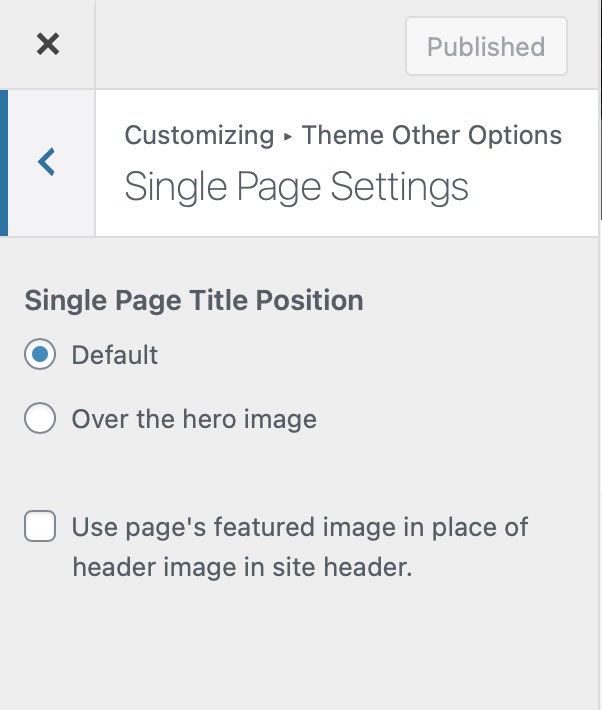
This section gives you some options to customize Single Page. You can choose the display position of page title from two available options:
- Default: The page title displays below the site header in the along with page content.
- Over the Hero Image: The page title is displayed over the site header/hero image.
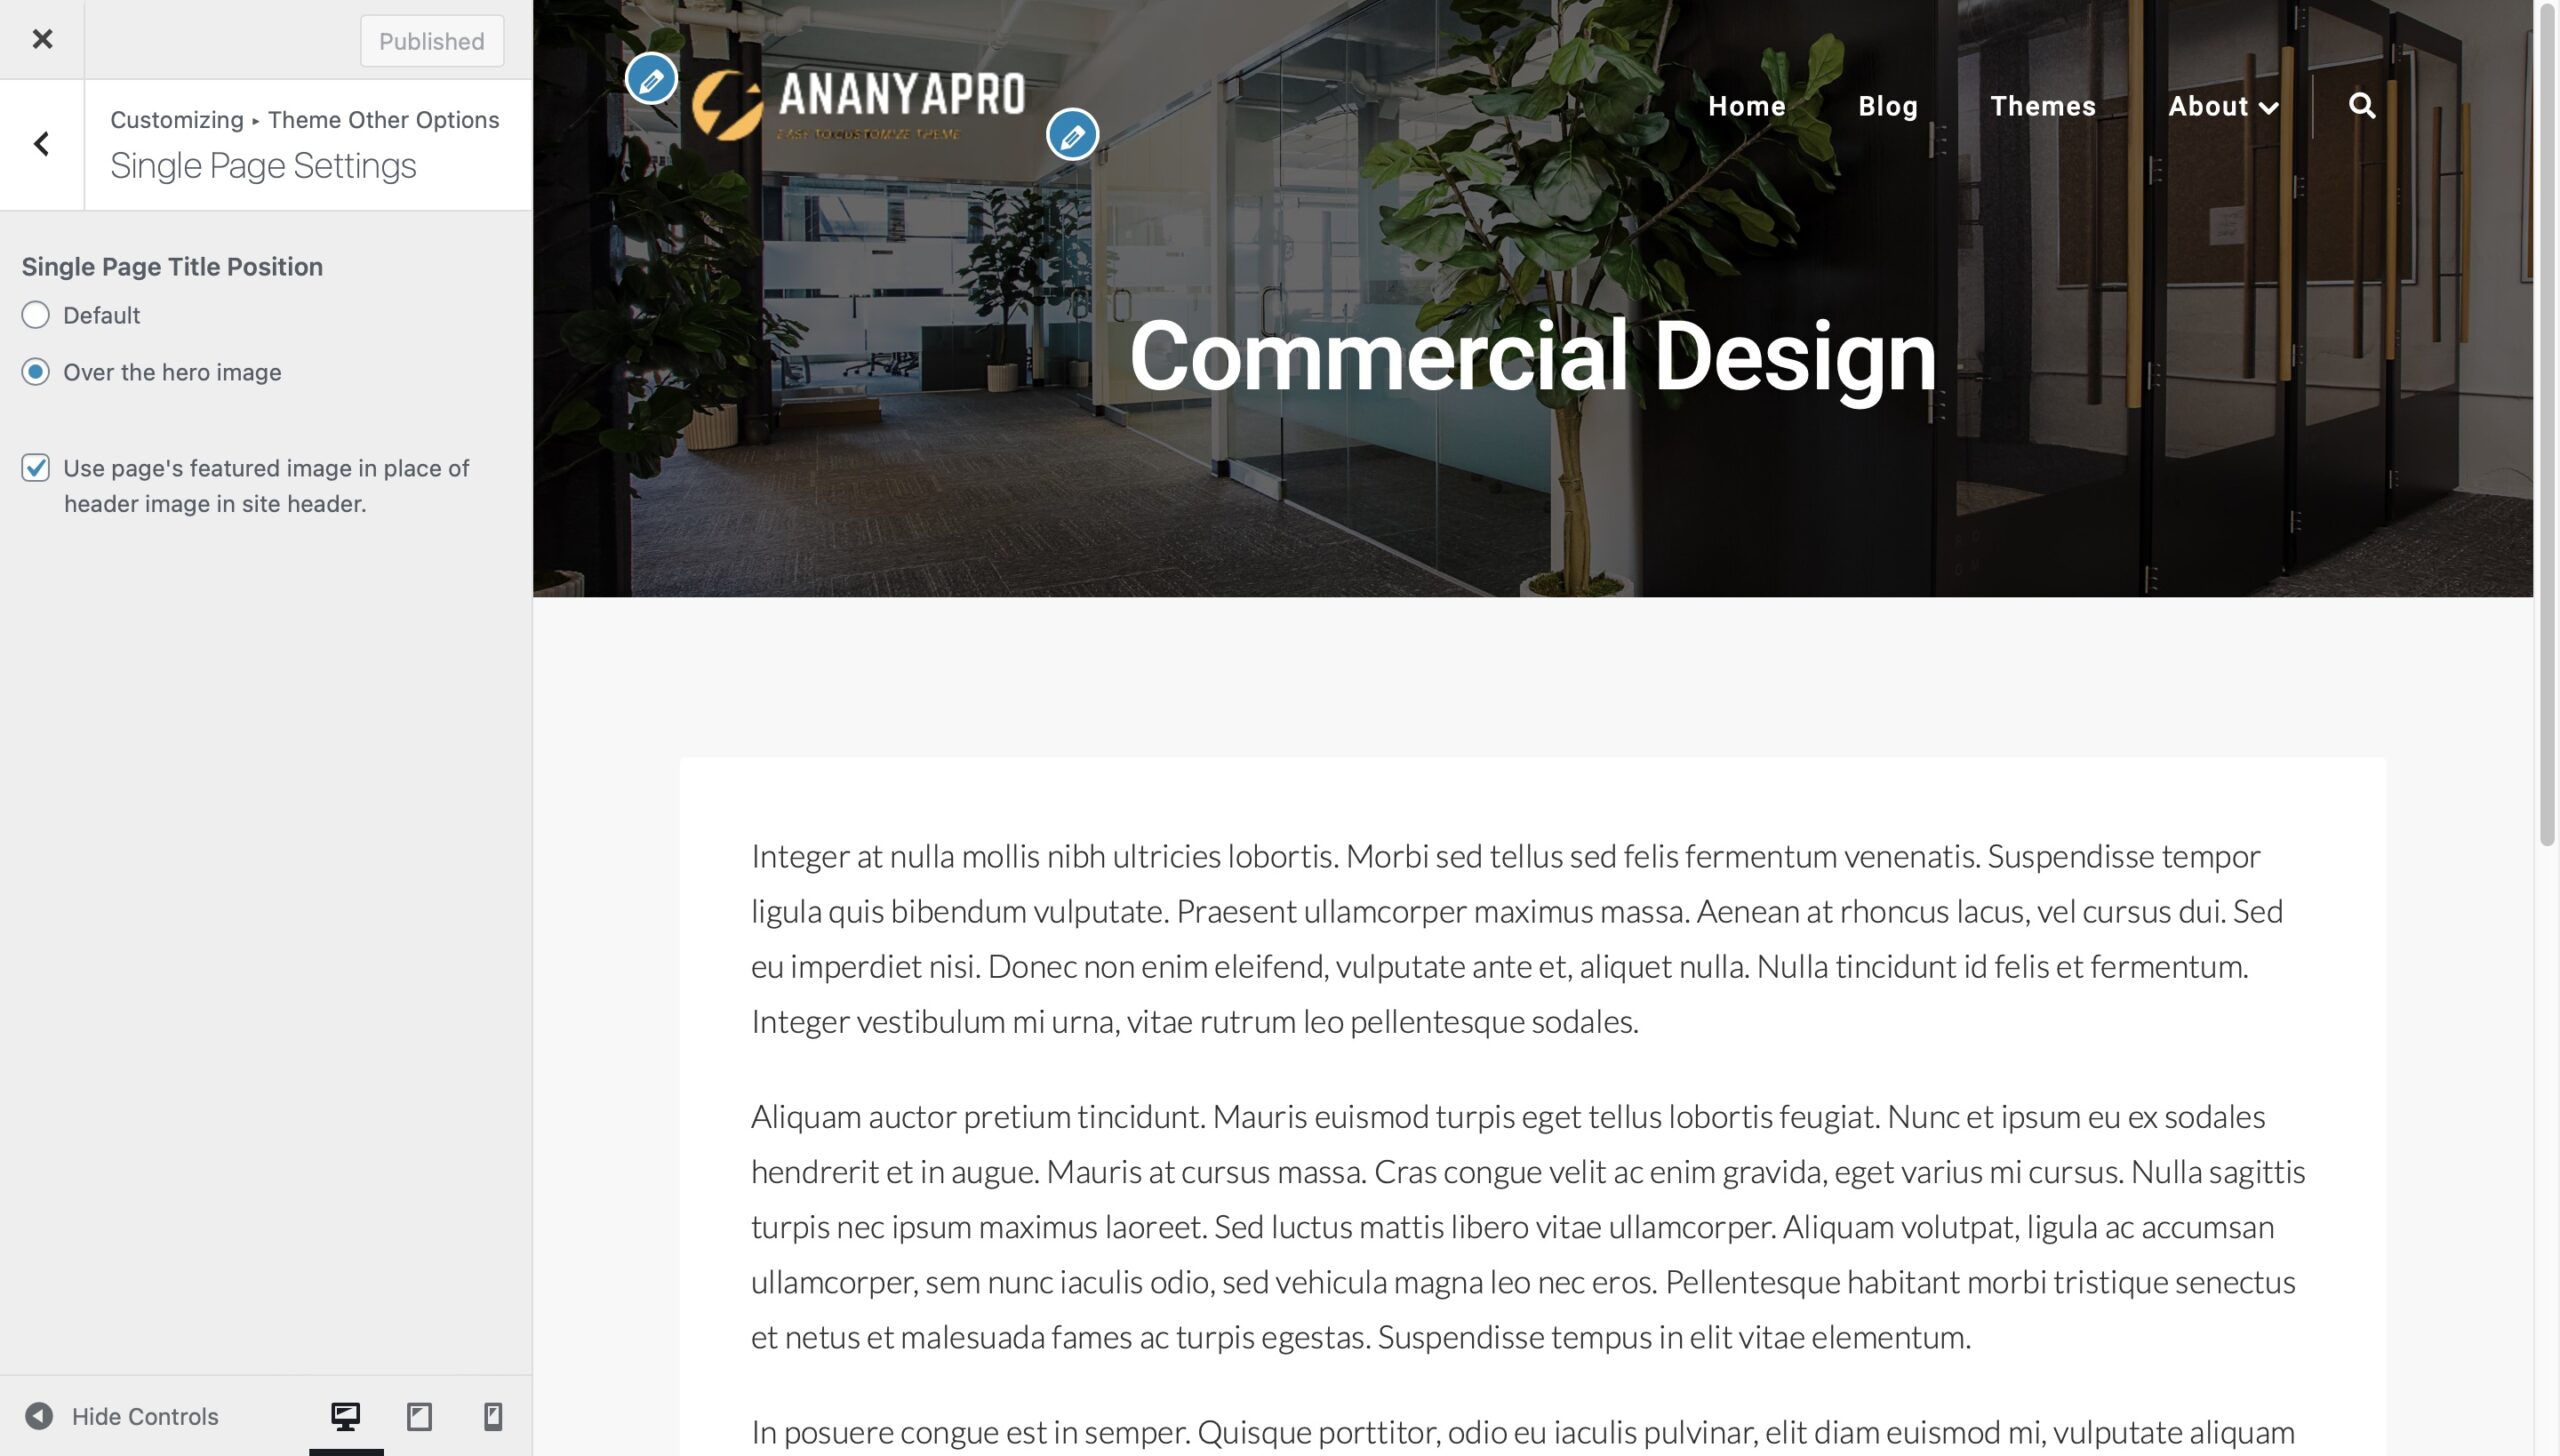
You can also display the page’s featured image in place of site header image in the site header if the option “Use page’s featured image in place of header image in site header” is checked.
Single Post Settings
This section gives you some options to customize Single Post. You can choose the display position of post title from two available options:
- Default: The post title displays below the site header in the along with post content.
- Over the Hero Image: The post title is displayed over the site header/hero image.
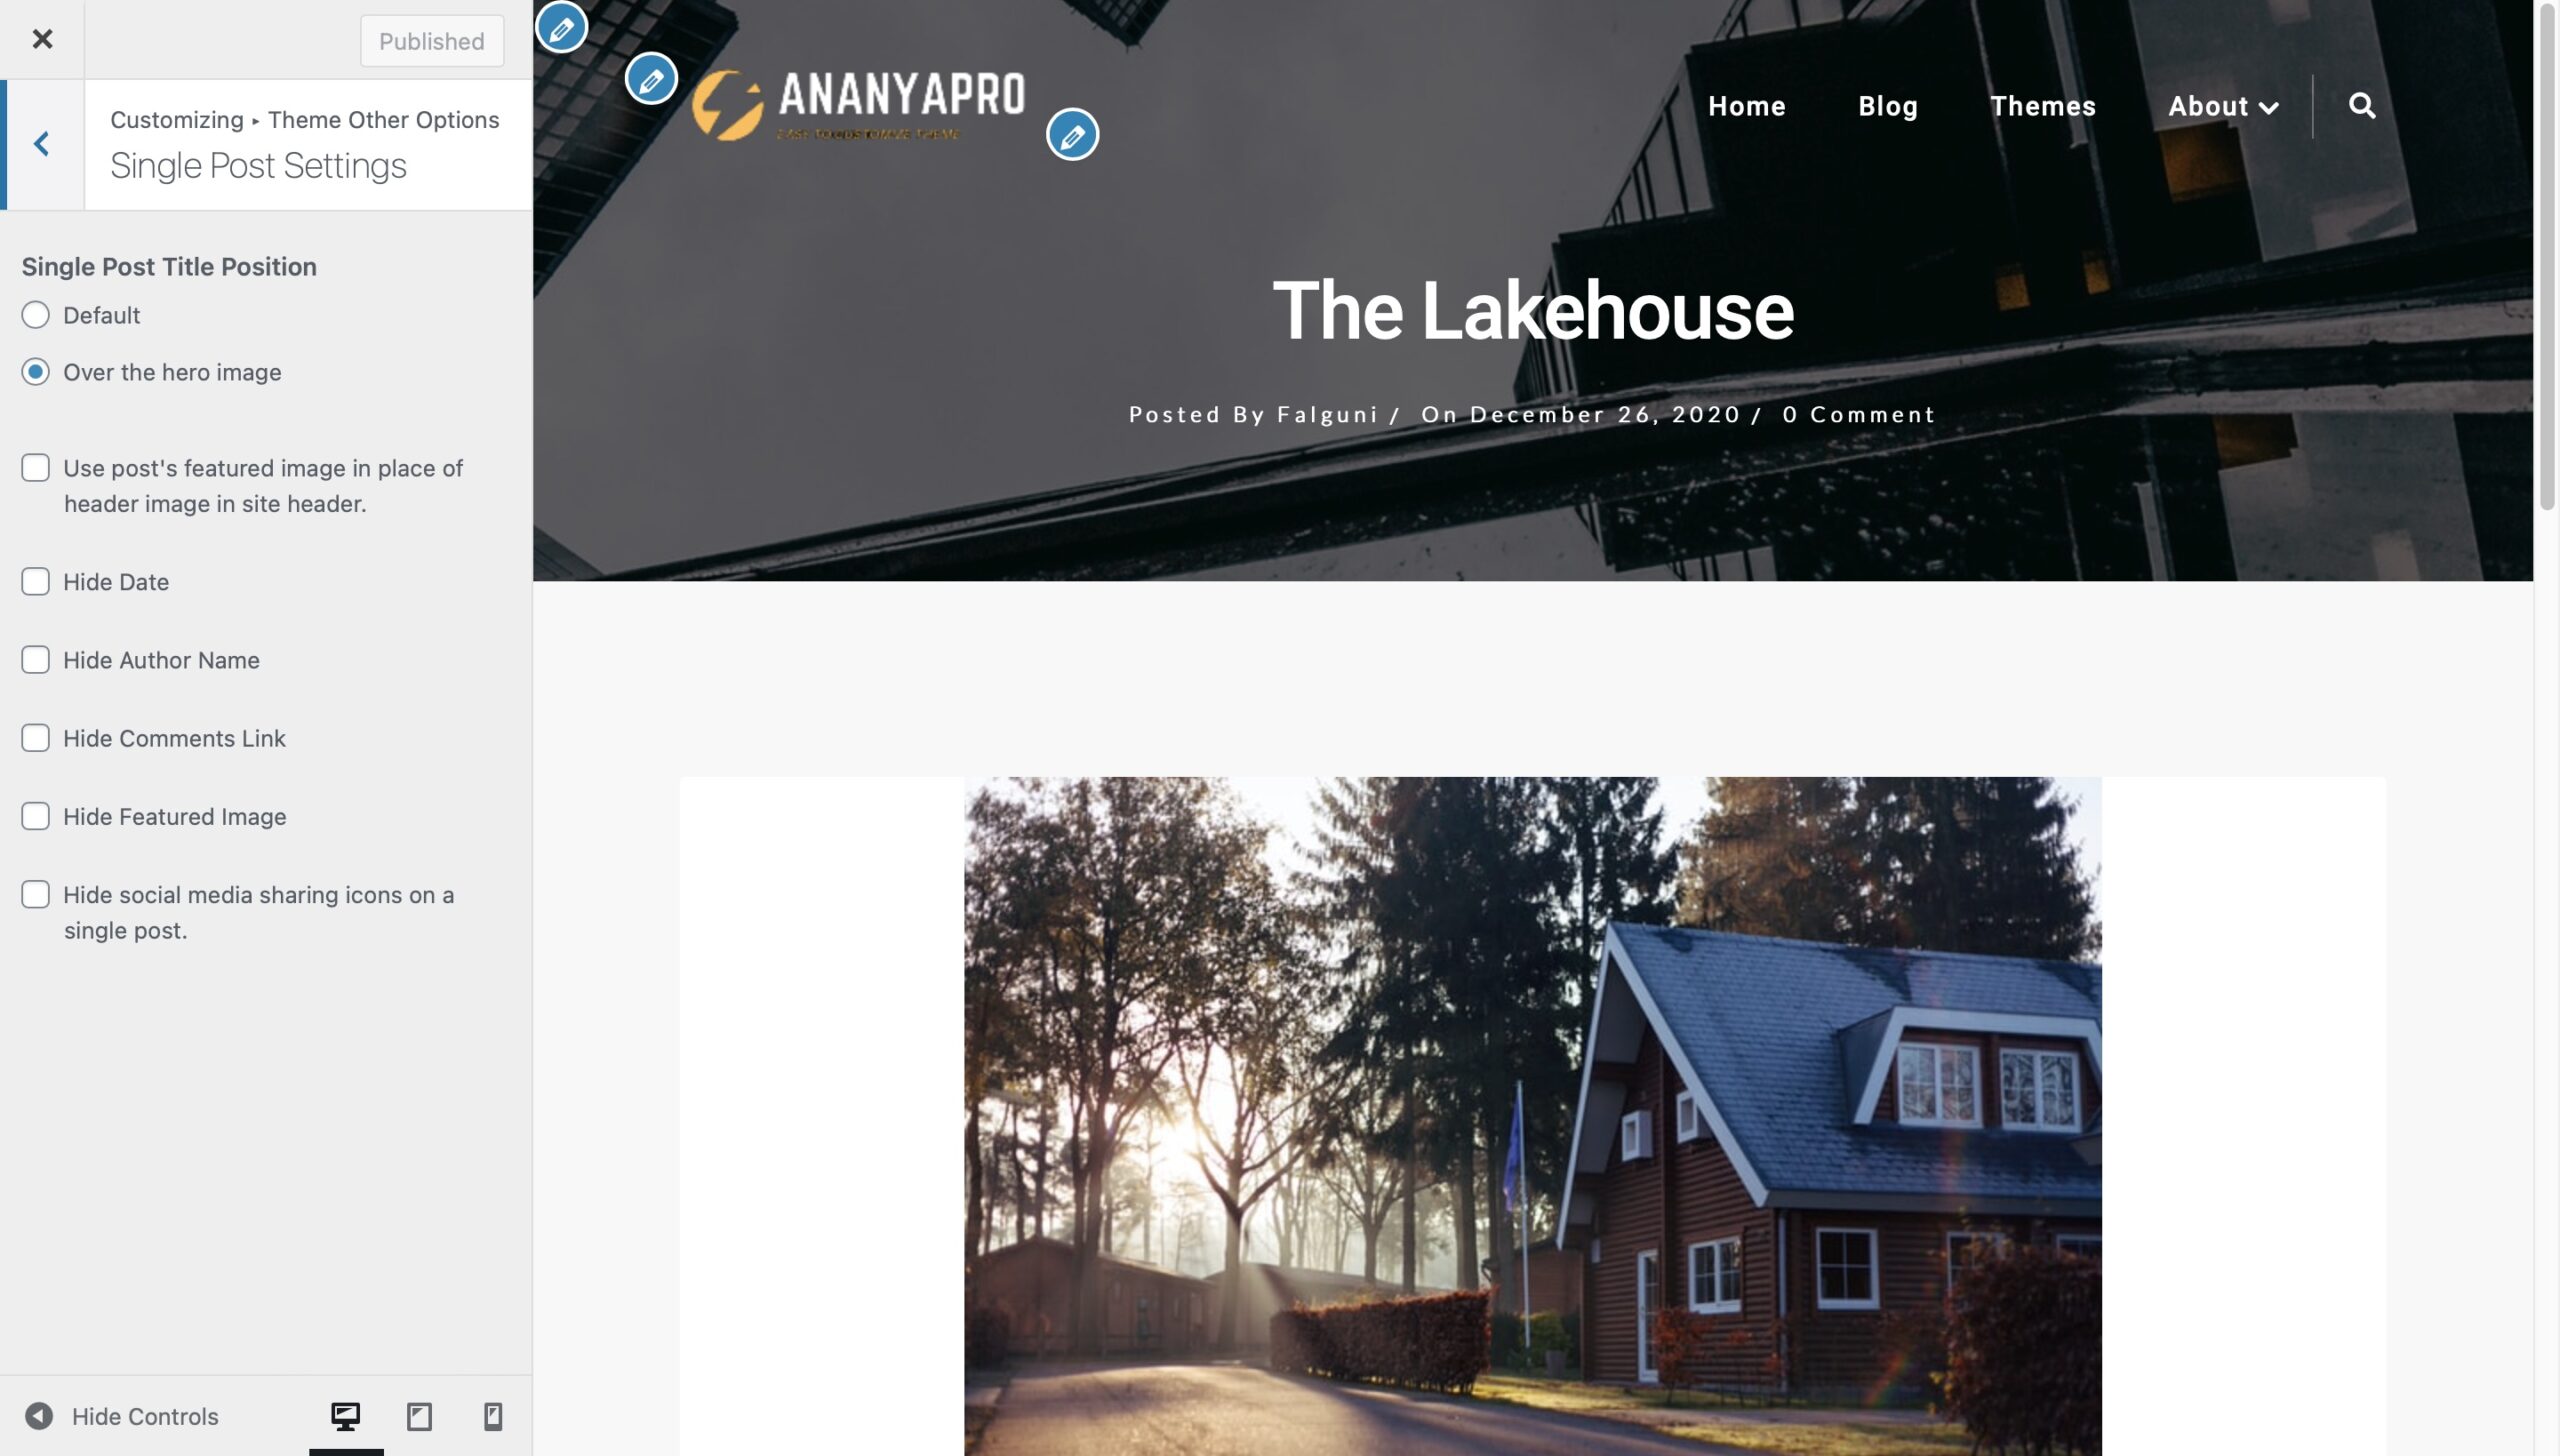
You can also display the post’s featured image in place of site header image in the site header if the option “Use post’s featured image in place of header image in site header” is checked.
This section also gives you options to hide post’s meta data like Post’s date, Author name, Comments Link, Categories, Tags and Share Buttons.

Widget Areas
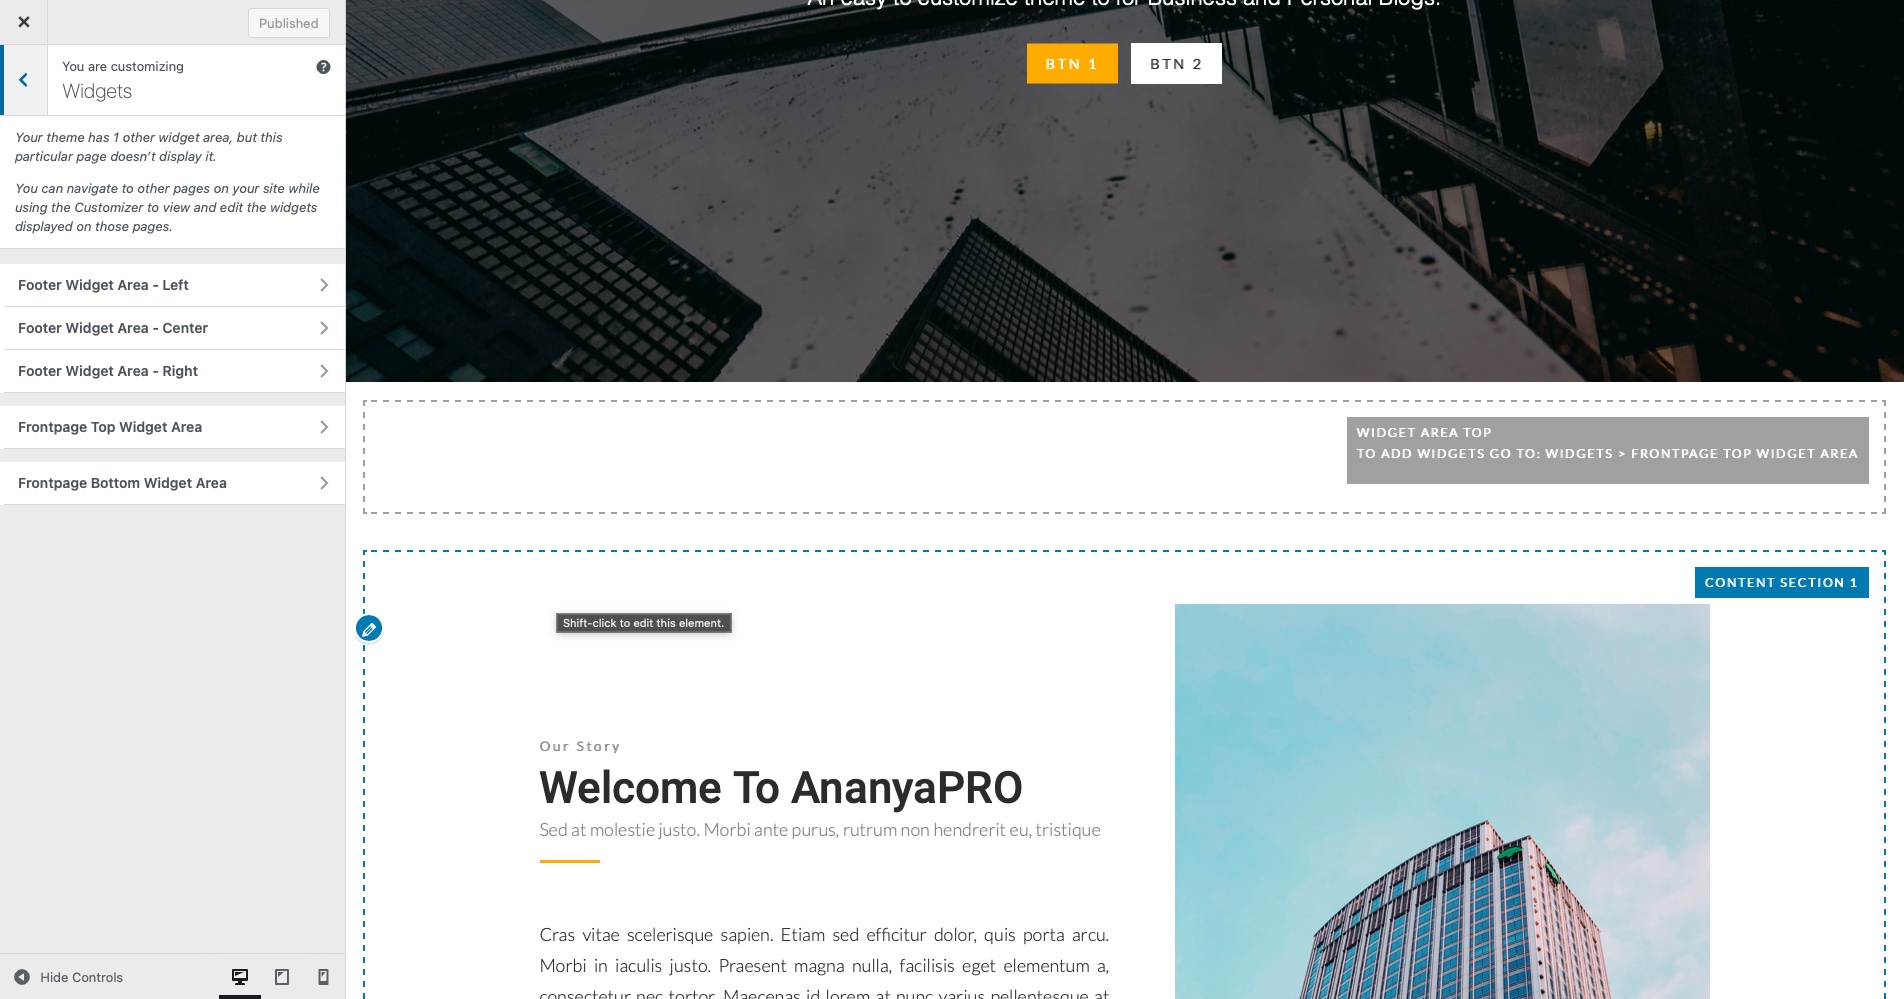
The user is provided with six widget areas to insert widgets. User has a sidebar widget area and three footer widget areas. The user can insert different widgets in the sidebar and footer widget areas. User also has two other widget areas for Frontpage:
- Frontpage Top Widget Area: This widget area is displayed before all the frontpage sections. You can insert widgets of your choice in this widget area. To insert widgets in this area:
- Frontpage Bottom Widget Area: This widget area is displayed before all the frontpage sections. You can insert widgets of your choice in this widget area.
To insert widgets in this area:
- Go to WordPress Customizer > Widget
- Add New Widgets
- Save the settings
You can also set the background for frontpage widget areas from the WordPress Customizer > Frontpage Sections > General Settings.