Welcome to the Nisarg PRO theme documentation. These instructions briefly explain how to setup and configure all theme features.
Theme Installation Guide
In order to utilize any of our themes, you’ll need to first install and activate them. The process is just like uploading a normal theme.
Download the Nisargpro.zip file from the link given in your purchase receipt. Once you have downloaded the nisargpro.zip file, go to your WordPress website admin page and perform the following steps:
- Log in to the WordPress Administration Panels.
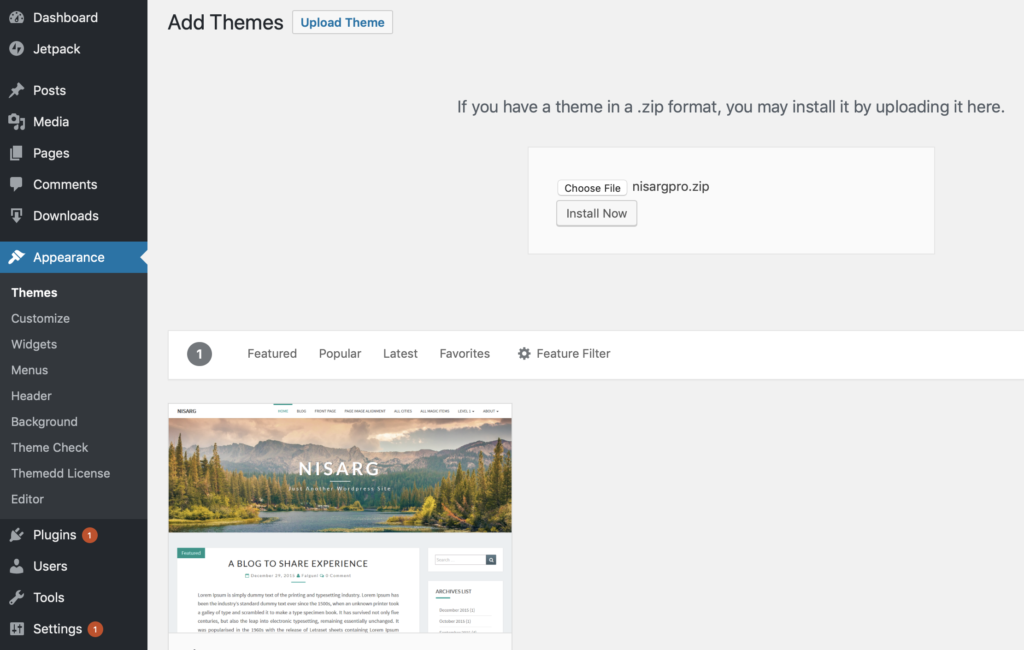
- Select the Appearance panel, then Themes.
- Select Add New.
- Use the Upload link in the top links row to upload a zipped copy of the Nisarg PRO(nisargpro.zip) theme that you have previously downloaded to your machine.
- Once the zip file gets uploaded to your website, click on Activate link to activate the theme.
For an in-depth documentation about WordPress theme manual installation, read the official WordPress.org documentation.
License Key Settings

You will receive a license key along with your purchase confirmation. As long as it is active, this key allows you to get automatic updates for the purchased WordPress theme. To license your theme :
- Go to Appearance > Theme license.
- Paste your license key in the textbox.
- Save and activate license key and you’re done.
Theme Customization Options
Add Custom Logo
Replace the site title & tagline with a logo of your choice. If user uploads an image for the site logo, the logo will be displayed otherwise the site title and description will be displayed in top left corner of the site.
Typography Options
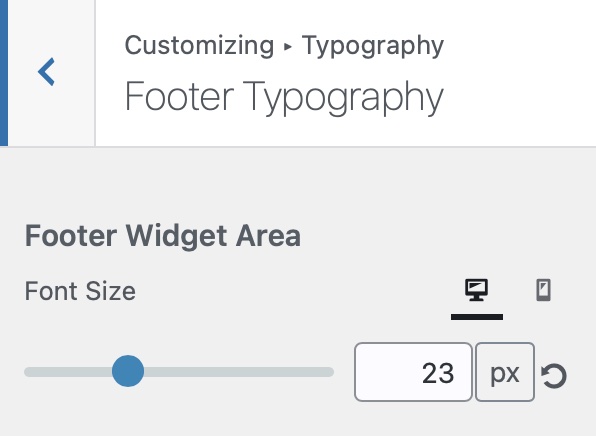
You can choose any font of your choice from more than 800+ Google Fonts for the heading and body text. You also have an option to choose font weight( normal/bold) for body text, heading text and menu items. User can set the font size for the body text, headings, menu text and footer area text. To change the typography settings :
- Go to Dashboard > Appearance > Customize > Typography.
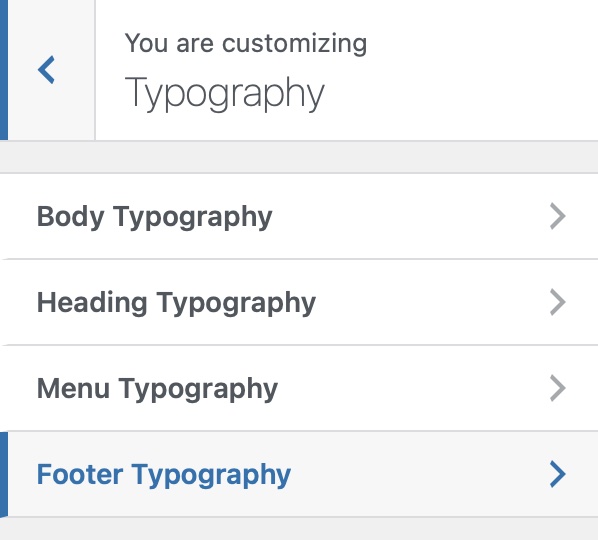
- Go to the sub typography section depending on which page element of the page you want to change the typography.
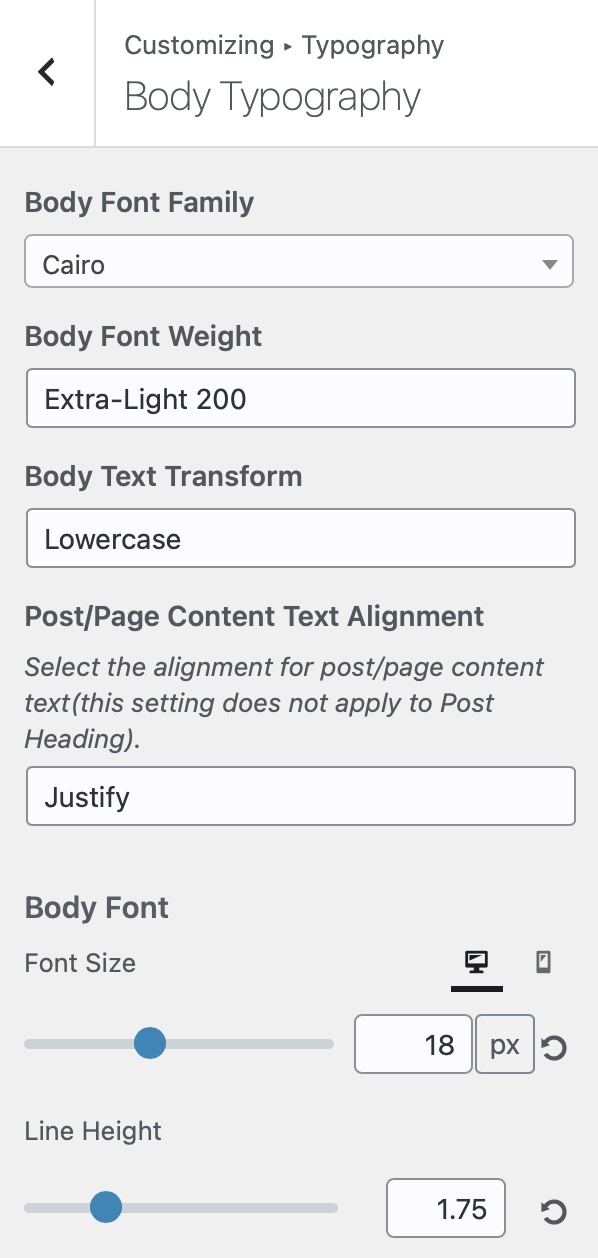
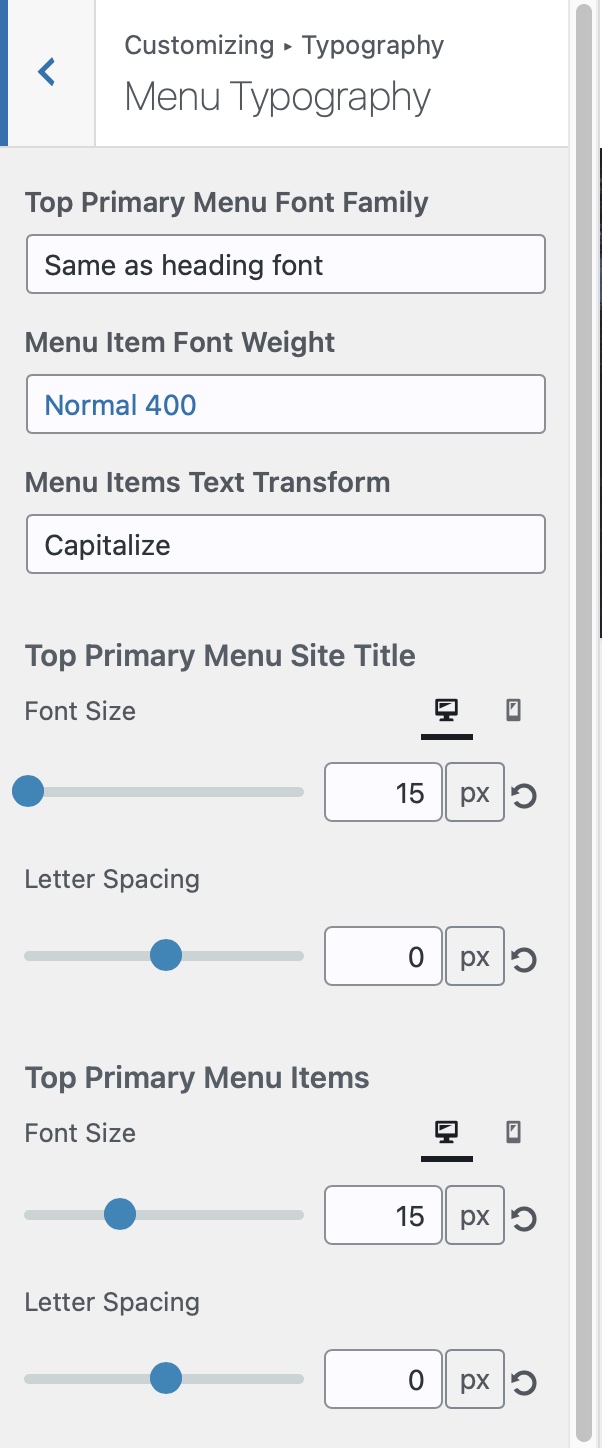
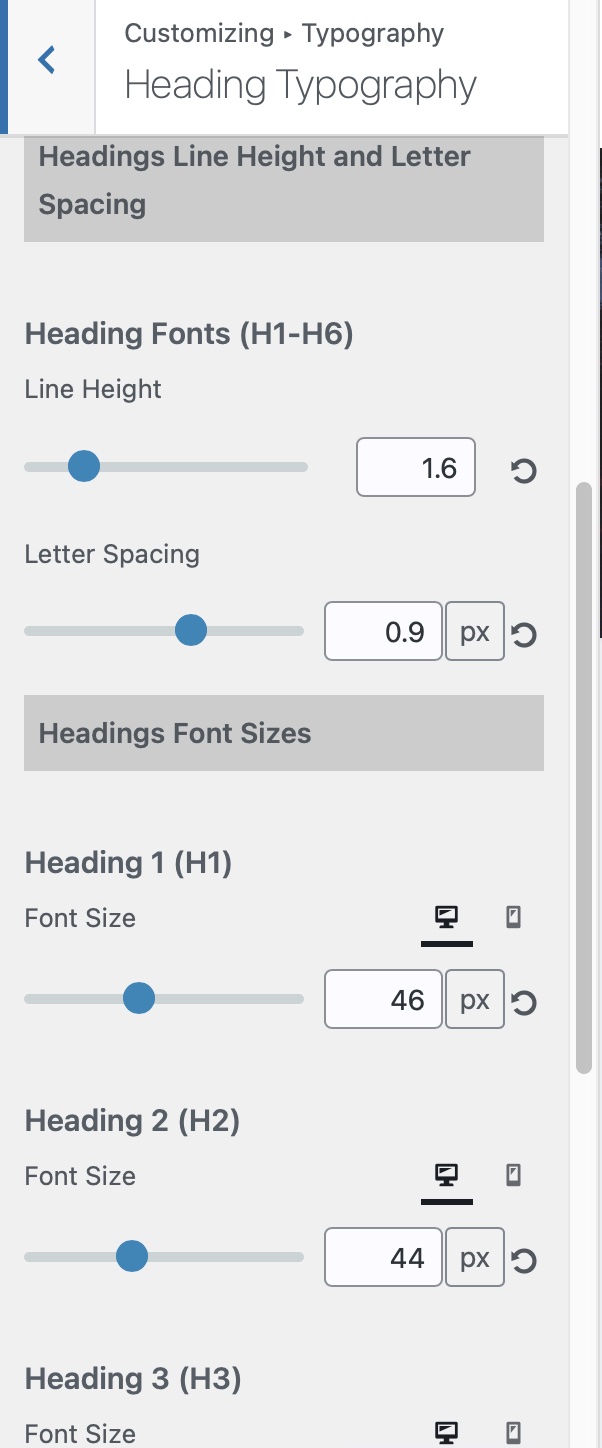
- Set the font family, font weight, text transformation, font size, line height and letter spacing as per your choice.
Body Typography
Menu Typography
Footer Typography
Heading Typography

Color Options
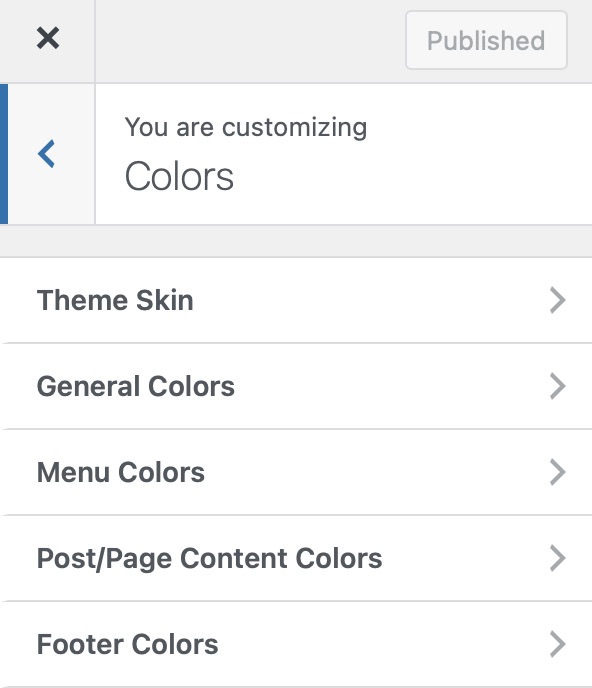
User is provided with unlimited color options to choose from for the accent color, background color , header text, header background, link color and link hover color. To set colors for the above elements:
- Go to Dashboard > Appearance > Customize > Colors
- Set your desired color for different elements.
- Click on Save to retain the selections.
Custom Header
 User can set any image of his choice as header image. The header image can be of any size. The recomended image size is 1600 X 400px. To set the header image:
- Go to Dashboard > Appearance > Customize > Header Image
- Set your desired image for header elements.
- Click on Save to retain the selections.
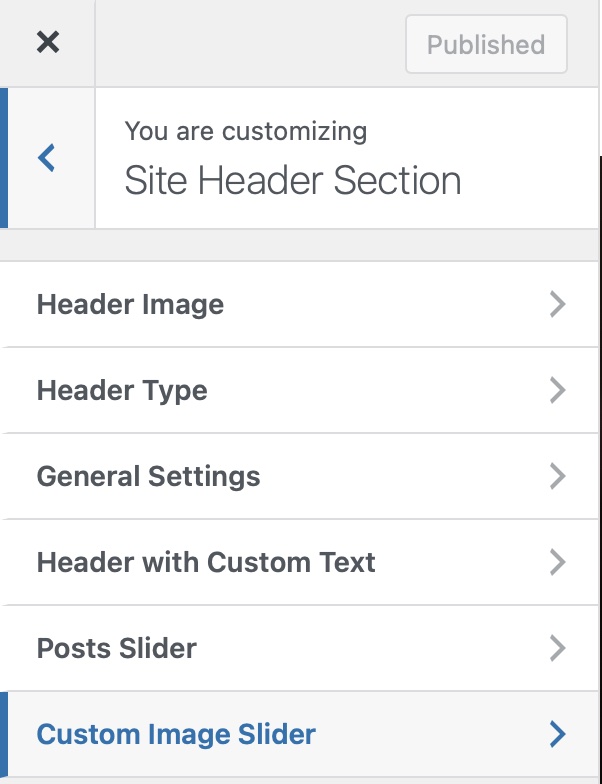
Users can also select different site headers for the front page, single post, and other pages. The site header can be set from five types: Header with the Site Title and Tagline, Header with Custom Text Message, Post Slider, Image Slider, or none. The Header with a custom text message allows the user to set the title and subtitle of his/her choice. The post slider header option allows the user to display a slider of selected category posts in the site header area. And the Custom Image Slider header type option allows the user to set an image slider which consist of images of the user’s choice with a title and subtitle for each slider image.
Custom Background
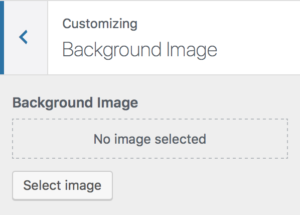
User can set an image of his/her choice as website background image. To set the background image:
- Go to Dashboard > Appearance > Customize > Background Image
- Set your desired image for website background.
- Click on Save to retain the selections.
Widget Areas
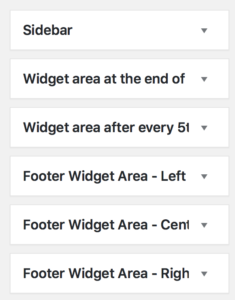
User is provide with six widget areas to insert widgets. User has sidebar widget area, widget area to insert advertisements/widgets at the end of the post on single post page or to display advertisement/widgets after every 5th post on blog posts listing page. User can also insert different widget in the footer widget areas.
Theme Other Options
Nisarg PRO has easy to customize theme options. With these customization options user can change look and feel of the site. User can customize site header, blog post layouts and details and site footer.

Blog Page Options

Blog page options section has many blog customization options to choose from. User can select blog post listing style as Classic or Masonry. It also has an option to display full posts on the post listing page or only post excerpt. User can also set post excerpt length, hide/show post meta like date, author name and comments link. User also has an option to hide or show archive page title and category/tag description. This section also has an option to hide site header image on single post page.
Sidebar Options
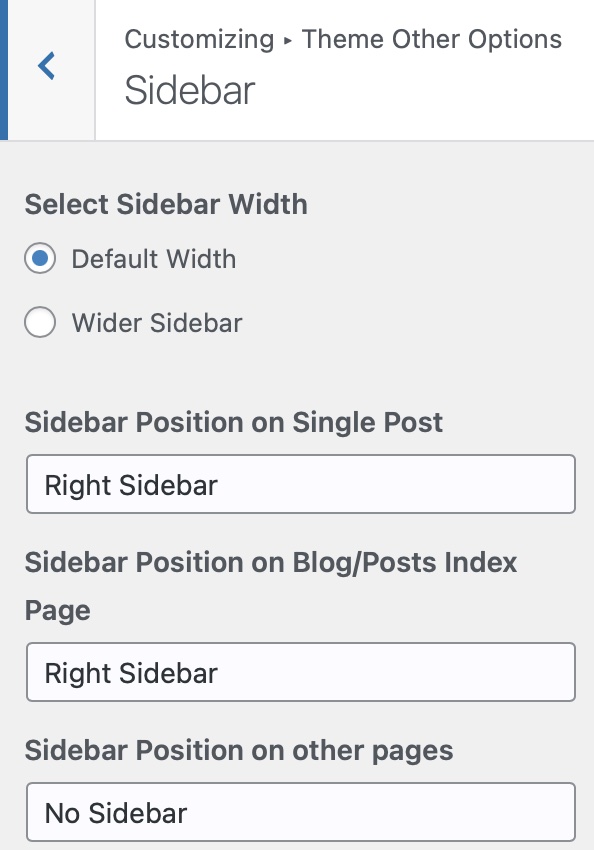
Sidebar section of customizer allows user to set sidebar width and sidebar position. The user is given choice to set different sidebar positions for blog’s post listing page and single post page.
Footer Settings
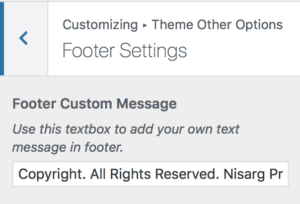
User can set custom message for their site footer using this customizer option.
Add Search box
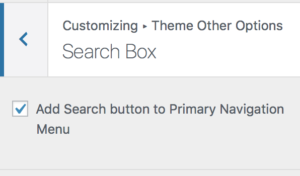
Using this option user can add search button to the site’s toppar navigation menu.
Post Formats
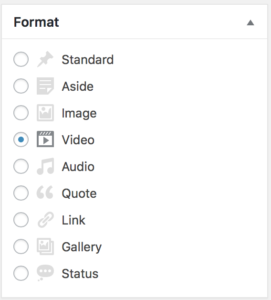
The theme supports posts formats like Standard, Image, Video, Gallery, Audio, Quote, Link, Status and Aside You will see all post formats listed in the right sidebar of post editor. Select any of these to change a post to a specific post format, or just leave it as “Standard”.
- Standard:Standard is the default post format in WordPress.
- status – A short status update, similar to a Twitter status update.
- aside – Typically styled without a title
- Video: A post that has one, or several, videos can be set to post format Video. In video post format, video will be displayed instead of post’s featured image on blog page/post listing page.
- Audio: A post that has an audio file or playlist. In audio post format, audio will be displayed instead of post featured image on posts listing page.
- Quote: To display a quoted block of text with attribution to a quote’s author, a post can be set to Quote format. Please enclose your quotes inside quotation mark using (“) button in the post editor to display quotes in its special styling.
- Gallery: If post contains Image Gallery, the post can be set to Gallery post format. In a Gallery post format, all images attached to the post as well as images of post gallery are displayed as grid of images in place of featured image on a blog/post listing page.
- image – In image post format, only the featured image will appear with post caption and post meta data will be displayed over the featured image.
To check the demo of post format visit the Nisarg PRO demo website here: Nisarg PRO demo
Page Templates

The theme comes with extra page templates other than default template. The page templates list is as follows:
- Default Template
- Left Sidebar
- Without Sidebar
- Page With Featured Image Header and Sidebar
- Page With Featured Image
- Page Without Comment Section
- T1 – Page Builder Boxed
- T2 – Page Builder With Site Header
- T3 – Page Builder Without Site Header
- T4 – Page Builder Full Width
- Right Sidebar
The page template named “Page with featured image” allows user to display page’s featured image in-place of site’s header(/site hero) image. If user doesn’t set featured image for the page, the site’s header image will be displayed in-place of page’s featured image.The theme also includes templates to design pages using page builder plugins. Templates T1 to T4 are specially designed to be used with the page builder plugins like Elementor, Beaver Builder, Page Builder by SiteOrigin etc. To change the page template of a page:
- Go to Pages menu in WordPress dashboard.
- Open the desired page in page editor.
- Go to Page Attributes section of the page editor and click on the Template drop down menu. Select the desired page template from the available choice.
- Click on Update.
Post Templates
 The theme comes with additional post templates other than default post template. The post templates list is as follows:
- Default Template
- Left Sidebar
- Without Sidebar
- Featured Image Header w/o Sidebar
- Featured Image Header
- Title Over Featured Image Header w/o Sidebar
- Title Over Featured Image Header
- Right Sidebar
- Go to Posts menu in WordPress dashboard.
- Open the desired post in post editor.
- Go to Post Attributes section of the post editor and click on the Template drop down menu. Select the desired page template from the available choice.
- Click on Update.
Download NisargPRO Child Theme
If you are planning to change the code of your theme then WordPress recommends you protect all of your hard work with a Child Theme. This is important if you plan any modification because it is likely that they will be overwritten when you update the theme. The best method of protection is a child theme in which you can create copies of a theme’s files and tweak them, without fear of it being overwritten by any future theme updates.
Download the NisargPRO Child Theme
You can read more about the child theme and its advantages here: https://developer.wordpress.org/themes/advanced-topics/child-themes/